Creating a DIY umbrella stand for outdoor use can be a simple and rewarding project for anyone looking to add a personal touch to their patio or garden.
I found that designing my own stand allowed me to choose materials that complemented my outdoor décor and stood up to the elements.
Whether you’re aiming for a modern industrial look with concrete and metal or a classic garden style with terracotta and stone, there’s a material and design that will suit your needs.
When I decided to build my umbrella stand, I realized it wasn’t just about putting together a functional item, but also about crafting something that could anchor my outdoor space visually and practically.
With a few basic tools, some patience, and a bit of creativity, I constructed a stand that not only holds my umbrella steady on breezy days but also adds charm to my backyard setup.
Reader's Roadmap
Key Takeaways
- Making a DIY outdoor umbrella stand allows for customization to match personal style and outdoor décor.
- Choosing the right materials for the umbrella stand ensures durability and complements the outdoor environment.
- The construction process of a DIY umbrella stand can be straightforward and adds a unique feature to outdoor living spaces.
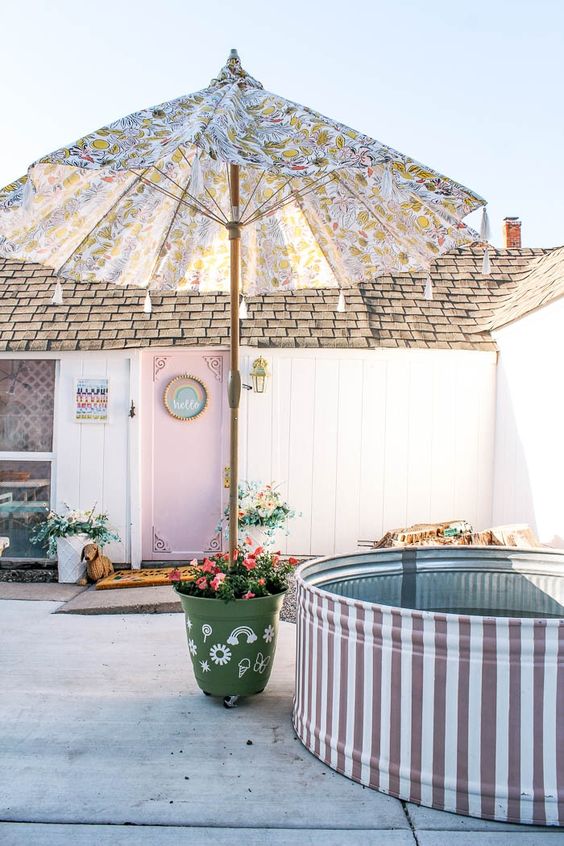
Large Planter On Wheels Umbrella Stand
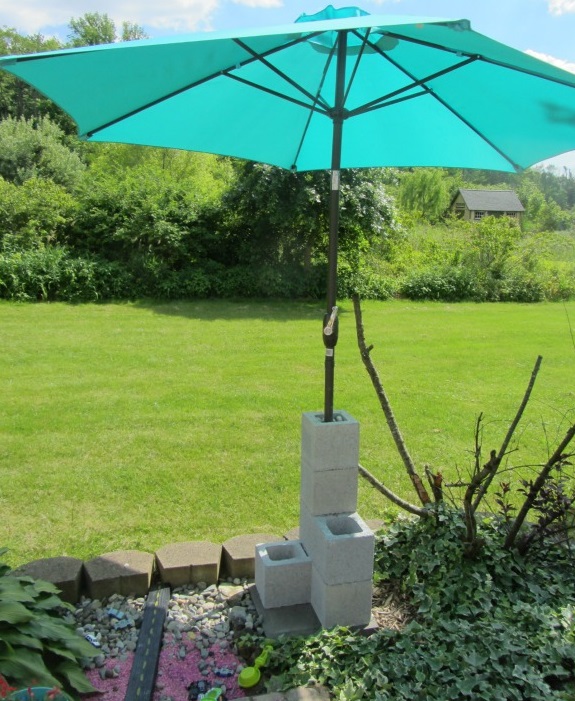
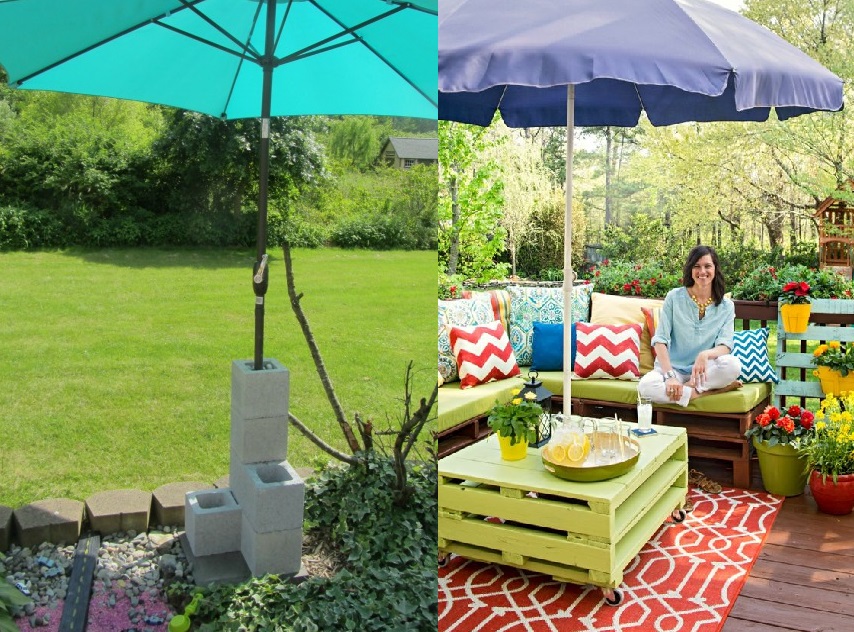
Cinder Block Umbrella Stand
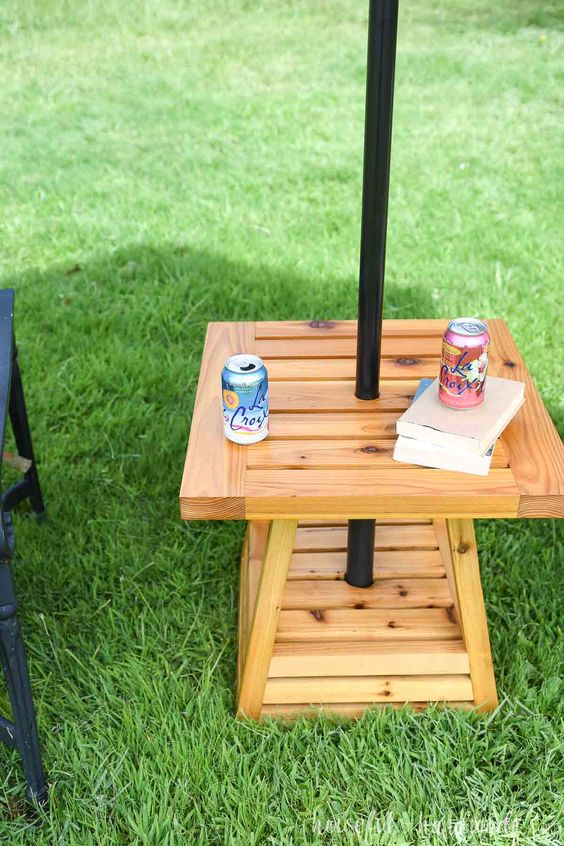
Umbrella Side Table Stand
Wood Box Umbrella Stand
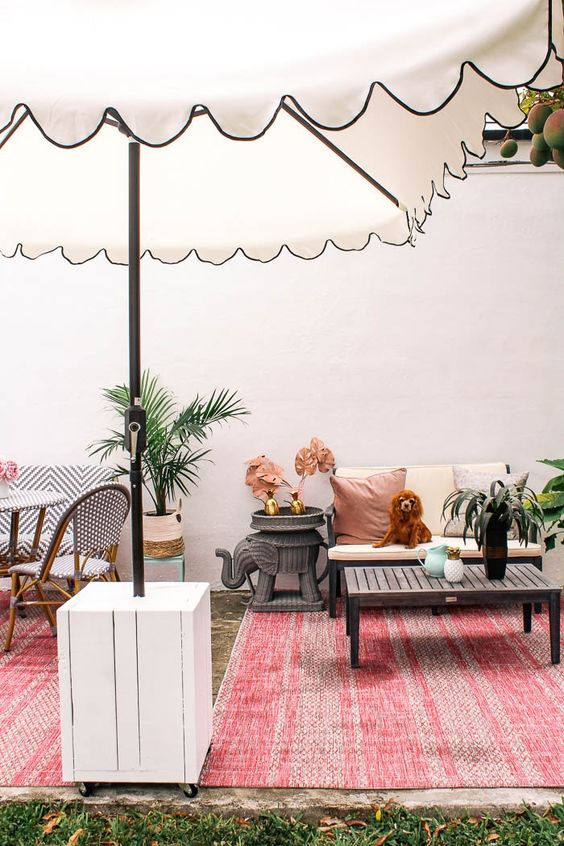
Wood Box Patio Umbrella Stand
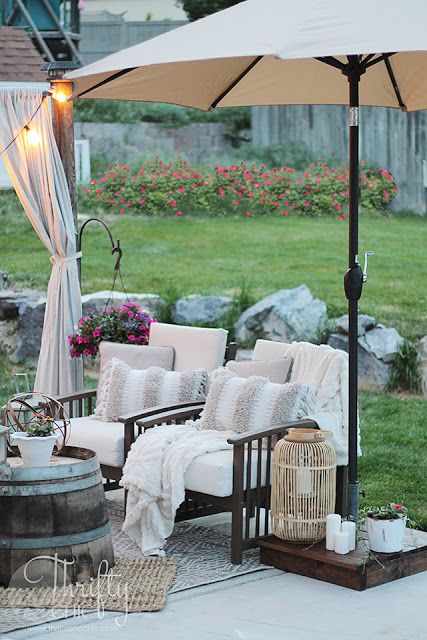
Whiskey Barrel High Top Table Umbrella Stand
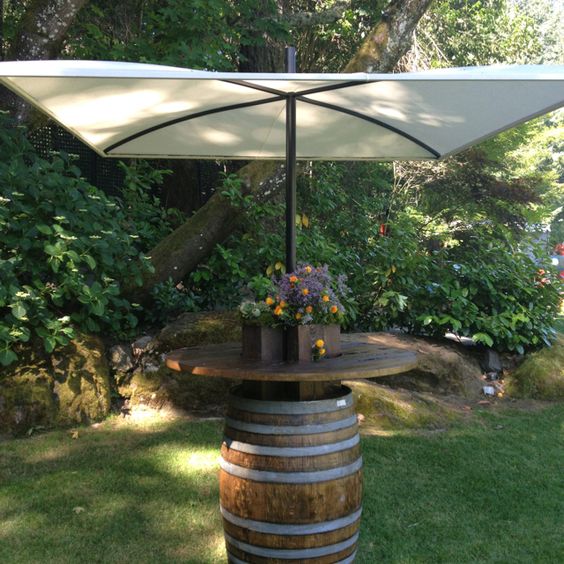
Repurposed Small Cable Spool On Wheels
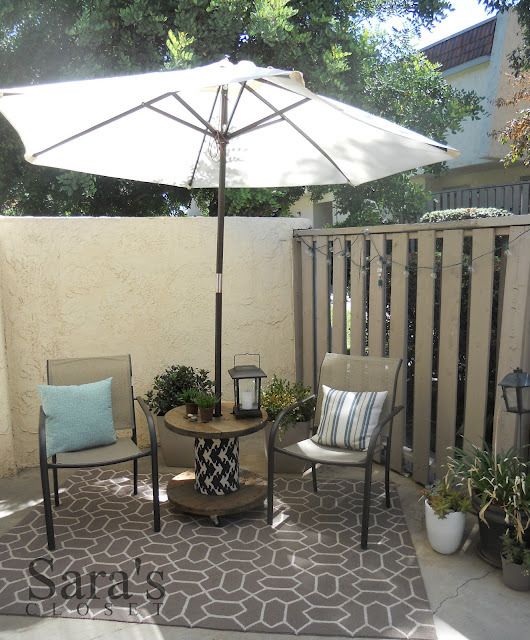
Plastic Planter With Faux Patina Umbrella Stand
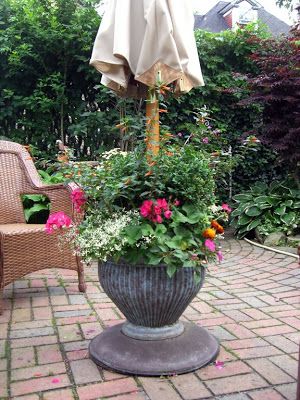
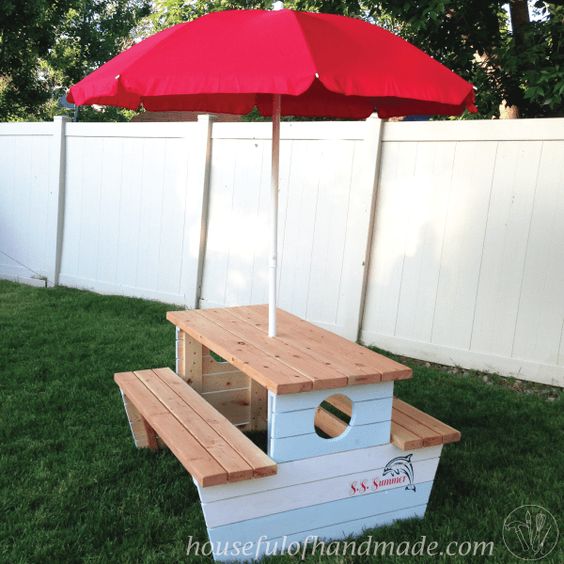
Picnic Table Umbrella Stand
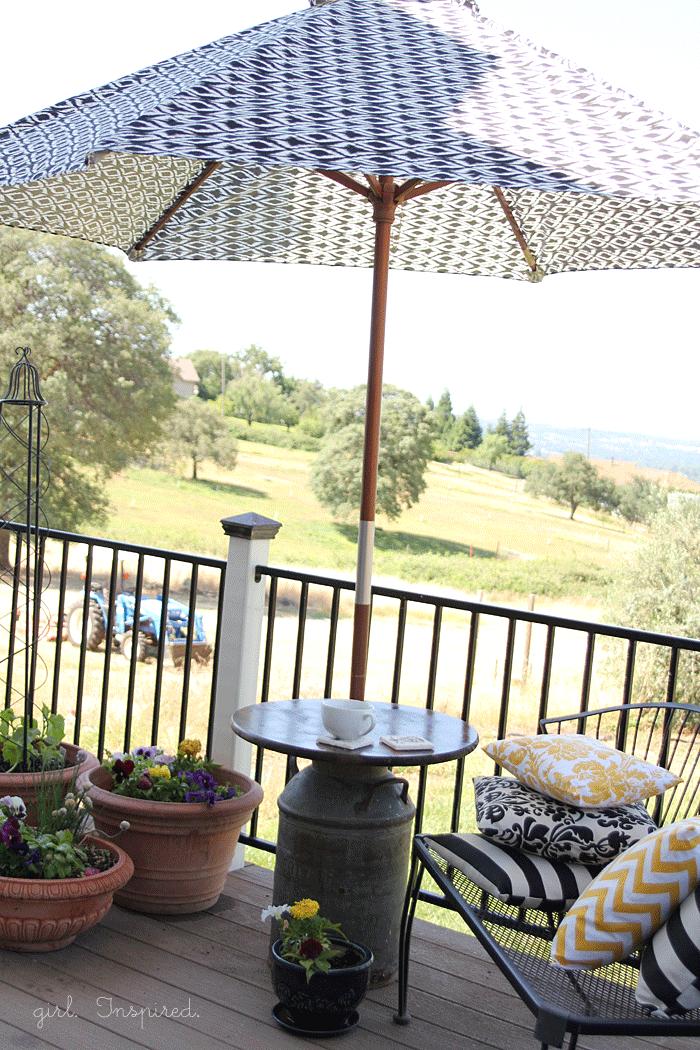
Milk Canister Side Table And Umbrella Stand
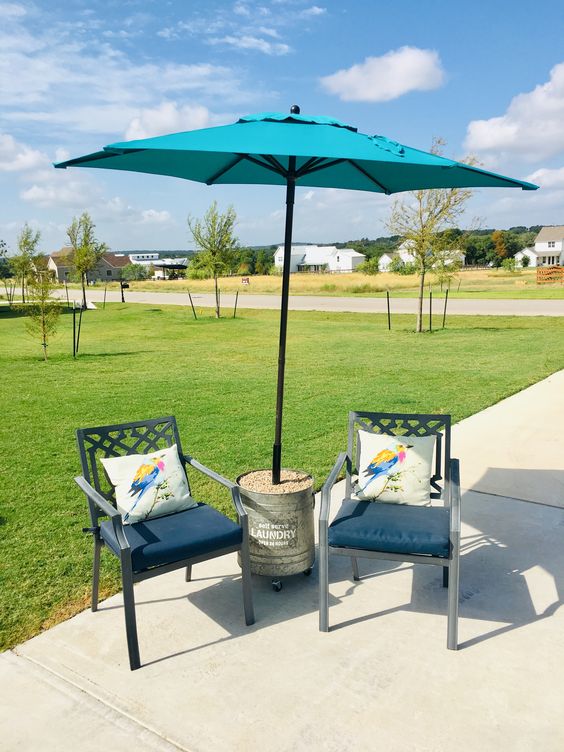
Metal Barrel On Wheels With Gravel Umbrella Stand
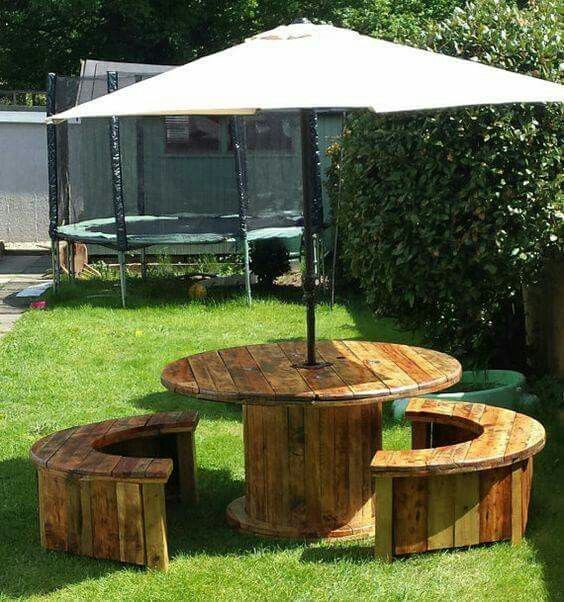
Large Cable Spool Umbrella Stand And Yard Table With Benches
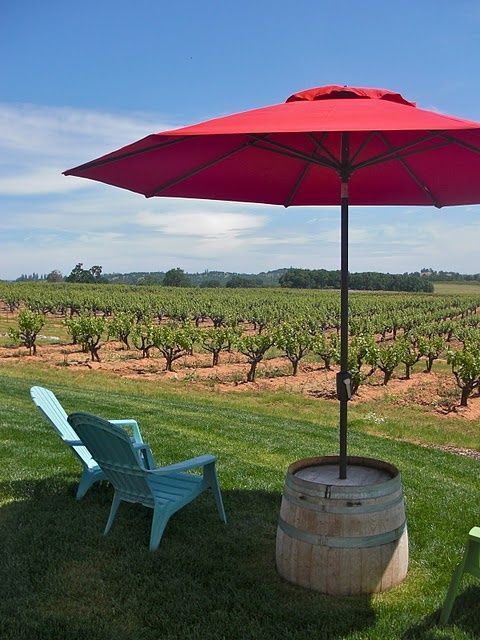
Half Wine Barrel Umbrella Stand
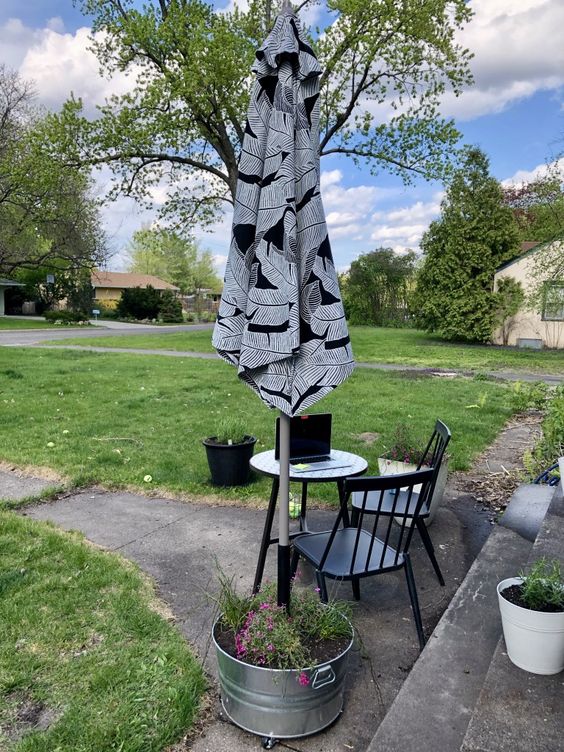
Galvanized Metal Planter On Wheels Umbrella Stand
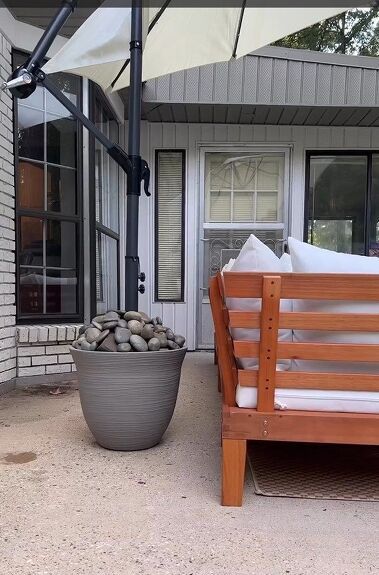
Concrete Planter With Pebbles Umbrella Stand
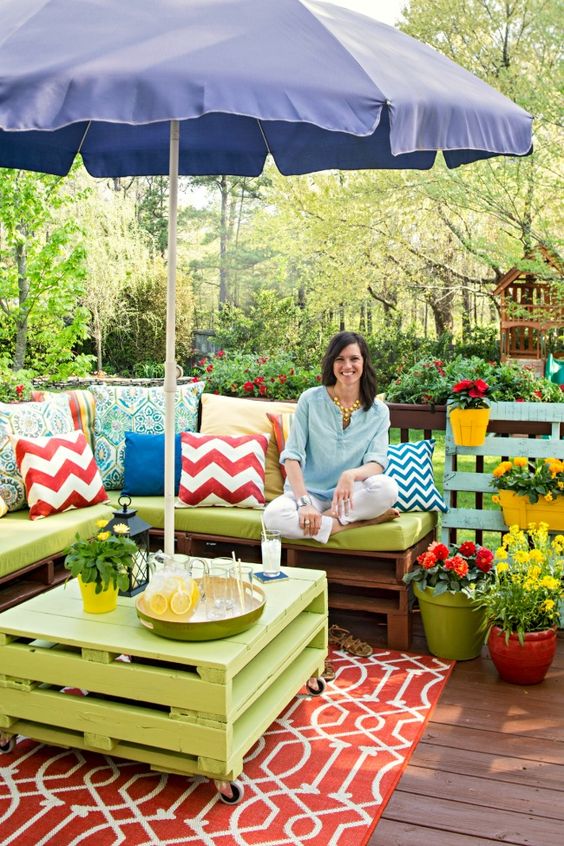
Pallet Patio Table Umbrella Stand
Designing Your DIY Umbrella Stand
When I think about creating an umbrella stand myself, I focus on the factors that will ensure it’s durable, just the right size, and blends nicely with my outdoor decor.
I promise it’s not as daunting as it sounds – let me walk you through what I consider along the way.
Choosing the Right Materials
I start by selecting materials that are fit for outdoor use. They need to be able to withstand rain, sun, and the occasional gust of wind.
I’m also environmentally conscious, so I consider sustainable options. Here’s a quick list that can help:
- Metals: Stainless steel or aluminum for rust resistance
- Wood: Treated lumber such as cedar or teak resists decay
- Concrete: For a heavy and sturdy base
- Recycled Plastics: They’re tough and eco-friendly
Remember, the material will influence the stand’s weight and its ability to remain upright. Think about you, your habits, and your backyard’s climate when making your choice.
Calculating Size and Stability
Size and stability go hand in hand. I ask myself, “How big is your umbrella, and how breezy does it get in your patio or backyard?”
The base should be heavy enough to prevent the umbrella from tipping, but not so heavy that you can’t move it if needed. Here’s a rough guide I use to measure for stability:
| Umbrella Diameter (ft) | Base Weight (lbs) |
|---|---|
| 4-6 | 20-30 |
| 6-8 | 30-40 |
| 8-10 | 40-50 |
| 10+ | 50-70 |
Note: These are starting points; adjust based on your specific outdoor conditions.
Selecting Style for Your Outdoor Space
Lastly, the fun part – style! This stand isn’t just functional; it’s part of your outdoor decor.
I look at my patio, its colors, textures, and overall vibe, and I decide on a design that complements it. Is it rustic, modern, vibrant, or minimalist?
Your umbrella stand can be a statement piece or blend seamlessly. I usually sketch a few designs on paper to see what vibes with my style. Here are some ideas:
- Modern: Sleek lines with metallic or glossy finishes
- Rustic: Weathered wood or a stone-like appearance
- Playful: Bold colors with unique shapes or patterns
- Elegant: Classic shapes with subtle decorative accents
Think of it as an extension of your home’s personality, not just a stand to hold your umbrella – because who says practical can’t be stylish?
Building Your DIY Umbrella Stand
I’m eager to guide you through crafting a homemade umbrella stand that’s not only sturdy against the wind but also adds a personal touch of charm to your outdoor space.
With just a few tools and some simple steps, you’ll build something both functional and stylish.
Tools and Equipment Needed
To kick off our project, we need to gather our tools. Here’s what I’ll have ready:
- Saw: For cutting the wood or PVC pipe to the right length.
- Drill: Essential for making holes for the umbrella pole.
- Hole Saw Attachment: To ensure a perfect round hole for the pole.
- Screwdriver and Screws: For securing the parts together.
- Nail Gun (optional): For extra sturdiness.
- Level: To make sure our stand sits perfectly flat.
- Quick-Set Concrete: For a heavyweight base that won’t budge.
- Bucket or Wheelbarrow: For mixing concrete.
- Water Source: To mix with the concrete.
With these at my side, we’re all set for the building phase.
Step-by-Step Assembly Instructions
Here’s how I’ll put together our DIY umbrella stand:
- Choosing the Base: I’ll start with a heavy pot or concrete planter that’s weighty enough to withstand gusts of wind but also something I can move if need be.
- Prepping the PVC Pipe: I’ll cut a section of PVC pipe that fits the umbrella pole snugly. The length should be enough to support the pole and extend into the planter.
- Securing the Pipe: I’ll center the PVC pipe in the pot and pour quick-set concrete around it, making sure to keep the pipe level. I’ll confirm it’s in the dead center because symmetry matters.
- Setting Concrete: After carefully following the concrete mix instructions, I’ll wait for it to set fully. This might take a night, but patience is key.
- Assembling the Stand: If I’m making an umbrella stand side table, I’ll attach the table top securely to the base using a drill and screws, after the concrete has set.
Finishing Touches and Customization
Now for the fun part—making it my own. I’ll consider a few options:
- Painting: A coat of weather-resistant paint can not only protect the wood but also give my stand a pop of color.
- Planting: If I’m using a planter, I’ll add some soil and favorite flowers around the base for that perfect umbrella planter stand look.
- Adding a Table Top: A custom wooden top can turn my sturdy umbrella stand into a functional side table, perfect for outdoor lounging.
- Decorative Elements: Attaching some hooks, or playful tiles can add a personal touch.



Leave a Reply
View Comments