Creating a DIY garden fountain is a refreshing way to add a touch of tranquility to your backyard.
For me, the sound of running water is incredibly soothing, and it brings a little bit of nature closer to home.
Setting one up doesn’t have to be expensive or complicated—it’s a project that can be tailored to fit any budget and skill level.
When I decided to build my own garden fountain, I found that planning was crucial.
I thought about the size of my backyard, the style I was going for, and the materials that would work best for me.
This initial stage of figuring out what I wanted and where I wanted my water feature was as exciting as it was important, laying a solid foundation for the construction phase.
As for putting it all together, it appeared less daunting once I got started.
I can assure you, there are plenty of resources available to help you through the process.
The hands-on experience of creating something beautiful that can be enjoyed for years to come is incredibly rewarding—not to mention the pride in telling friends and family, “I built that!”
Reader's Roadmap
Key Takeaways
- A DIY garden fountain adds relaxation and beauty to any backyard on a budget.
- Planning your DIY fountain is an essential step that determines its success.
- The construction phase is manageable with available resources and offers a rewarding DIY experience.
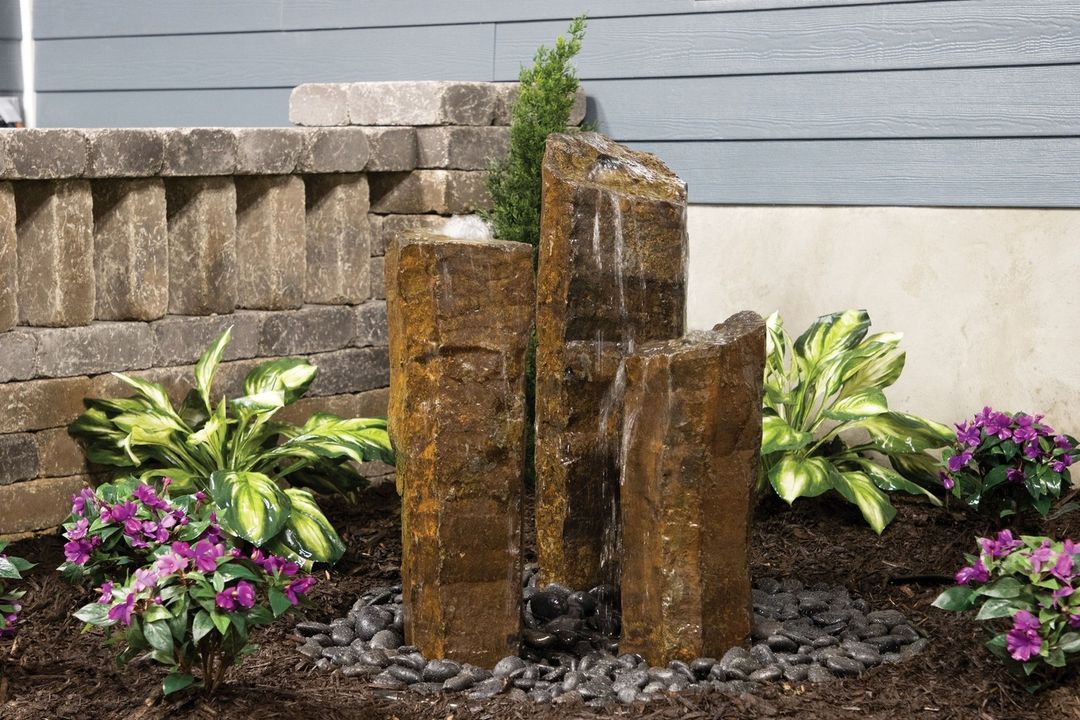
Basalt Bubbling Stone Fountains
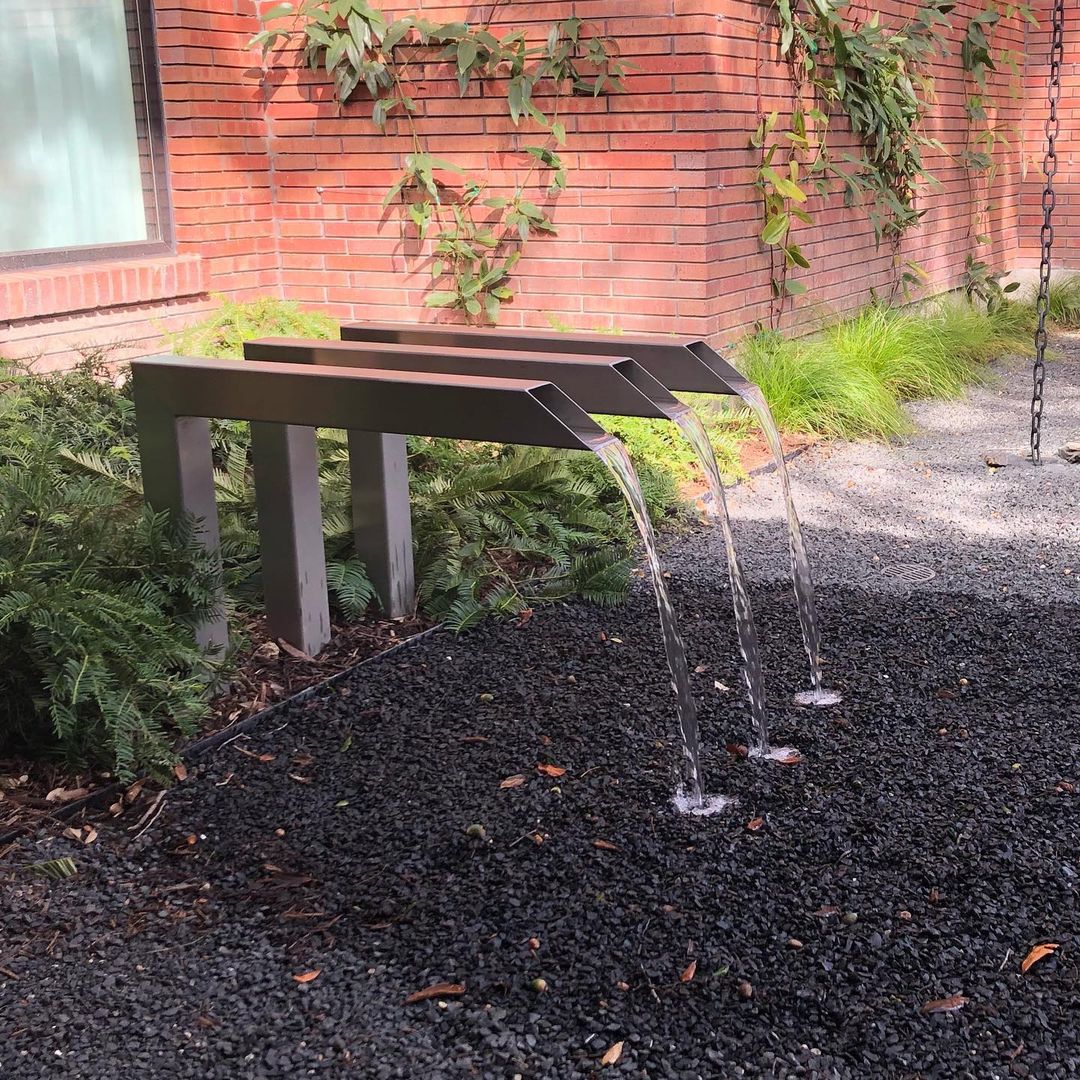
SHS Inverted L-shaped Fountain
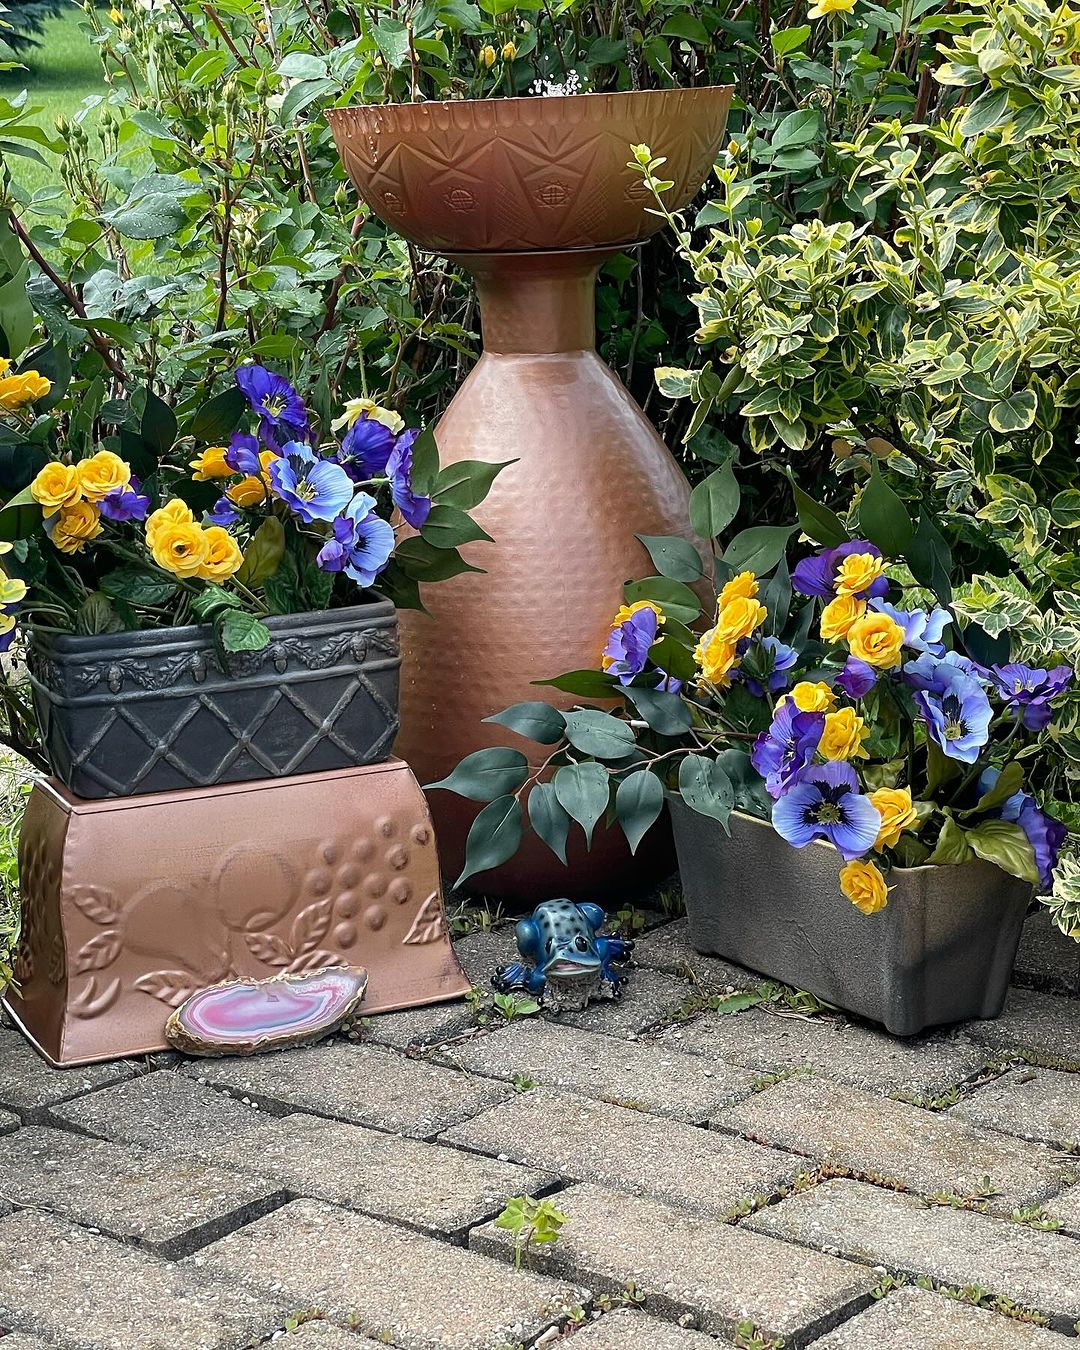
Vase And Bowl Solar Powered Fountain
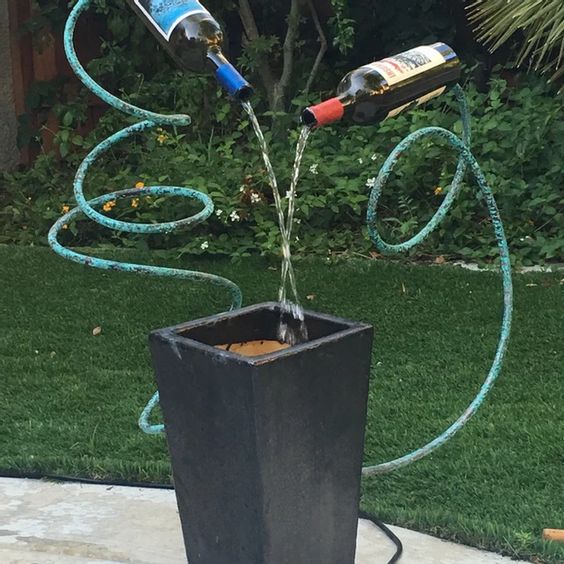
Wine Fountain
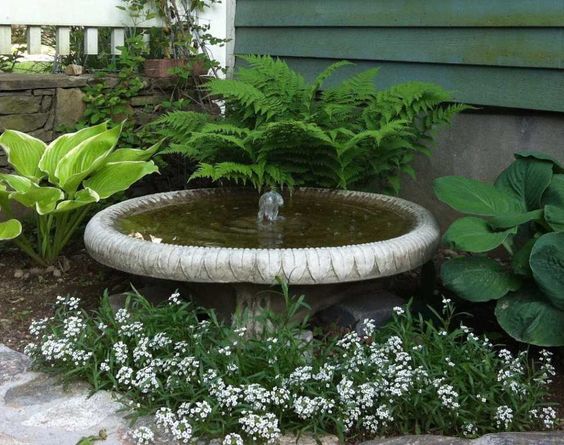
Low Birdbath Fountain
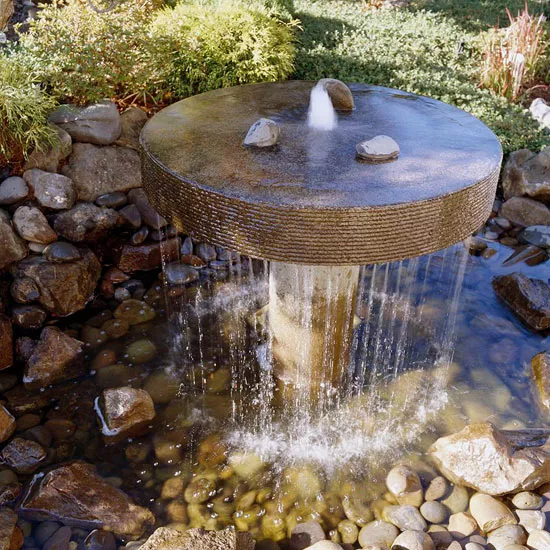
Japanese Influenced Concrete Cylinder Fountain
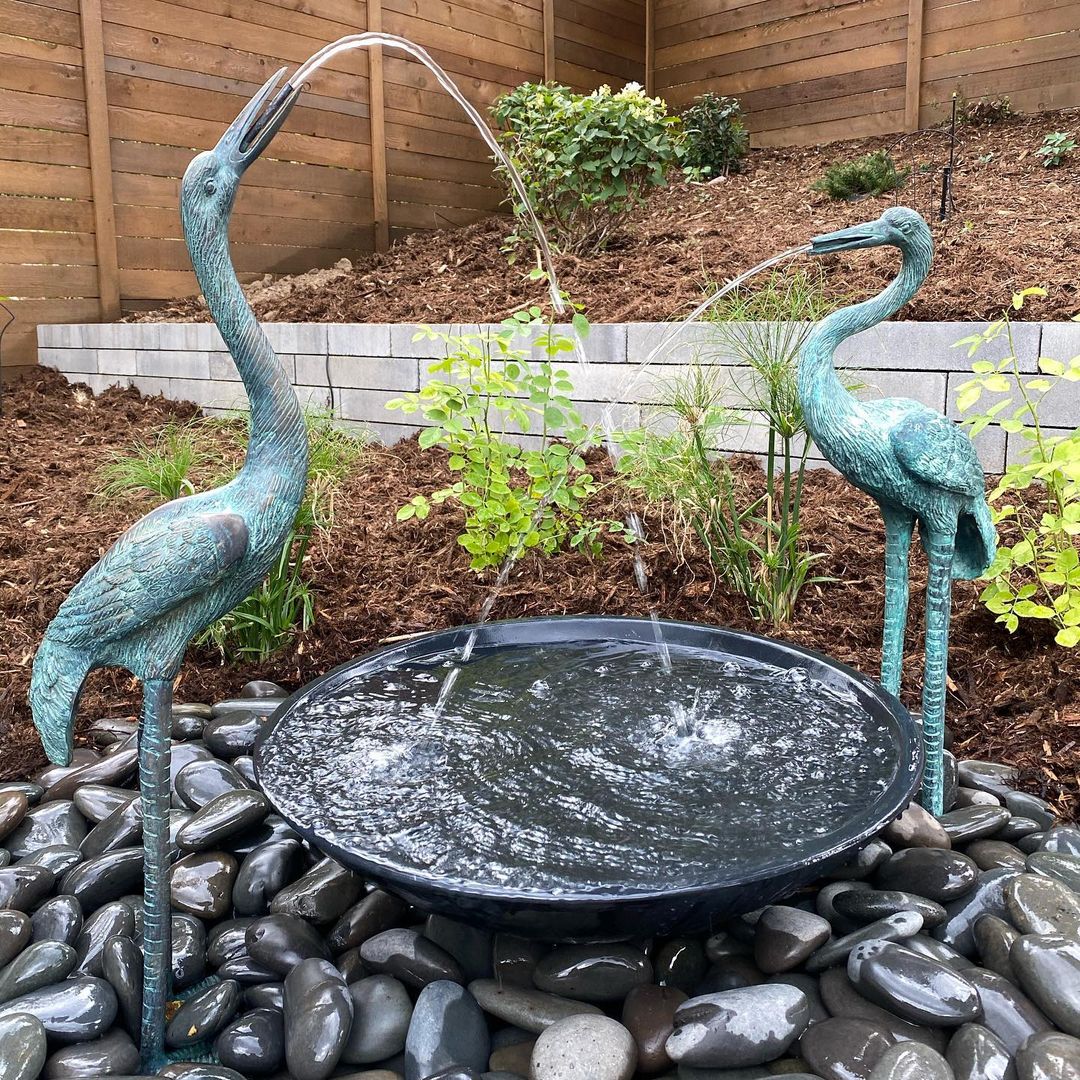
Bronze Patina Crane Fountain
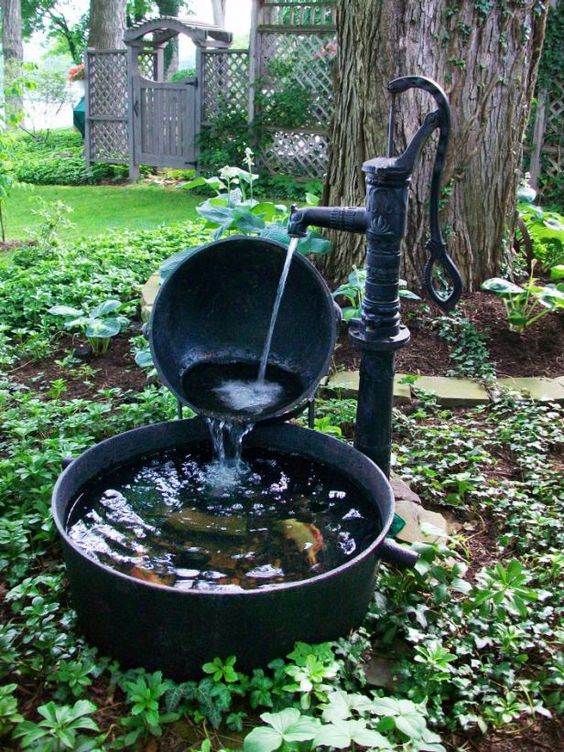
Iron Pump Fountain And Koi Pond
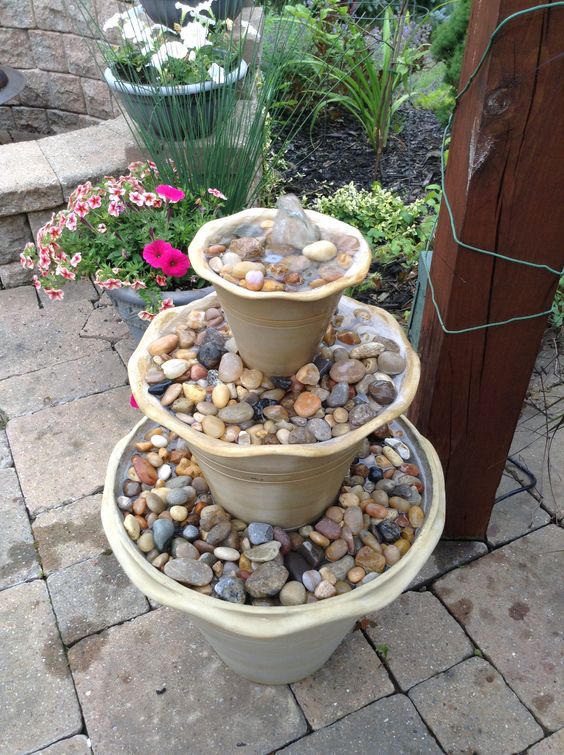
Stacked Planters With Pebbles Fountain
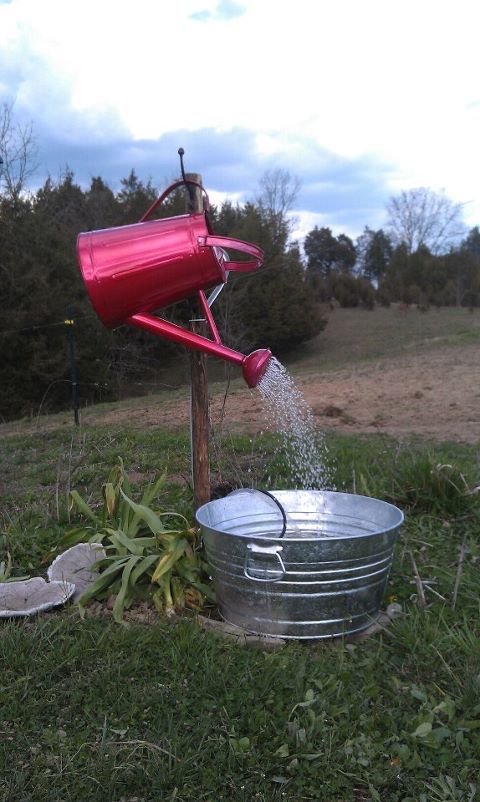
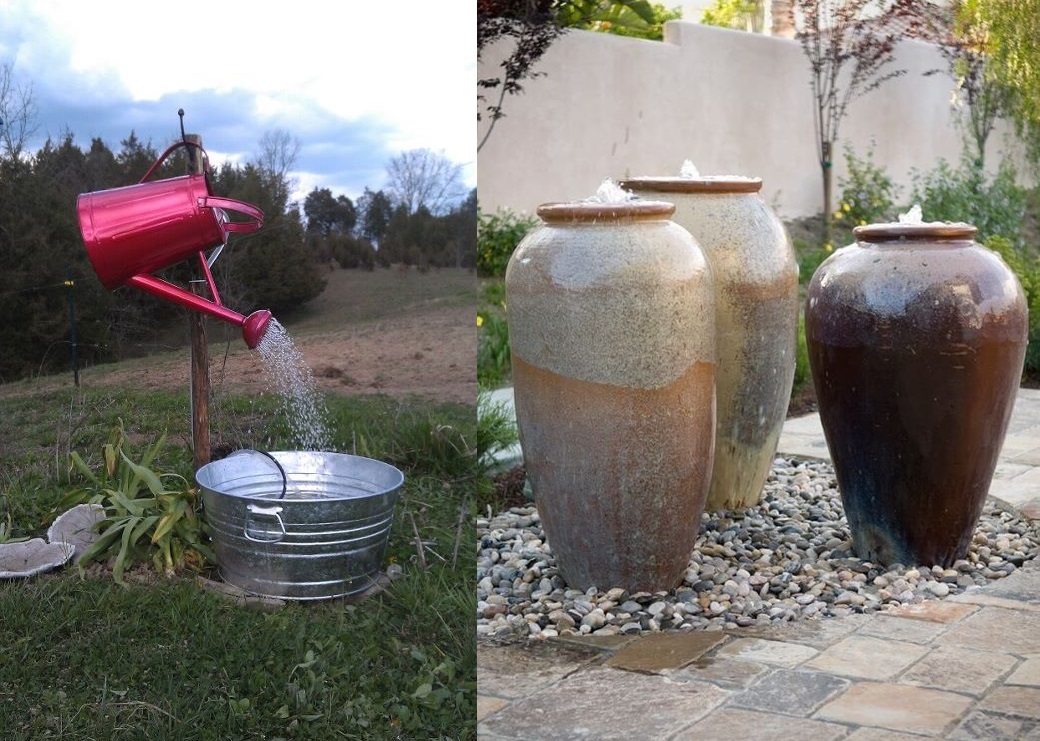
Watering Can And Galvanized Tub Fountain
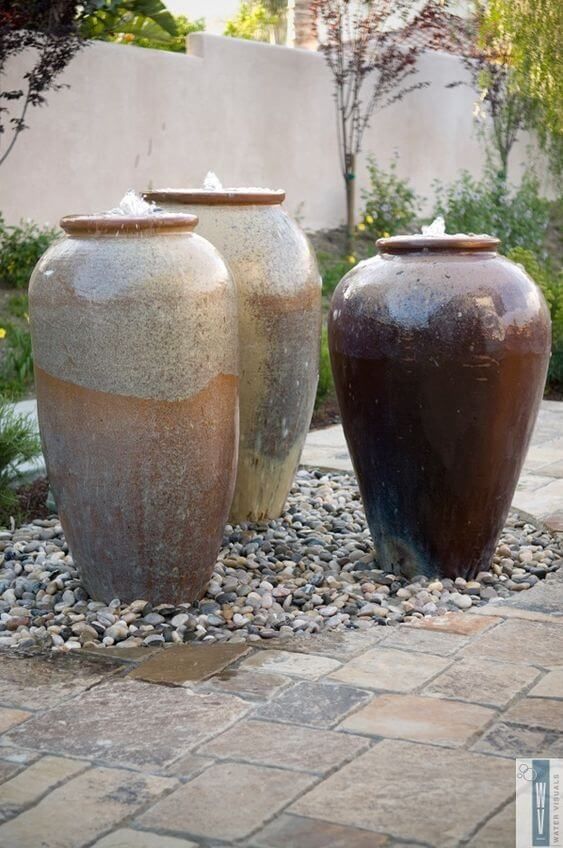
Stone Pots Fountain
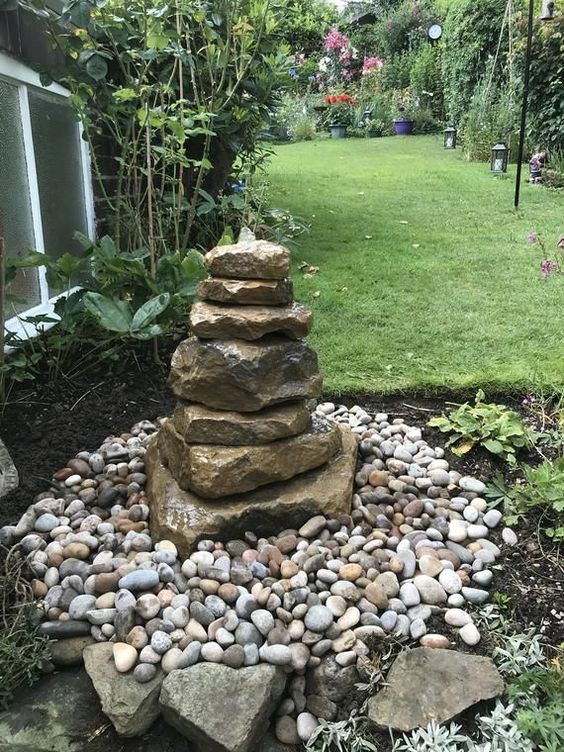
Stacked Slab Boulders Fountain
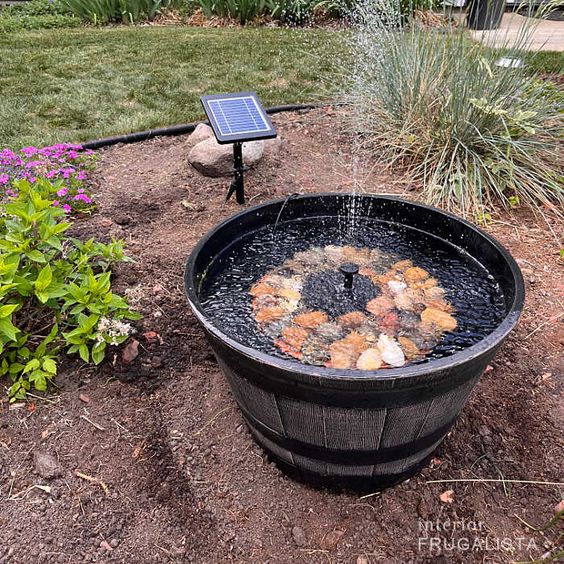
Half Whiskey Barrel Solar Fountain
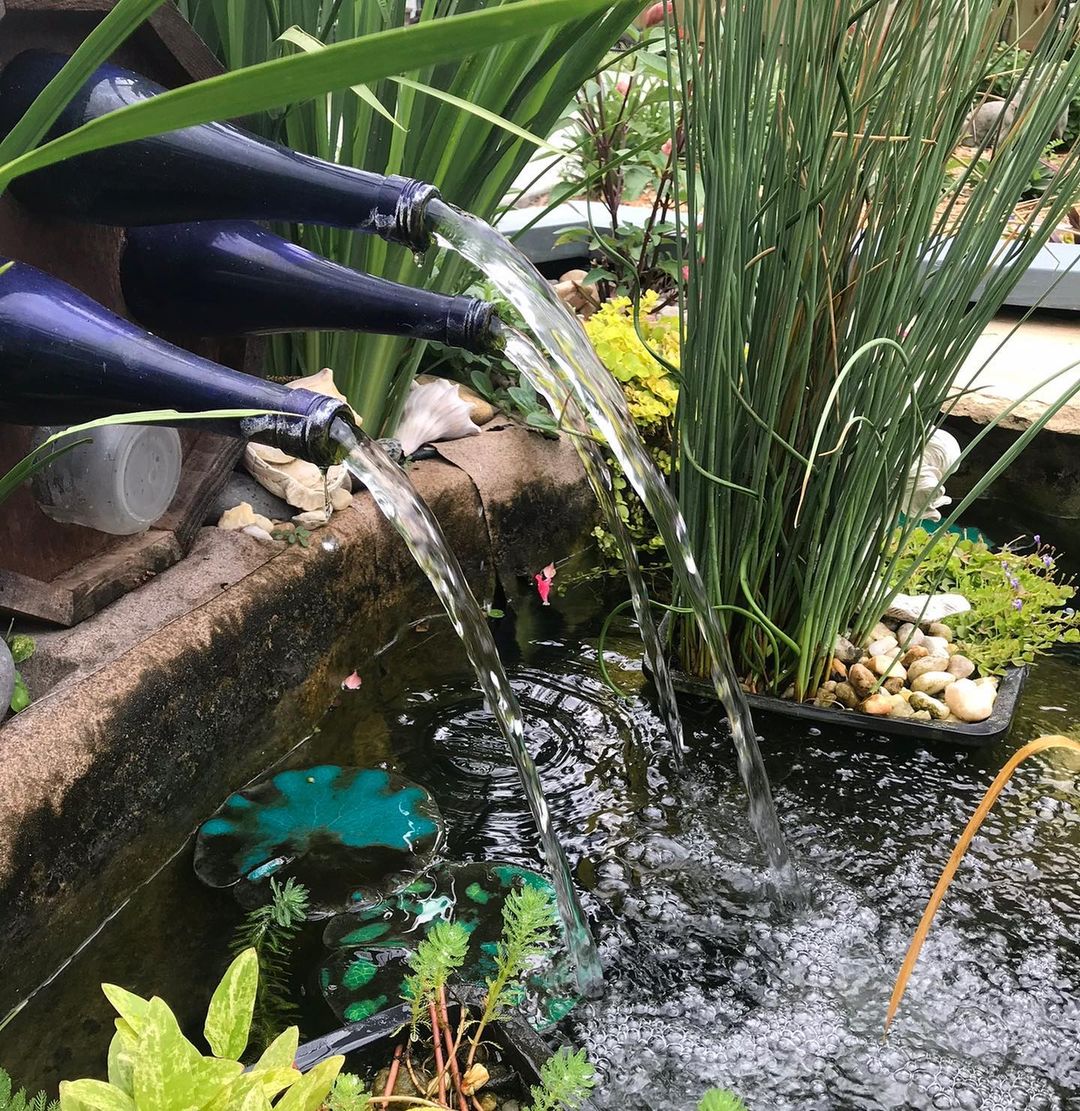
Pouring Blue Glass Bottles Fountain
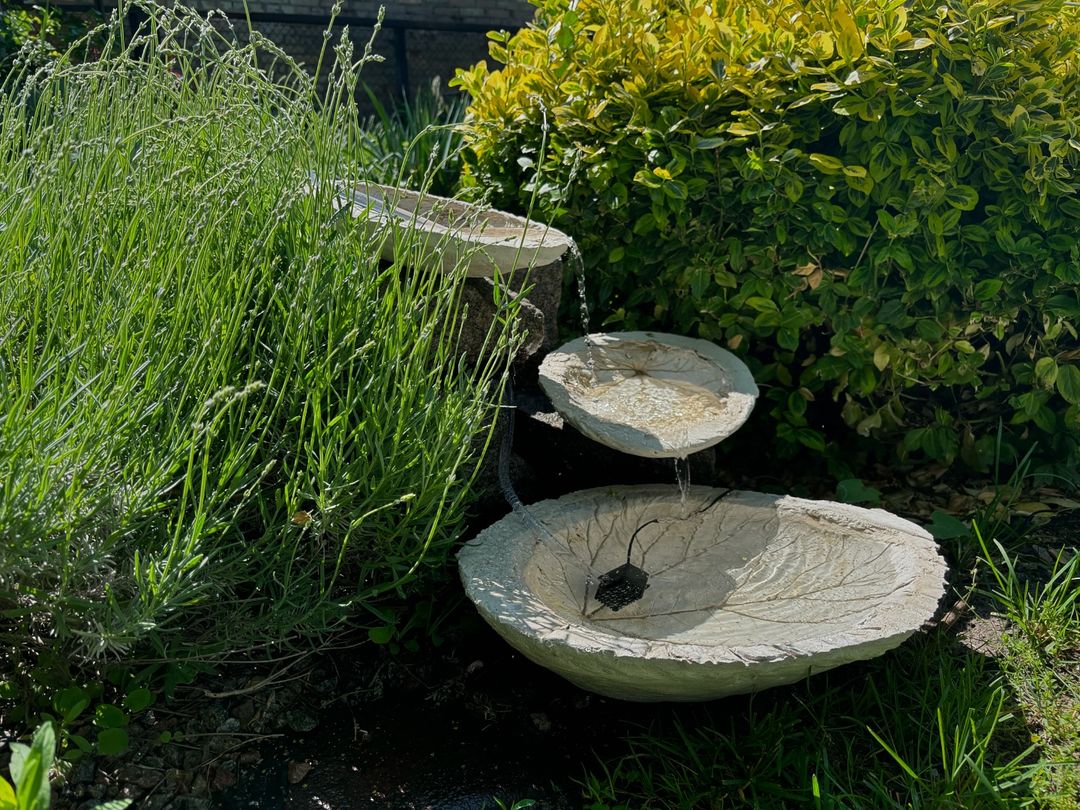
Concrete Cascading Fountain From Molded Big Leaf Molded Bowls
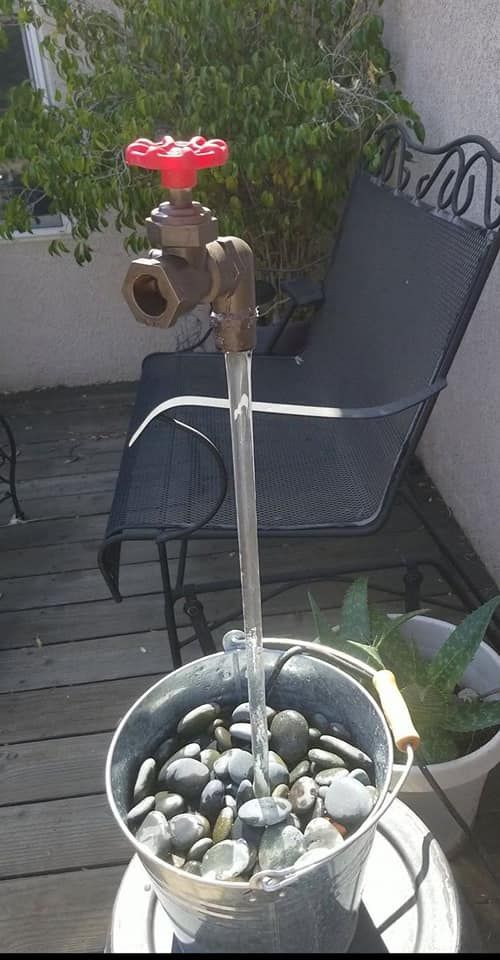
Floating Faucet Fountain
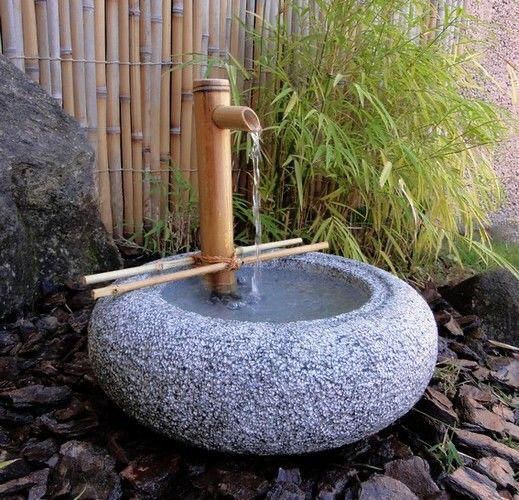
Bamboo And Stone Bowl Base Fountain
Planning Your DIY Garden Fountain
When I think about adding a charming water feature to my garden, I want to share some tips that’ll help set you up for success.
Let’s talk about nailing the perfect spot, picking out just the right materials and tools, and designing something that’ll make you smile every time you see it.
Choosing the Right Location
Finding the right spot in my garden was a game changer.
It’s not just about picking a pretty corner; you’ve got to think about sunlight and accessibility.
If I’m planning a solar fountain, it needs a sunny spot—no brainer, right?
Also, imagine wanting to enjoy a cup of tea by your fountain. So, placing it on my patio, deck, or balcony where I can easily see and hear it just makes sense.
Here’s a quick checklist to consider:
- Sunlight: Ideal for solar fountains.
- Proximity: Close enough to really enjoy it.
- Level ground: To prevent any wonky angles.
- Drainage: Nobody wants a mini flood.
Selecting Materials and Tools
I remember the first time I made a fountain. I learned that having the right stuff matters—a lot.
You don’t want to be halfway through and realize you’re missing something.
Here’s the deal: a pump is the heart of your fountain so get a good one.
Next, choose a pot or a flower pot. They’re perfect for DIY fountains. Make sure it’s one that fits your style and outdoor space.
Now, I always make a list of materials and tools because, trust me, staying within my budget is crucial. I’m keeping it real—you must too. Check it out:
- Materials: Pump, pot, tubing, and sealant.
- Tools: Drill, pliers, and level.
- Make a budget: Keep costs in check.
Design Considerations
I learned a lot about design the fun way—by doing it!
First, the style should complement my garden. I’m talking about creating something that feels like part of the landscape, not a spaceship that just landed.
Also, the size of the fountain should match the scale of the outdoor space. No giant fountains in tiny gardens—it’s not a good look.
Lastly, I think about the sound of the water. It should be relaxing, not like a raging river. Keep in mind:
- Design style: Should vibe with the garden.
- Size: Keep it proportional to your space.
- Sound: Go for soothing, not overwhelming.
Constructing Your Fountain
I’ve found that making a garden fountain can be a delightful project that adds a soothing sound and a bit of whimsy to any outdoor space.
Here, I’ll share with you the steps you’ll need to create your very own water feature, from a sturdy base to the finishing decorative touches.
Building a Base and Water Basin
To kick things off, I make sure I’ve got a level ground and often use a galvanized tub for the basin, as it’s durable and holds water well.
I lay out an even layer of gravel or river rock to form a stable base and ensure good drainage. Then, I place the tub on top, making sure it’s both level and secure.
Assembling the Fountain Structure
Now this part’s fun: I get to decide what the fountain will look like.
For a simple fountain, a ceramic pot or a stack of boulders can serve as the main structure. A rock fountain or stone fountain offers a natural look.
I like to use epoxy to seal any holes or spots where I don’t want water escaping, except for where the water will flow out.
Adding the Pump and Water Flow
The heart of the fountain is the pump.
I use a submersible pump, which I place in the basin, and make sure it’s got the power to push water to the height I want.
For an eco-friendly twist, a solar pump is a great option.
Then, I route tubing from the pump through the fountain structure to where the water makes its grand exit, whether that’s a bubbler, a sphere, or a water wall.
Finishing Touches and Decor
Finally, it’s time to bring my creation to life with some finishing touches.
I add greenery around the basin for a more natural look and to make my feathered friends feel at home.
I sometimes nestle a little disappearing water fountain amid the plants, watching it blend in as if it’s been there forever.
With the pond complete, now all that’s left is to sit back, enjoy the tranquil sights and sounds, and maybe watch as the local birds make it their new favorite spot.



Leave a Reply
View Comments