Creating a DIY fairy garden is an enchanting way to add a touch of whimsy to your home or garden.
As a lover of all things tiny and magical, I find constructing these miniature worlds to be not only a fun weekend project but also a delightful escape into a world of imagination.
Whether tucked into a corner of your garden, nestled in an indoor plant pot, or displayed on a windowsill, fairy gardens can bring a sense of wonder to spaces big and small.
When designing your fairy garden, personal expression is key.
My approach is to envision the tiny inhabitants and their lifestyle, which then inspires the choice of plants, structures, and accessories.
Natural materials like pebbles, twigs, and moss can be transformed into fairy pathways, houses, and landscapes with just a bit of creativity.
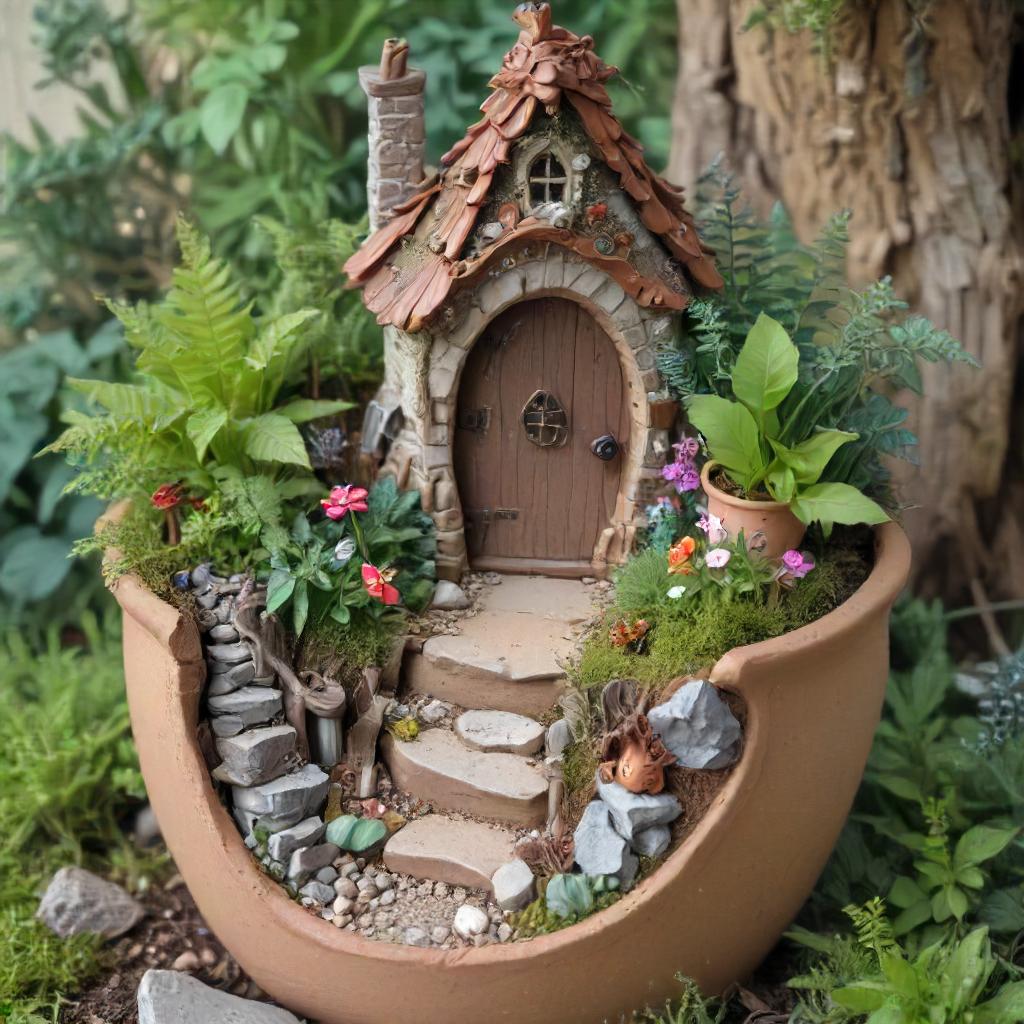
For instance, I once turned a broken terracotta pot into a multi-level fairy abode, complete with a moss-covered rooftop and pebble steps.
Building your fairy garden is a process of trial and delight.
It involves selecting a theme, gathering materials, and putting together the pieces in a way that feels right.
Keep in mind the scale, as it’s important to choose plants and decorations that complement each other in size.
A tiny fairy door at the base of a plant or a small bench beside a succulent can create a scene that invites you to lean in closer and imagine the fairy world coming to life.
Reader's Roadmap
Key Takeaways
- Crafting a fairy garden allows for personal creativity and can bring a magical touch to any space.
- Designing involves imagining the fairy inhabitants and choosing appropriate plants, structures, and accessories.
- Building requires attention to detail, like maintaining scale, and results in a delightful miniature scene.
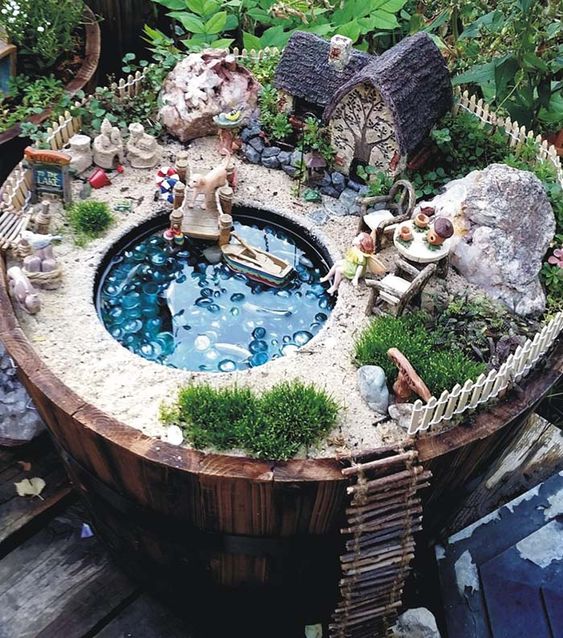
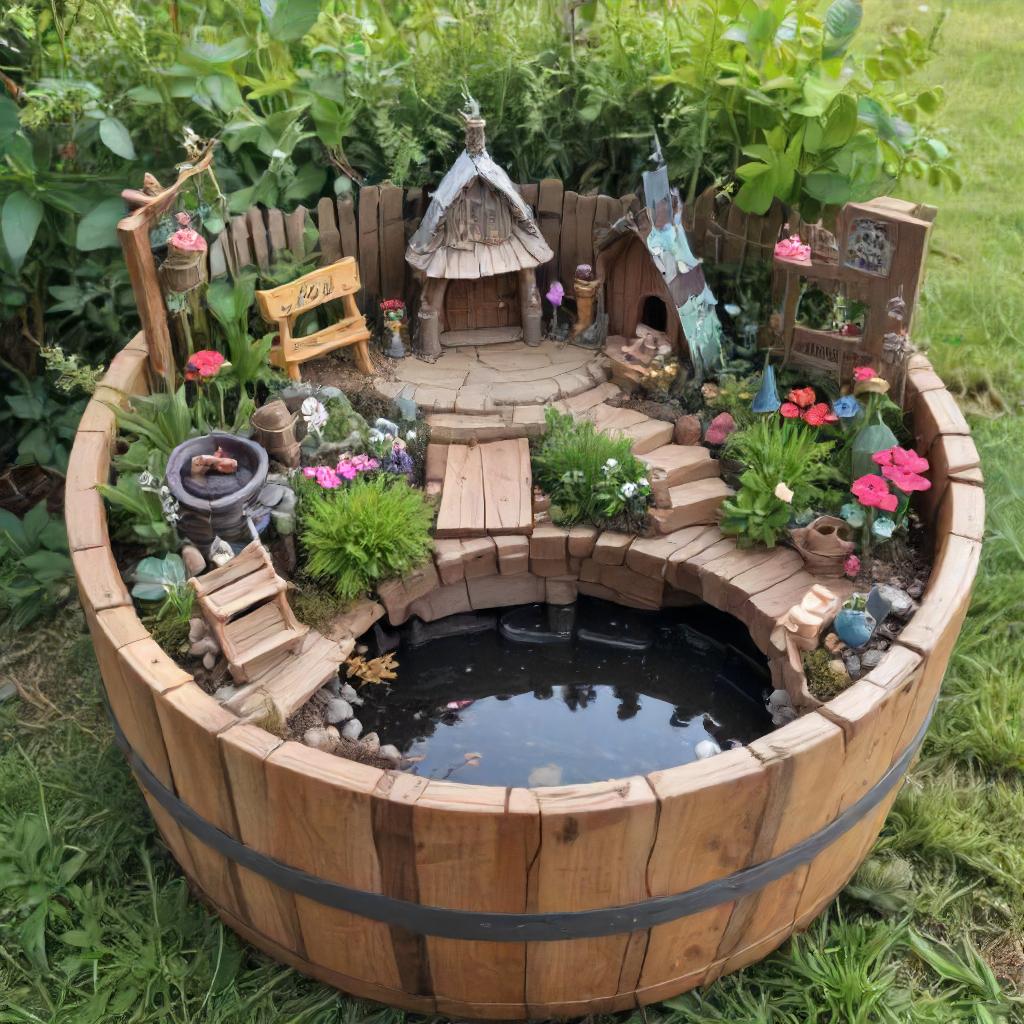
Fairy Garden In Barrel With Pool
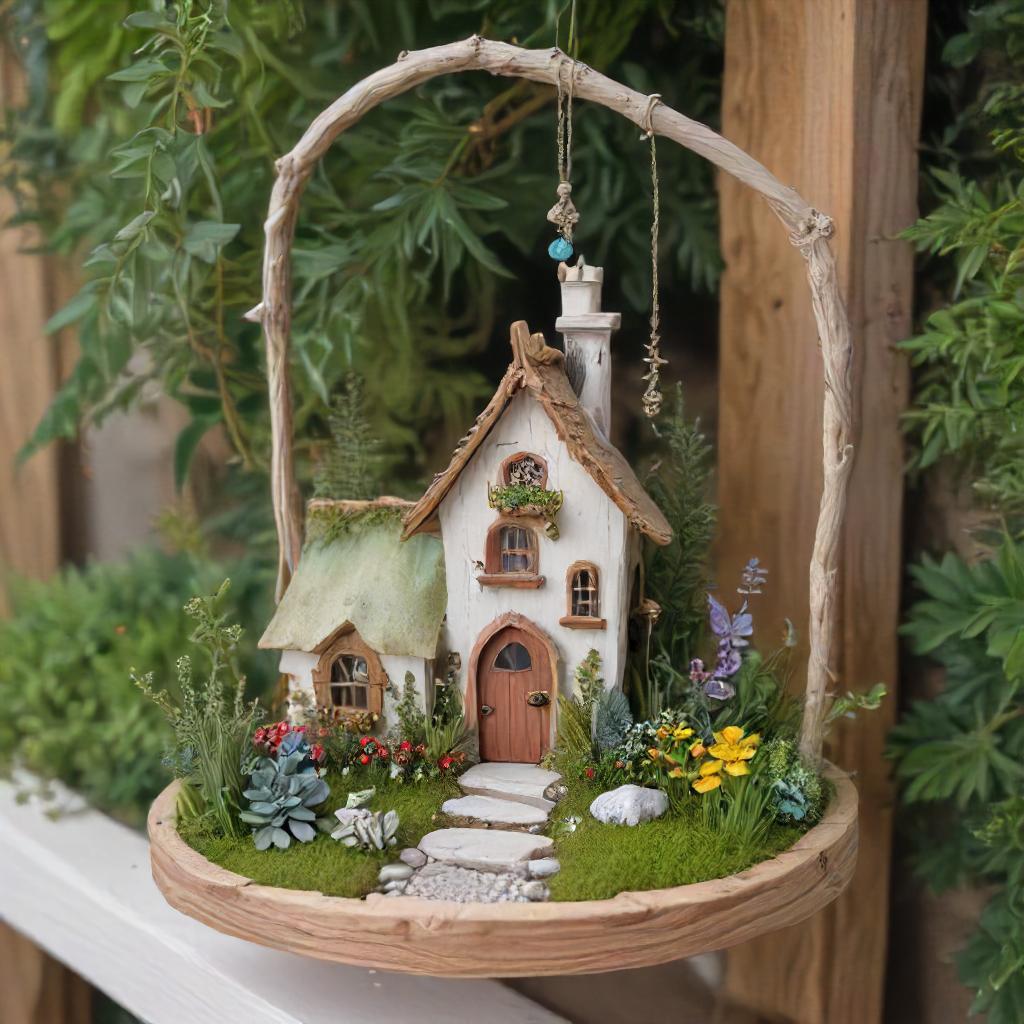
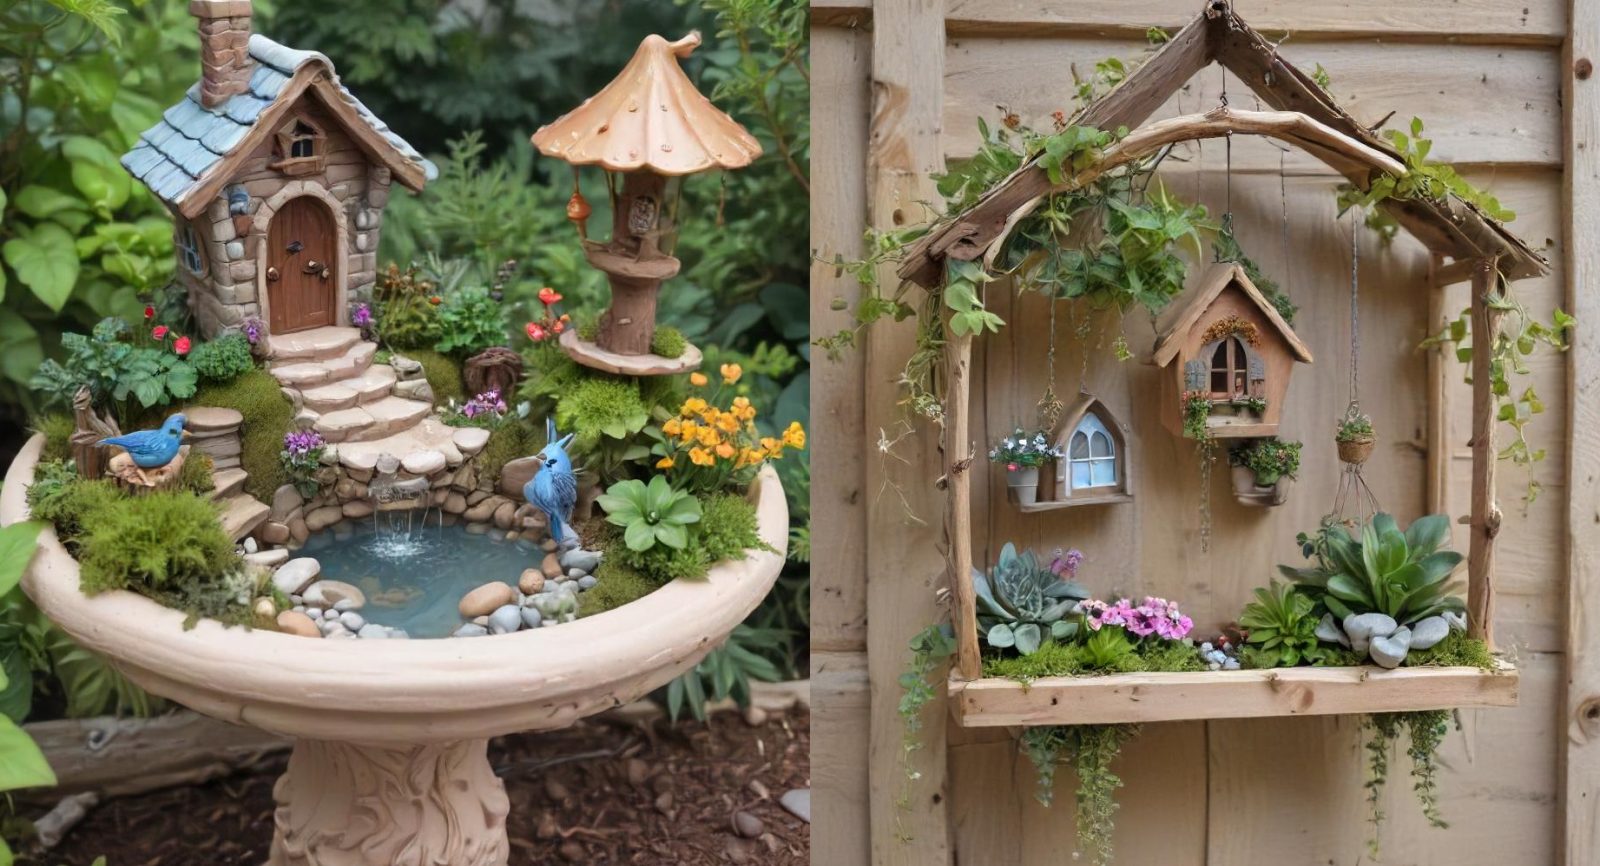
Arched Hanging Fairy Garden Homes
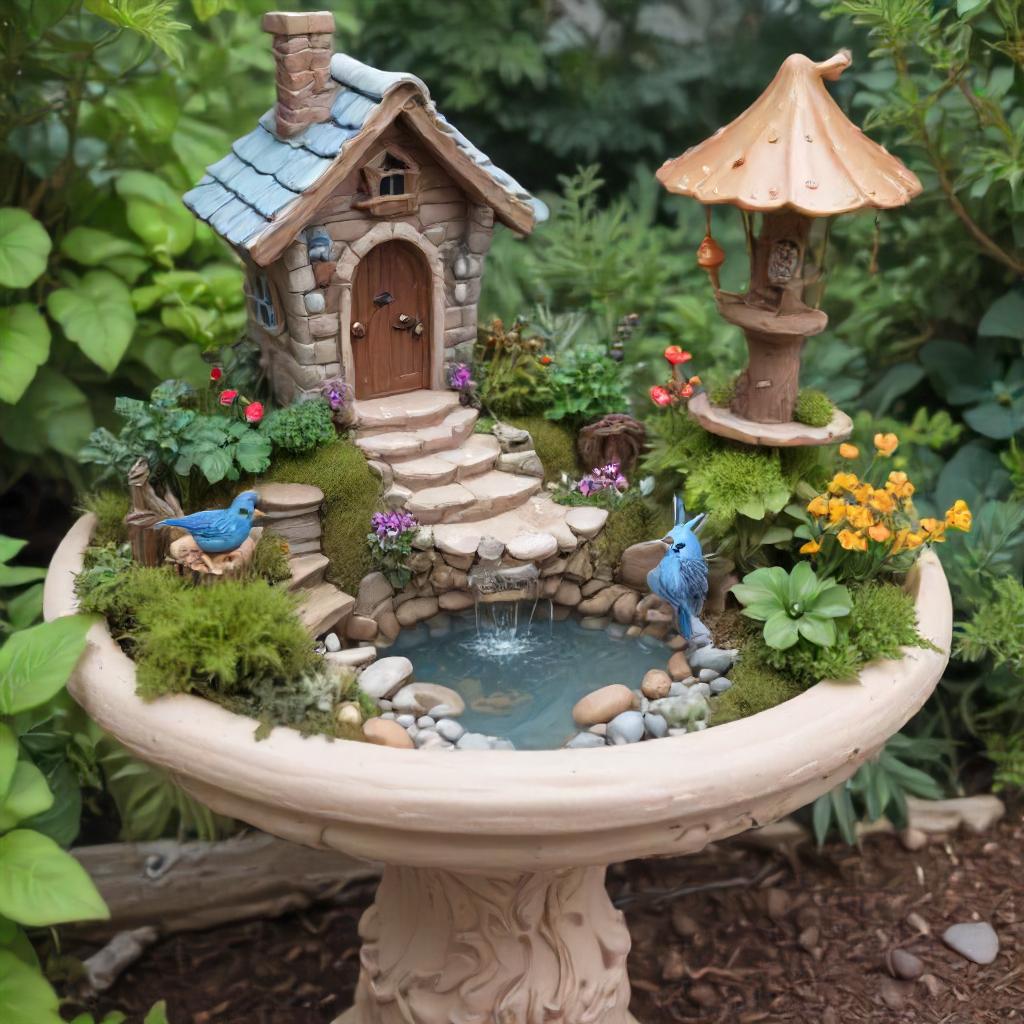
Bird Feeder Fairy Garden
Brocken Pot Enchanted Forest
Coconut Lining Iron Planter Fairy Garden
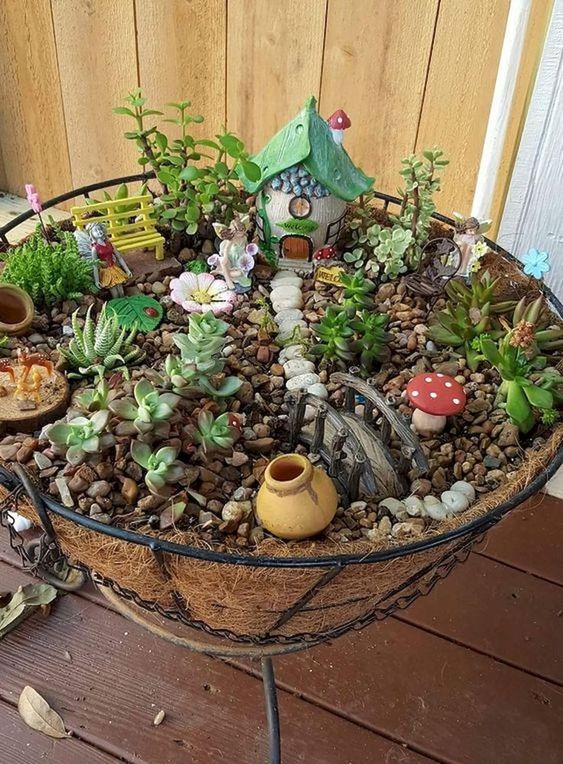
Decorative Flower Planter Fairy Garden
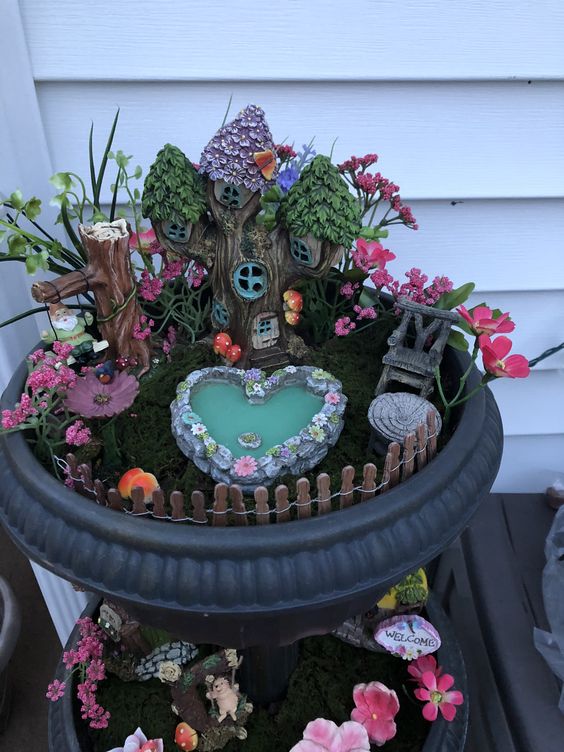
Fairy Garden From Cable Spool
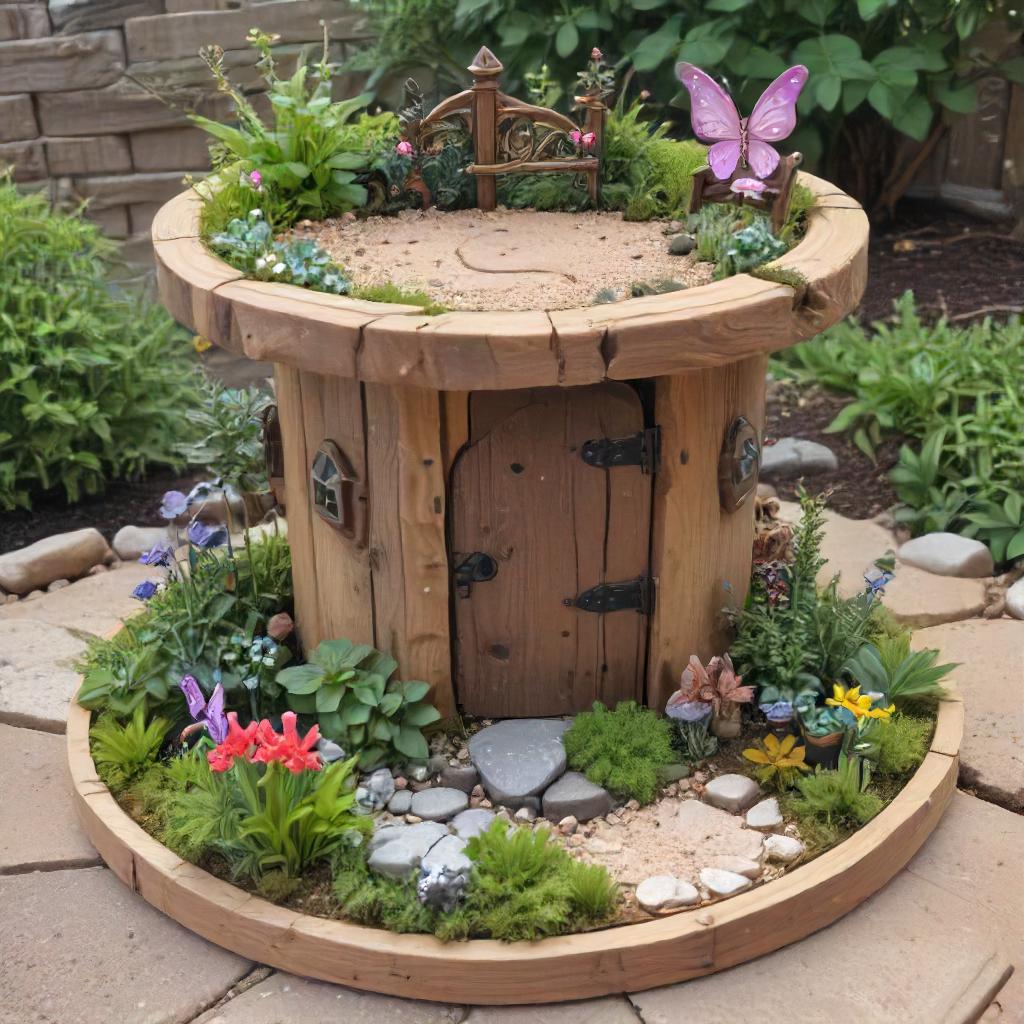
Fairy Garden In Bucket
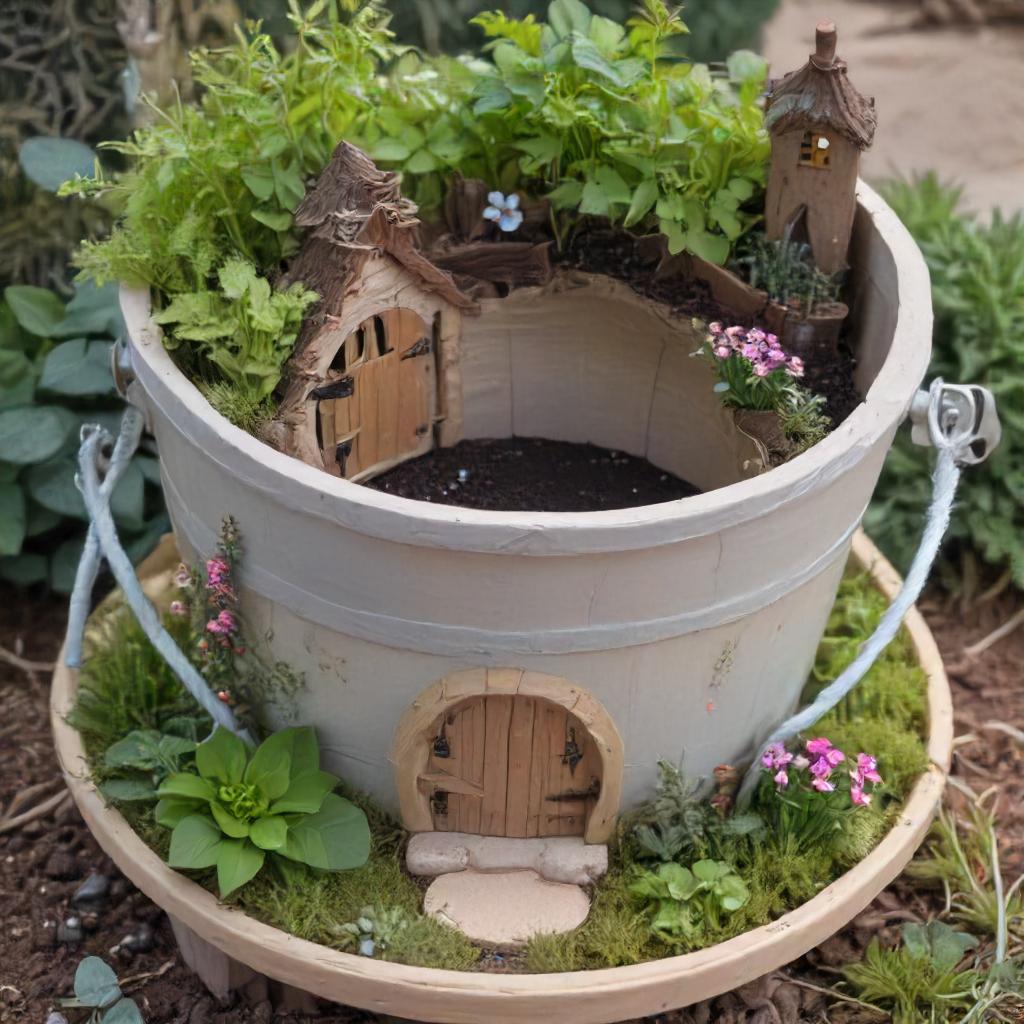
Fairy Garden In Metal Container
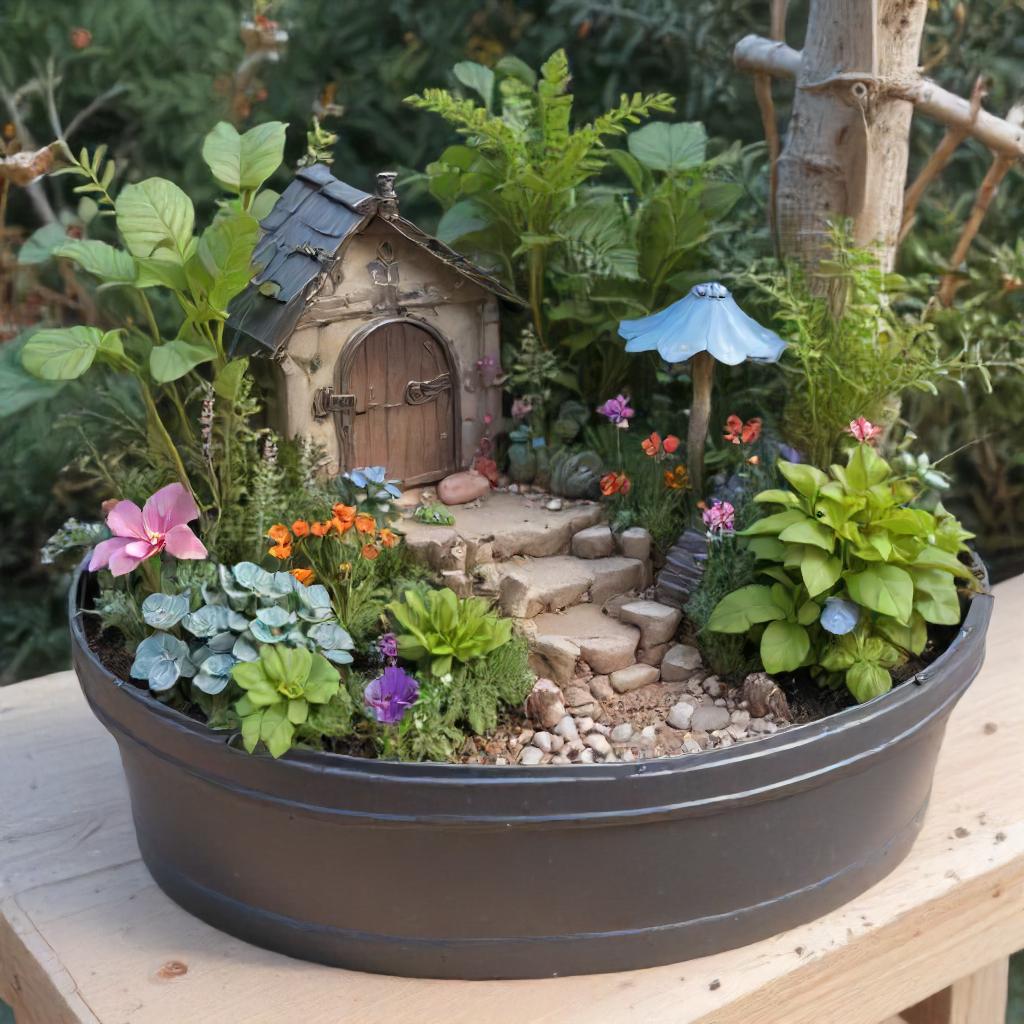
Fairy Garden On Top Of Tree Stump
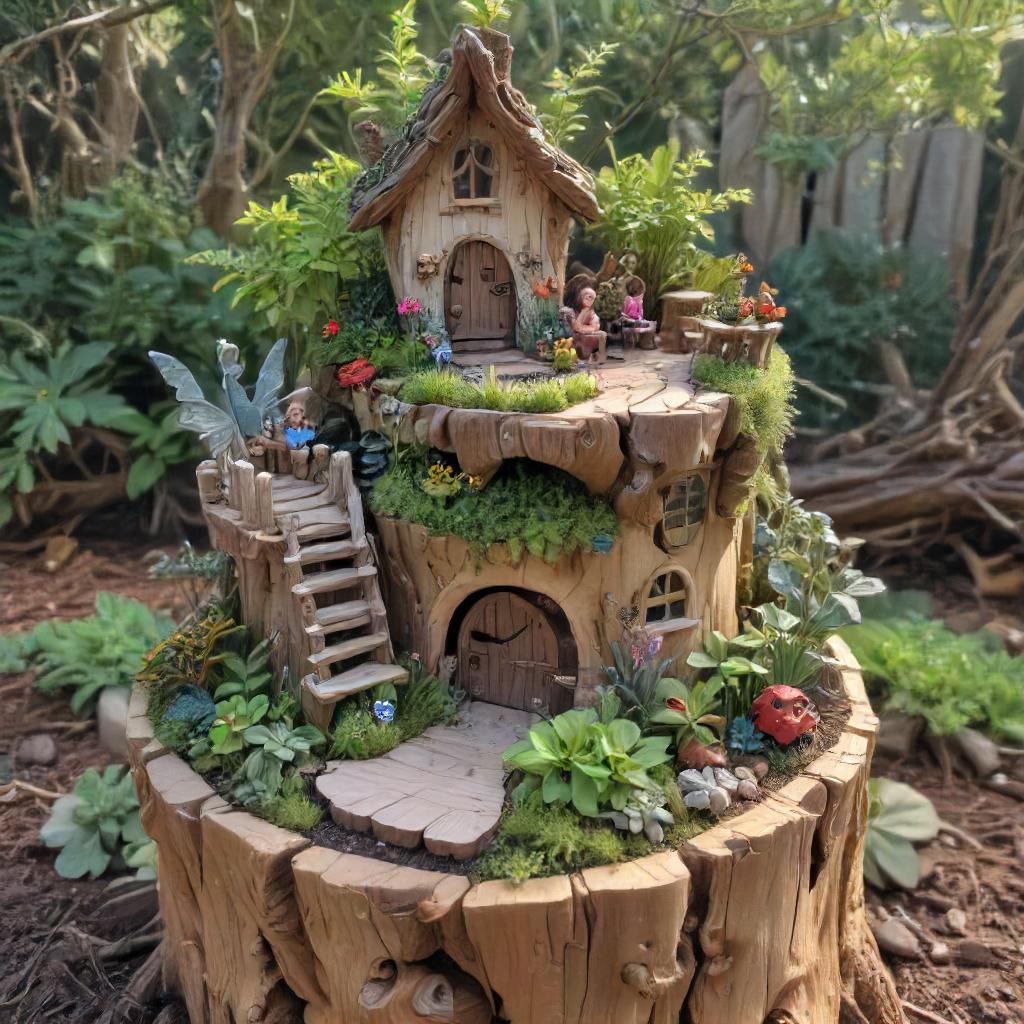
Flat Hanging Planter Fairy Garden
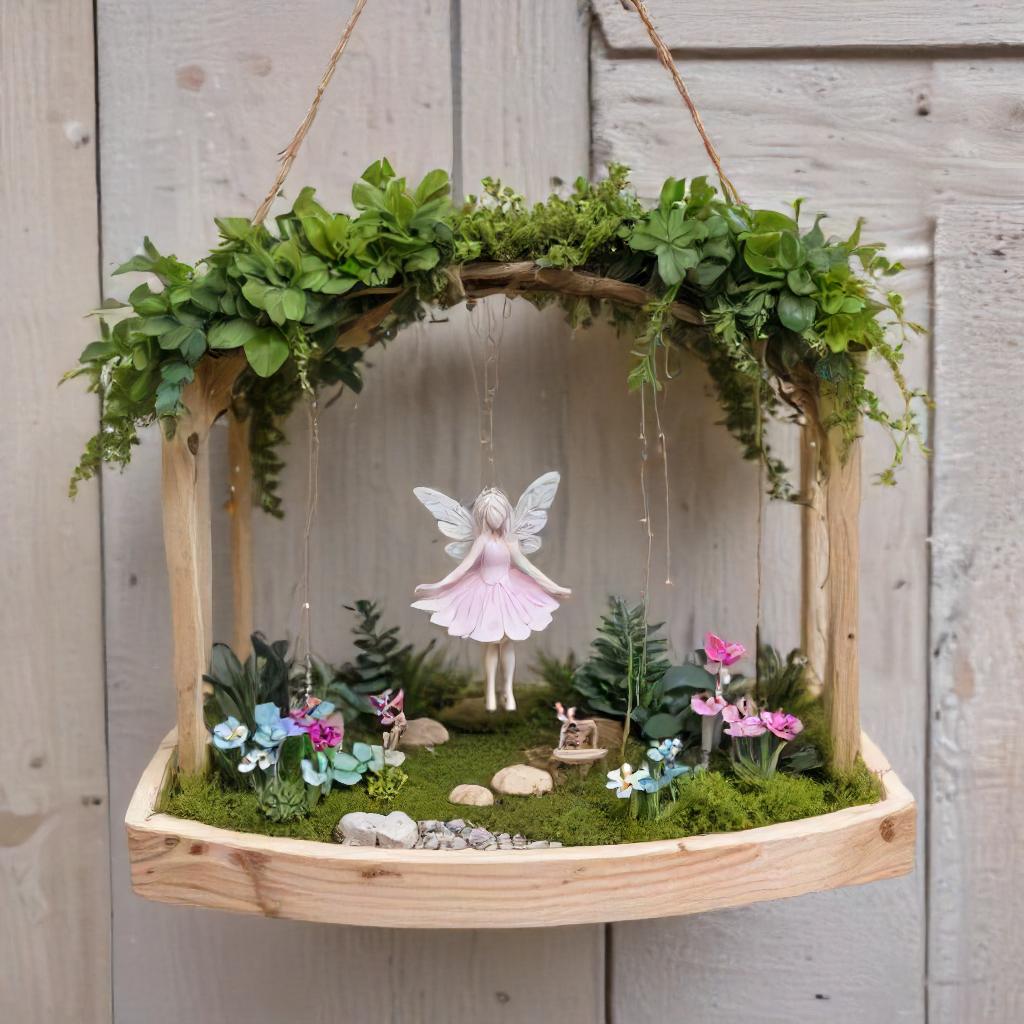
Forest Camping Fairy Garden In Sieve
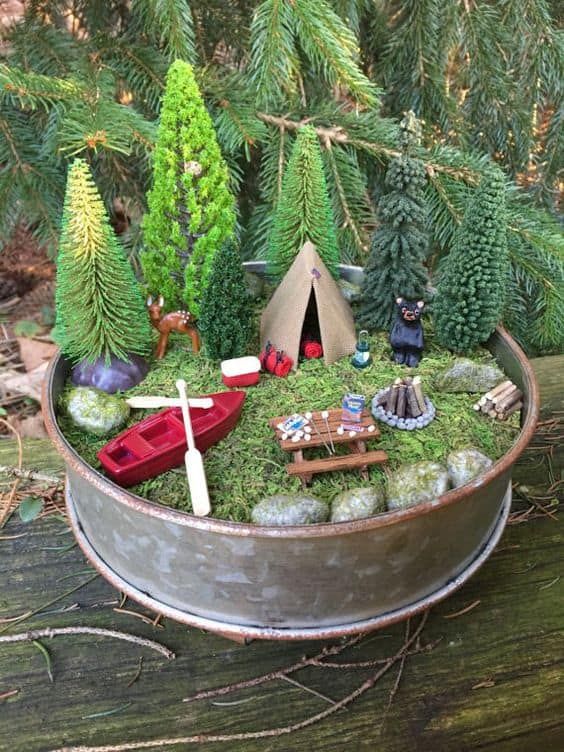
Half Whiskey Barrel Water Fairy Garden
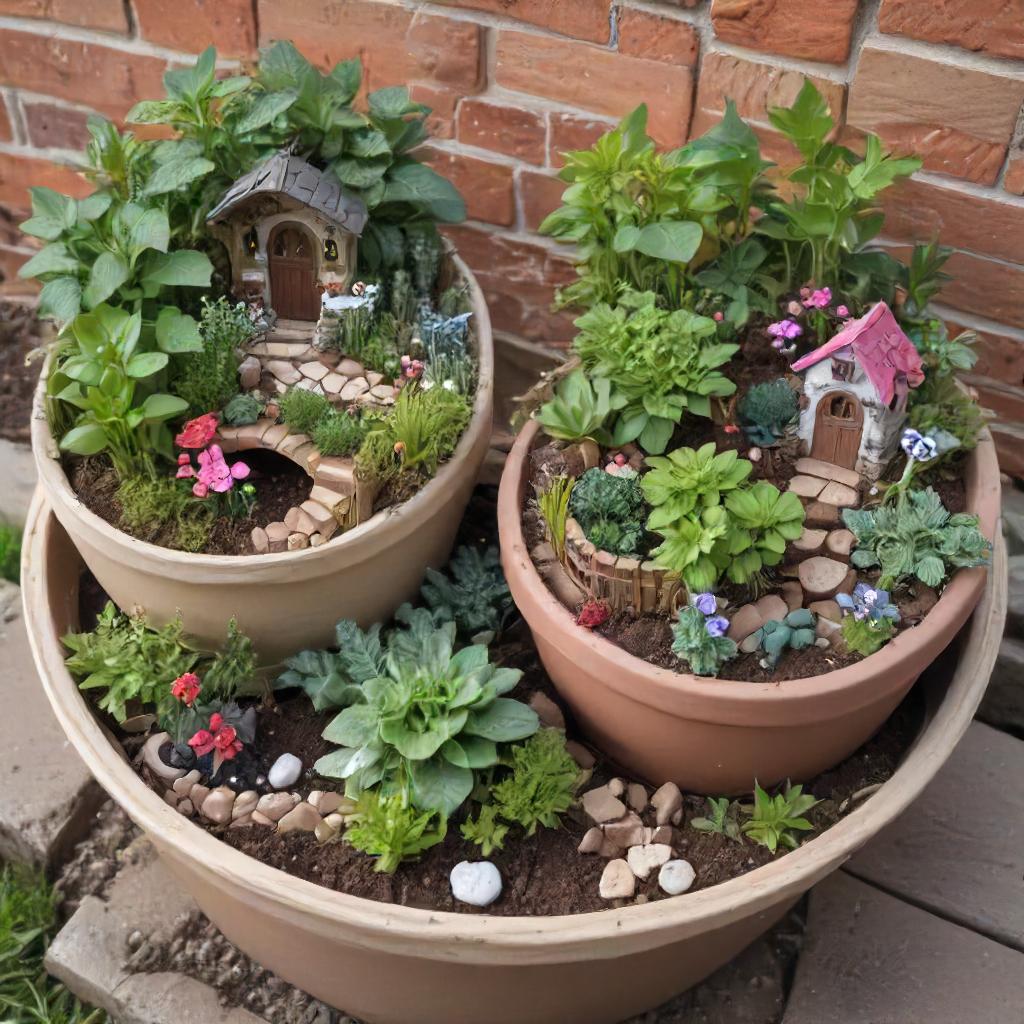
Layered Duplex Fairy Garden
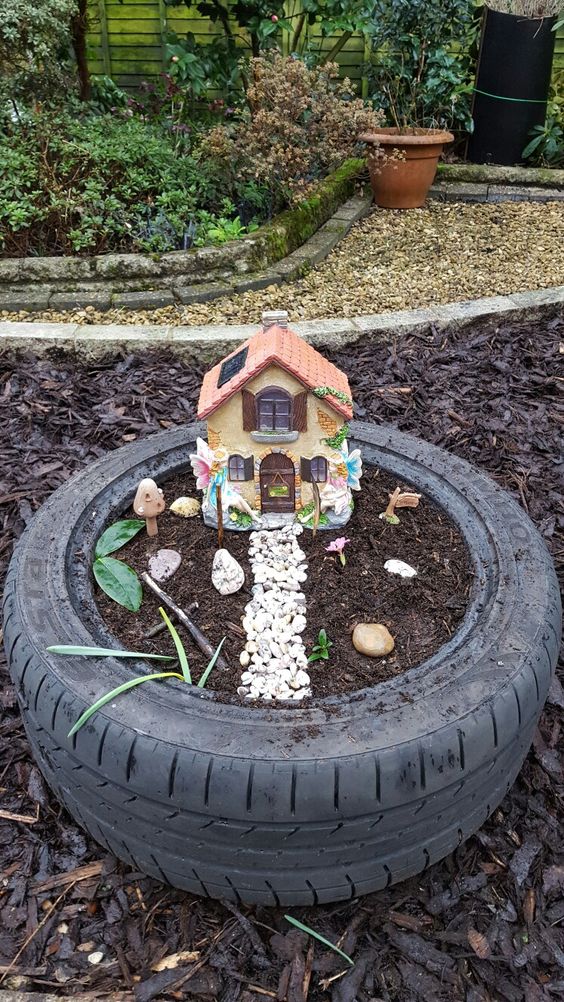
Old Tire Fairy Garden
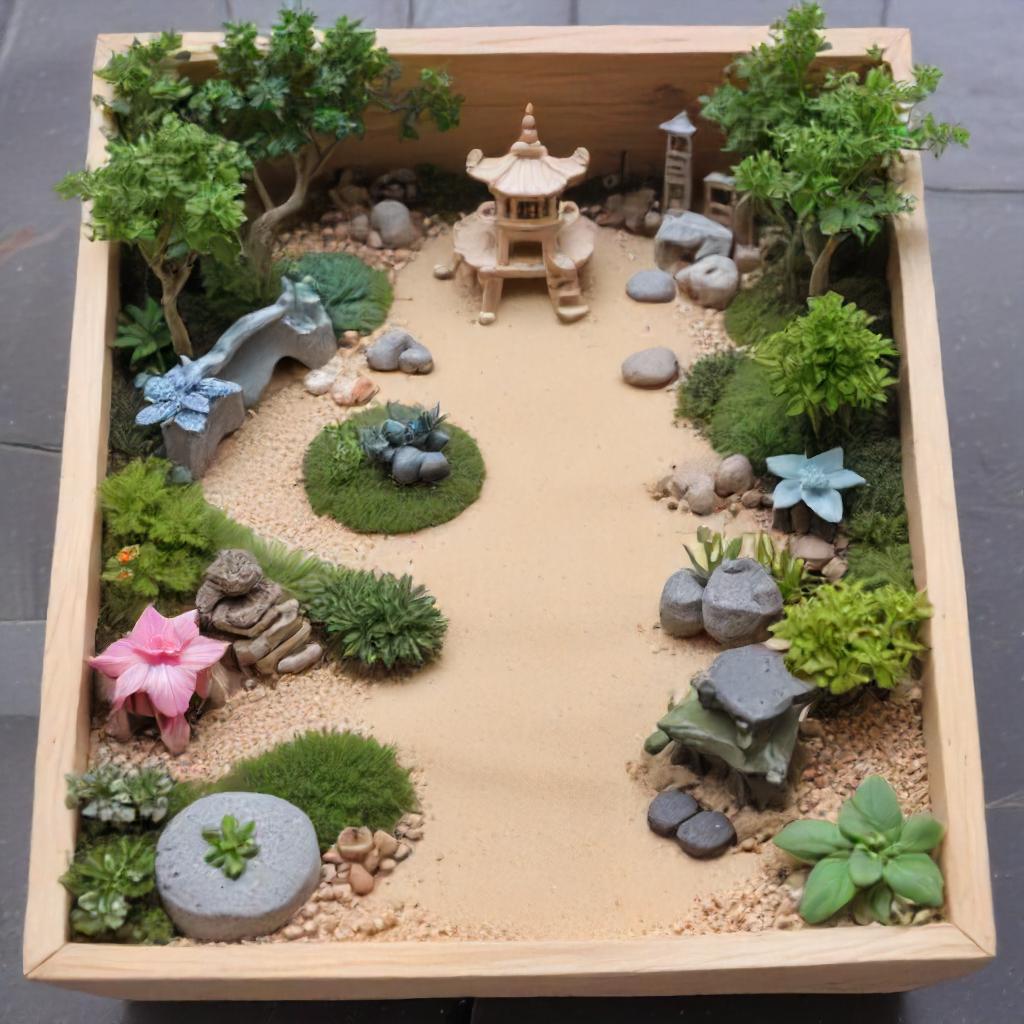
Sandy Zen Fairy Garden In A Box
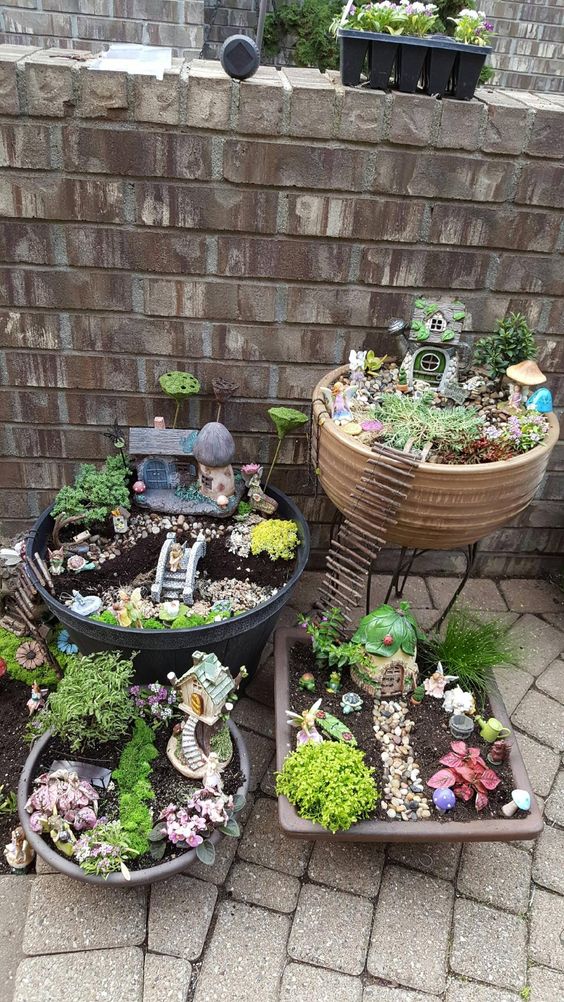
Stacked Planter Fairy City
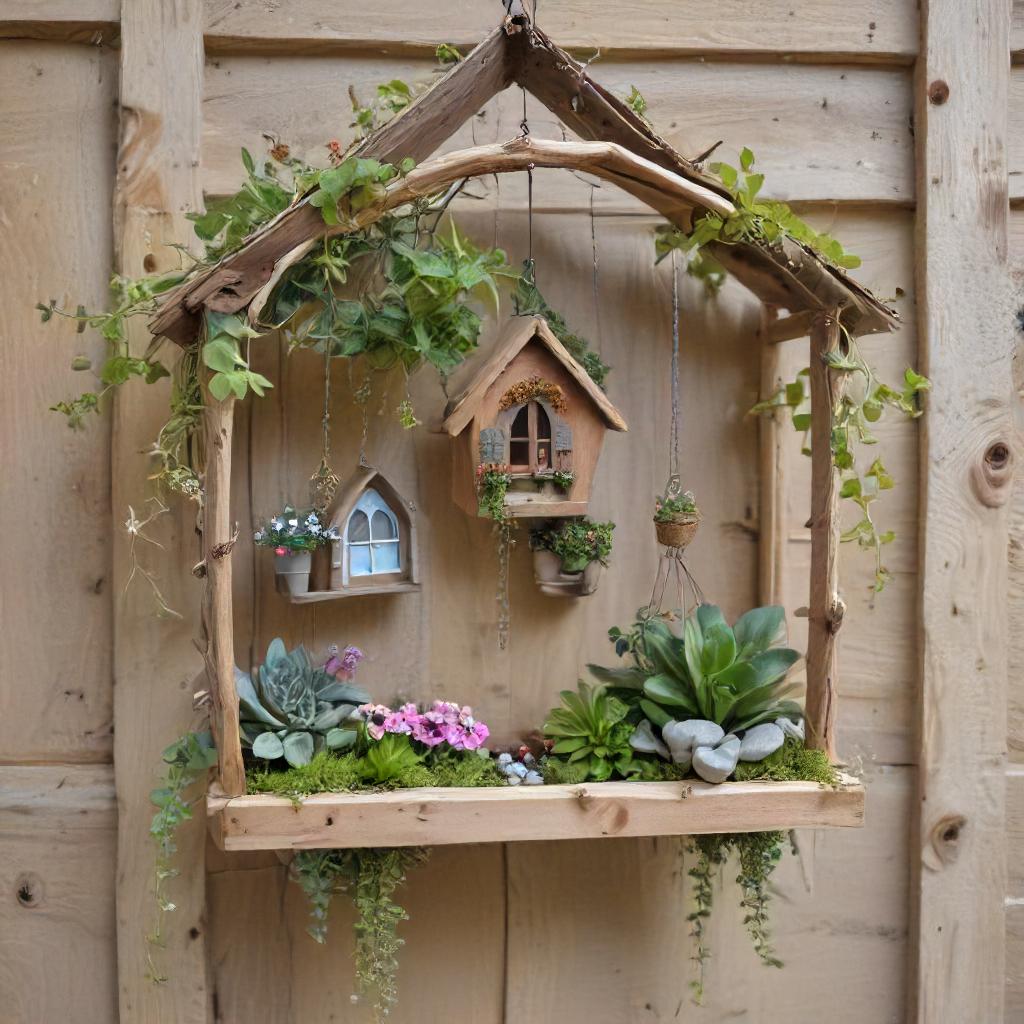
Stick House Shaped Planter With Hanging Fairy Homes
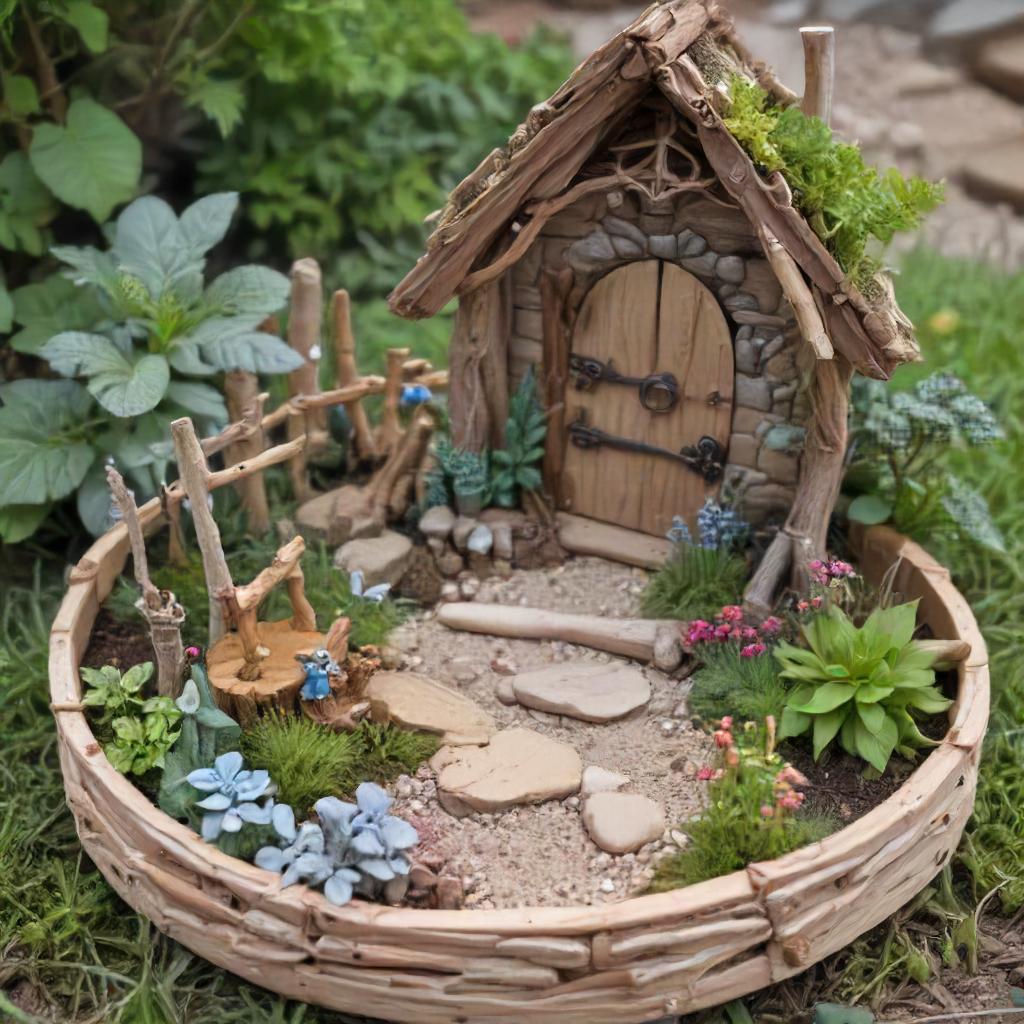
Sticks Fairy Garden With Fence
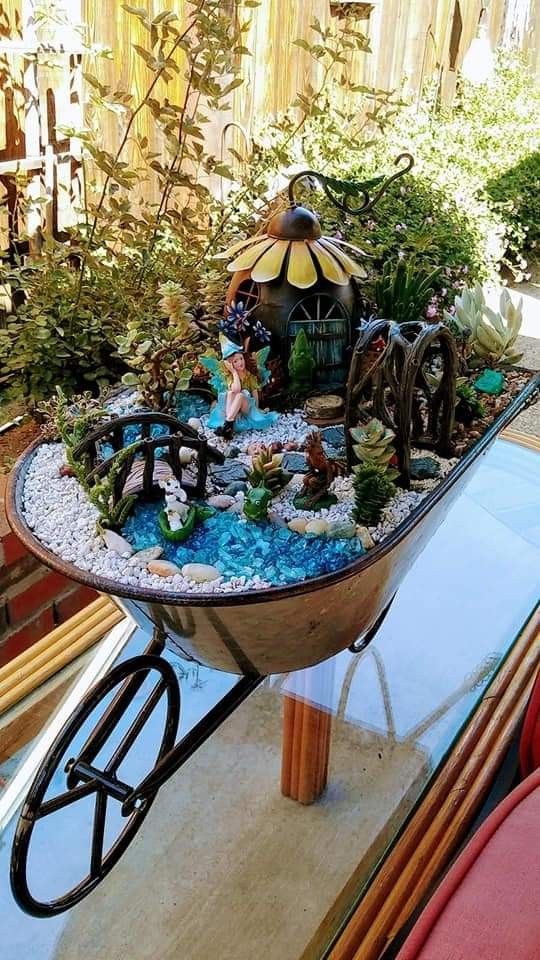
Wheelbarrow Fairy Garden
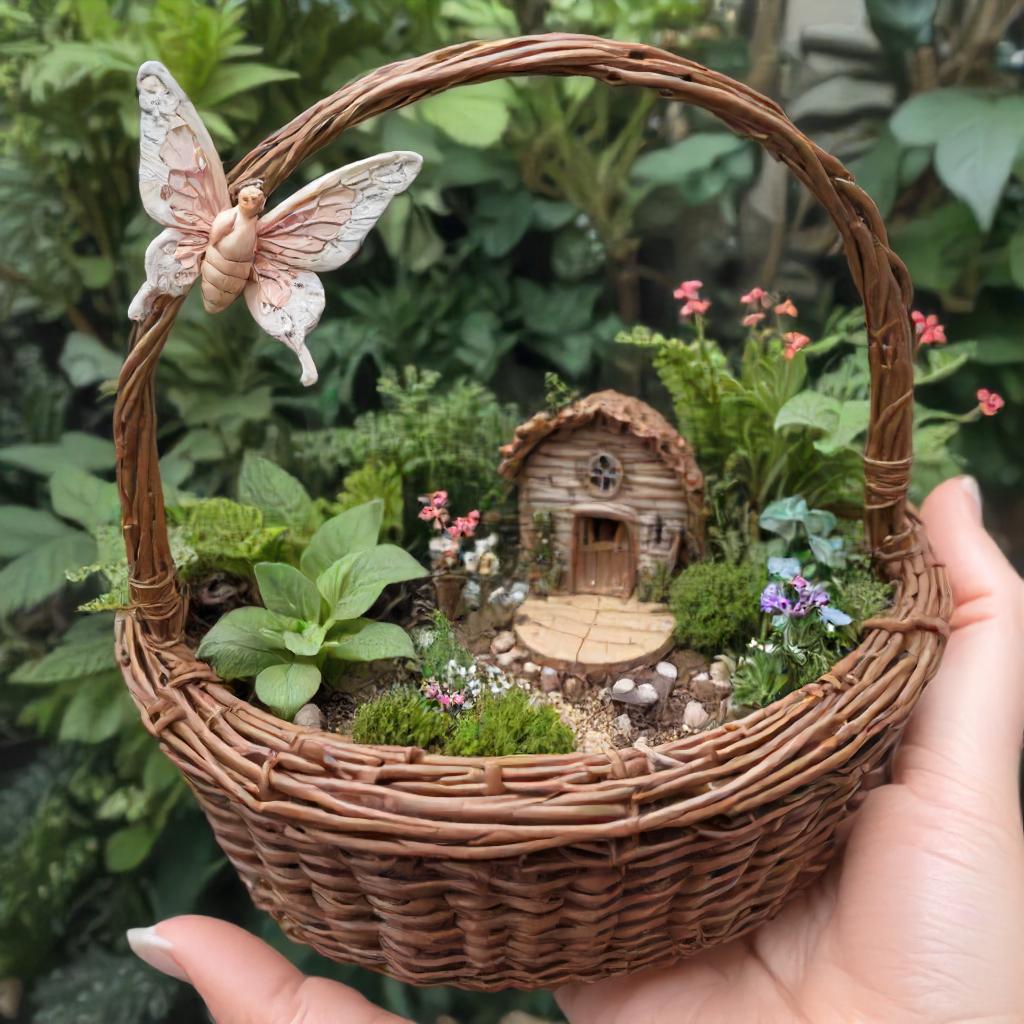
Wicker Basket Fairy Garden
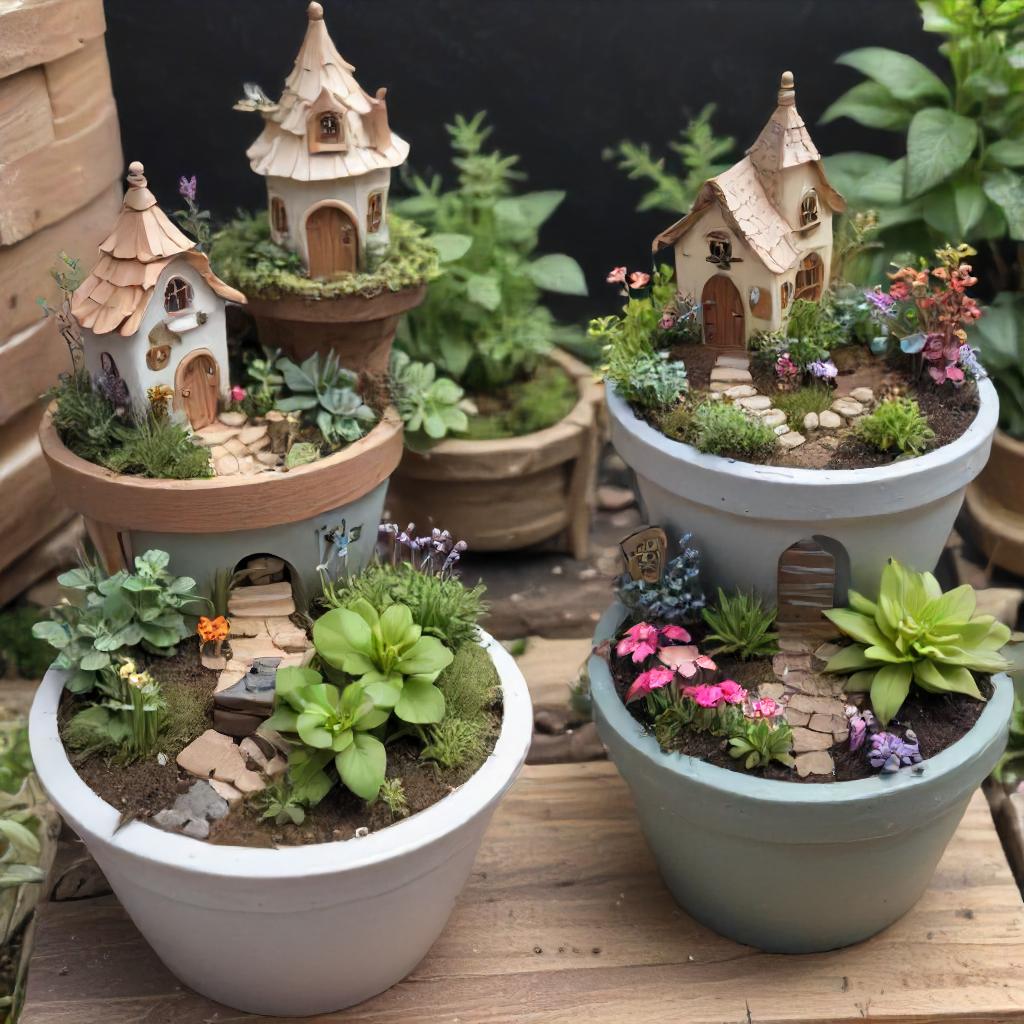
Tiered Planter Fairy Garden
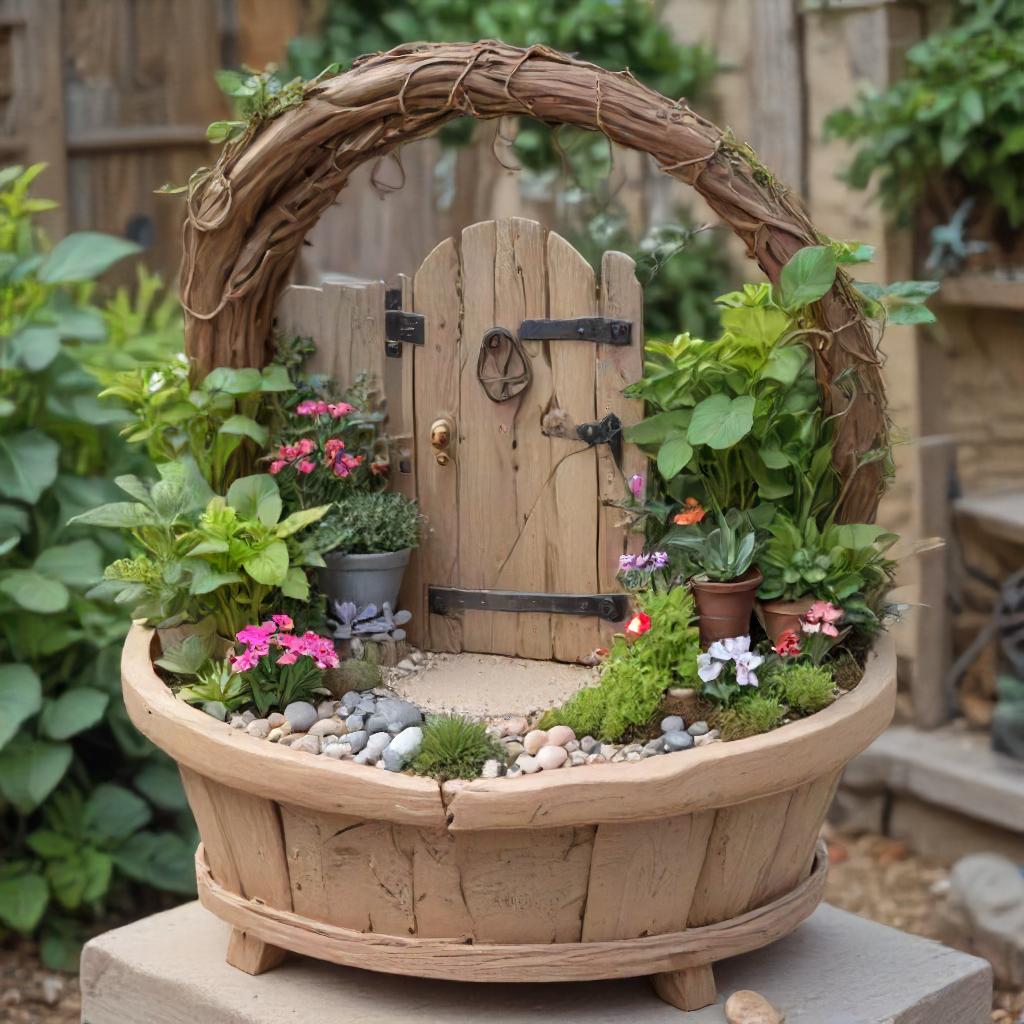
Arched Fairy Garden Enchanted Entry
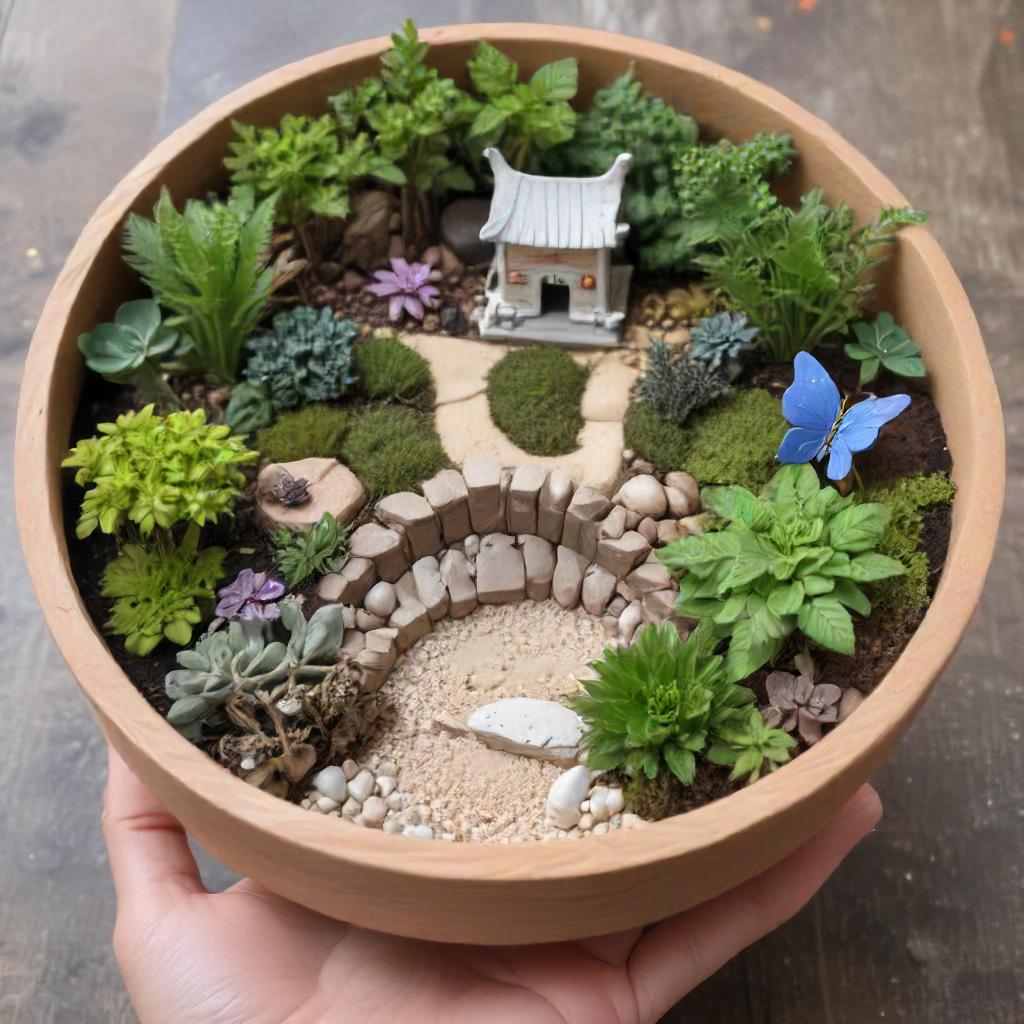
Zen Fairy Garden In Bowl
Designing Your Fairy Garden
When I begin crafting a fairy garden, I always focus on creating a tiny world that tells a story.
I first pick a captivating theme, then choose a home for my garden, gather the perfect plants, and finally add those enchanting little touches that bring the fairy tale to life.
Choosing a Theme
I find the theme sets the stage for my fairy garden; it’s like choosing the plot for a novel.
I always ask myself, “What story do I want my garden to tell?”
A magical fairy garden with tiny fairy figurines and sprinkles of fairy dust can ignite the imagination.
Sometimes, I fancy a beach theme, using sand and shells to mimic the seaside. Or, I might prefer a classic fairy tale setting, with miniature castles and dragons.
Selecting the Perfect Container
The container is the ‘land’ where my fairy garden flourishes.
It needs to have good drainage to keep the plants happy, so I drill holes if they’re not already there.
An old wheelbarrow can become a magical mobile garden, or a terra cotta planter brings a warm, earthy feel.
For smaller spaces, a teacup fairy garden is adorable, and a galvanized tub can be just right for a more rustic or spacious fairy garden setup.
Picking Out Plants
Choosing plants is like casting characters for a play.
I always go for small plants that fit the scale of my fairy world.
Succulents are my go-to because they’re hardy and can look quite mystical.
Moss gives that ‘enchanted forest’ vibe, while herbs bring fragrant leaves and flowers into the mix.
True miniature plants keep everything in proportion, and they’re just so cute!
Incorporating Accessories
Here’s the fun part—accessories! This is where I really let my creativity shine.
I nestle in miniature fairy houses and tuck in tiny doors at the base of plants.
A small pond adds a reflective surface, and I sometimes hang petite birdhouses in the branches.
Fairy lights bring the garden to life at dusk, and small bridges or pathways invite the fairies to wander through the greenery.
It’s all about creating a world that feels alive and has depth.
Building Your Fairy Garden
Creating a miniature wonderland for fairies is a delightful project that combines nature with whimsy.
From gathering natural elements to adding personal creative touches, here’s how I build a magical spot for my fairy friends.
Assembling Materials
First things first, I like to forage for natural materials such as twigs, stones, and pebbles.
For the structured elements like houses or bridges, popsicle sticks work great, and a little wood glue or a hot glue gun can hold everything together.
It’s always handy to keep a variety of materials like clay, polymer clay, or even natural rocks on standby. And you never know what treasures you can find at your local craft store!
Crafting and Creativity
Once I have all my materials, it’s time to get creative.
I use polymer clay to sculpt tiny furniture or even fairy figurines.
While crafting, I consider the scale and focal point of my garden.
Playing with the size and spacing of different elements can really bring the scene to life.
Adding a personal touch, I use glue sticks to fashion intricate details like windows or shingles for fairy houses.
Setting Up Your Garden
Choosing the perfect spot is crucial, whether it’s an indoor fairy garden on a windowsill or an outdoor fairy garden in a shaded nook.
When setting up, I think about the location and how each element interacts with the environment.
In an outdoor space, I’ll use potting mix for lush vegetation and arrange my crafted fairy abodes amidst the greenery.
Maintenance Tips
Keeping a fairy garden healthy isn’t too different from caring for any other garden.
Regular watering and pruning are essential.
For indoor gardens, monitoring sunlight and water are my top priorities.
As time goes on, you might need to replace or repair pieces, so it’s good to remember that a fairy garden is always a work in progress.






Leave a Reply
View Comments