The beauty world is always bustling with new trends, and one that’s caught my eye recently is hibiscus flower nails. As someone who loves to bring a touch of nature into my beauty routine, translating the vibrant colors and intricate details of hibiscus blooms onto my fingertips has been an exciting adventure.
Nail art is a fantastic way to express creativity, and the hibiscus theme offers endless possibilities, from subtle accents to full-blown floral masterpieces.
Creating hibiscus flower nail art is like painting a tiny canvas. You start with a vision, select your polishes like an artist chooses their paints, and then with each deliberate stroke, the design comes to life.
Whether I opt for hand-painted art, decals, or stamps, the process is a deliberate act of patience and precision. The joy of watching my nails transform into a bouquet of hibiscus blooms is immeasurable.
I find that adding finishing touches like a high-gloss topcoat or delicate rhinestones for a dewy effect makes my hibiscus nail art stand out even more. It’s the combination of technique and the final embellishments that turns a simple manicure into a stunning piece of art.
Reader's Roadmap
Key Takeaways
- Hibiscus flower nails blend nature’s beauty with personal style.
- Precision and patience are vital in creating intricate hibiscus nail designs.
- The final touches are crucial for a standout manicure.
Yellow French Tip Nails With White Hibiscus
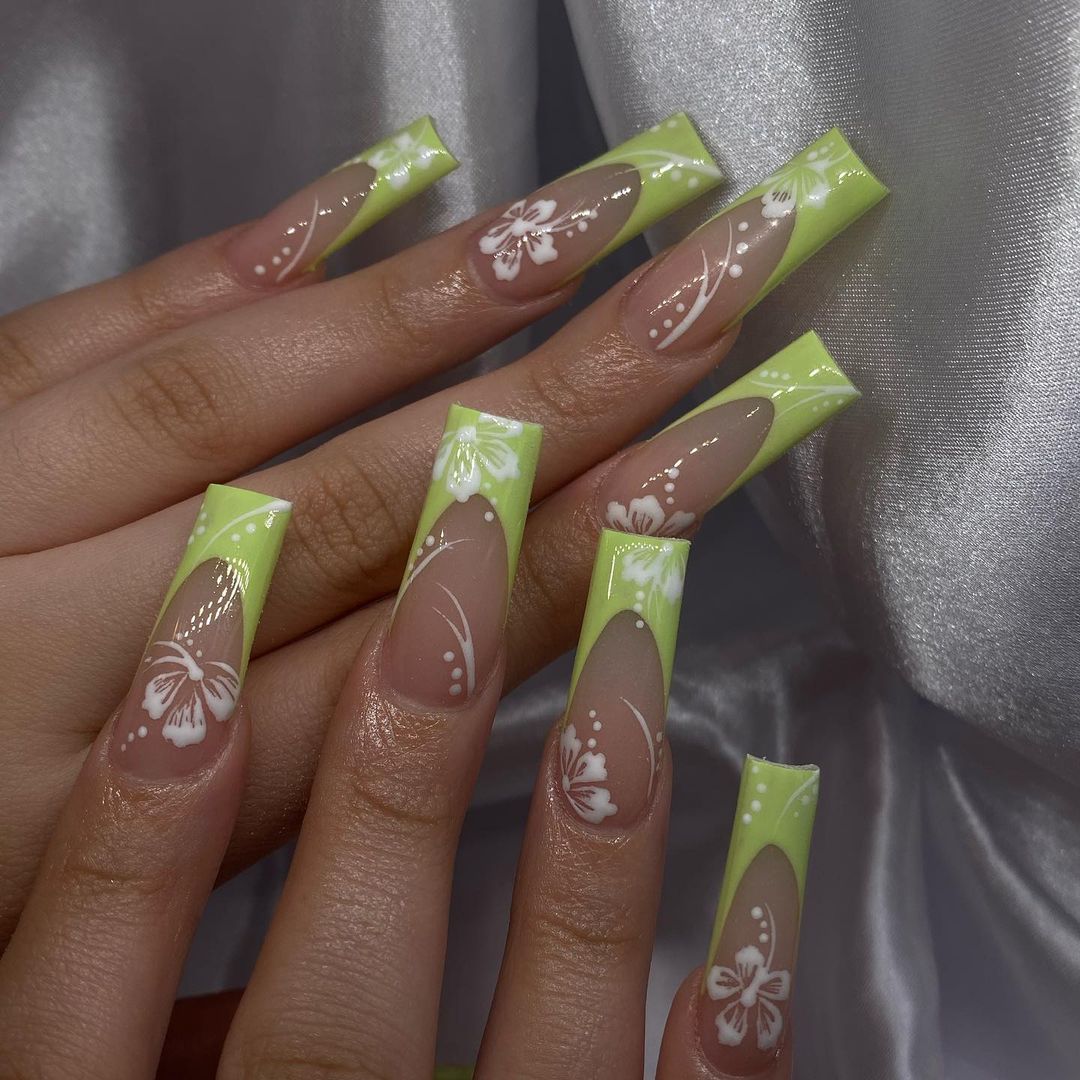
White and Purple French Tip With White Hibiscus Design
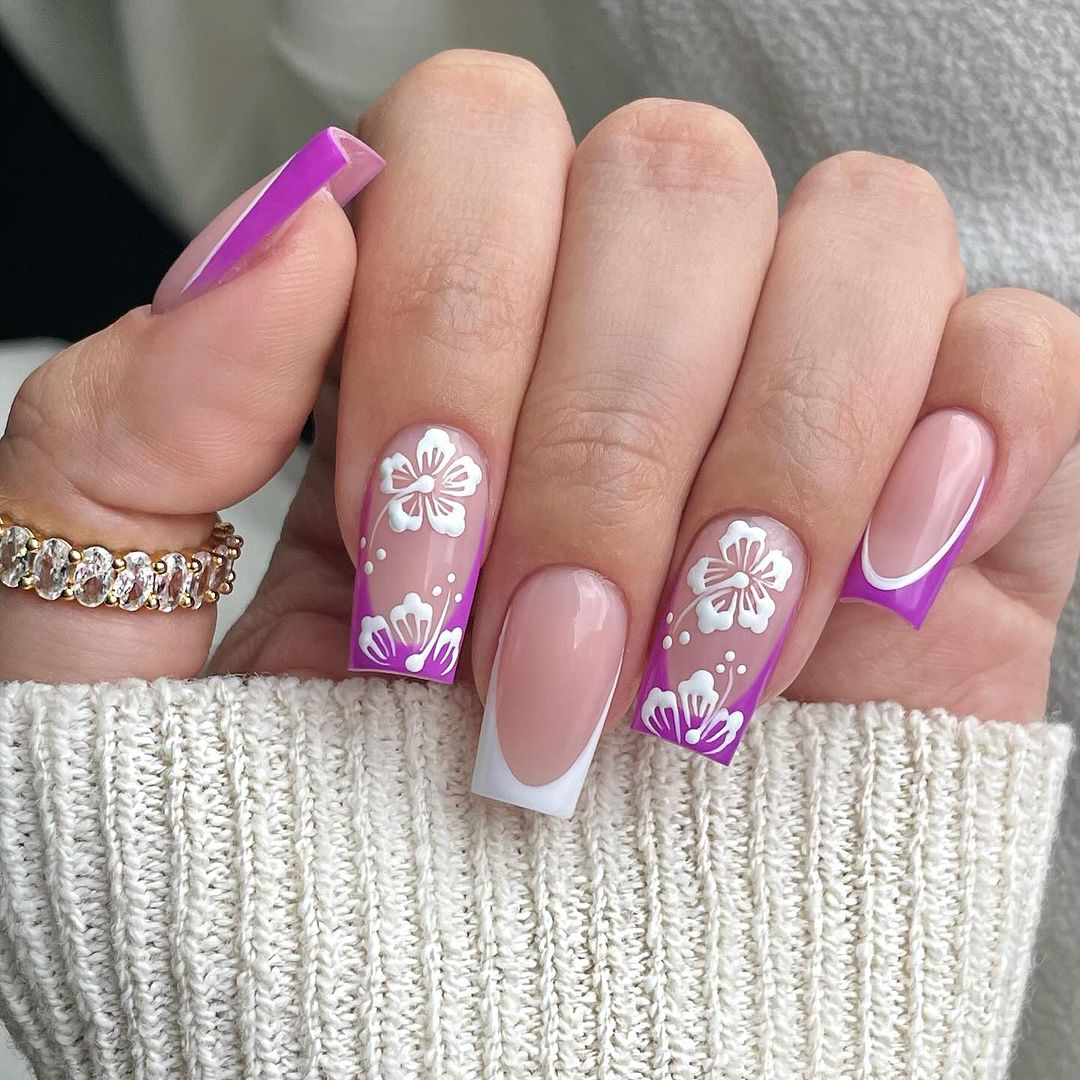
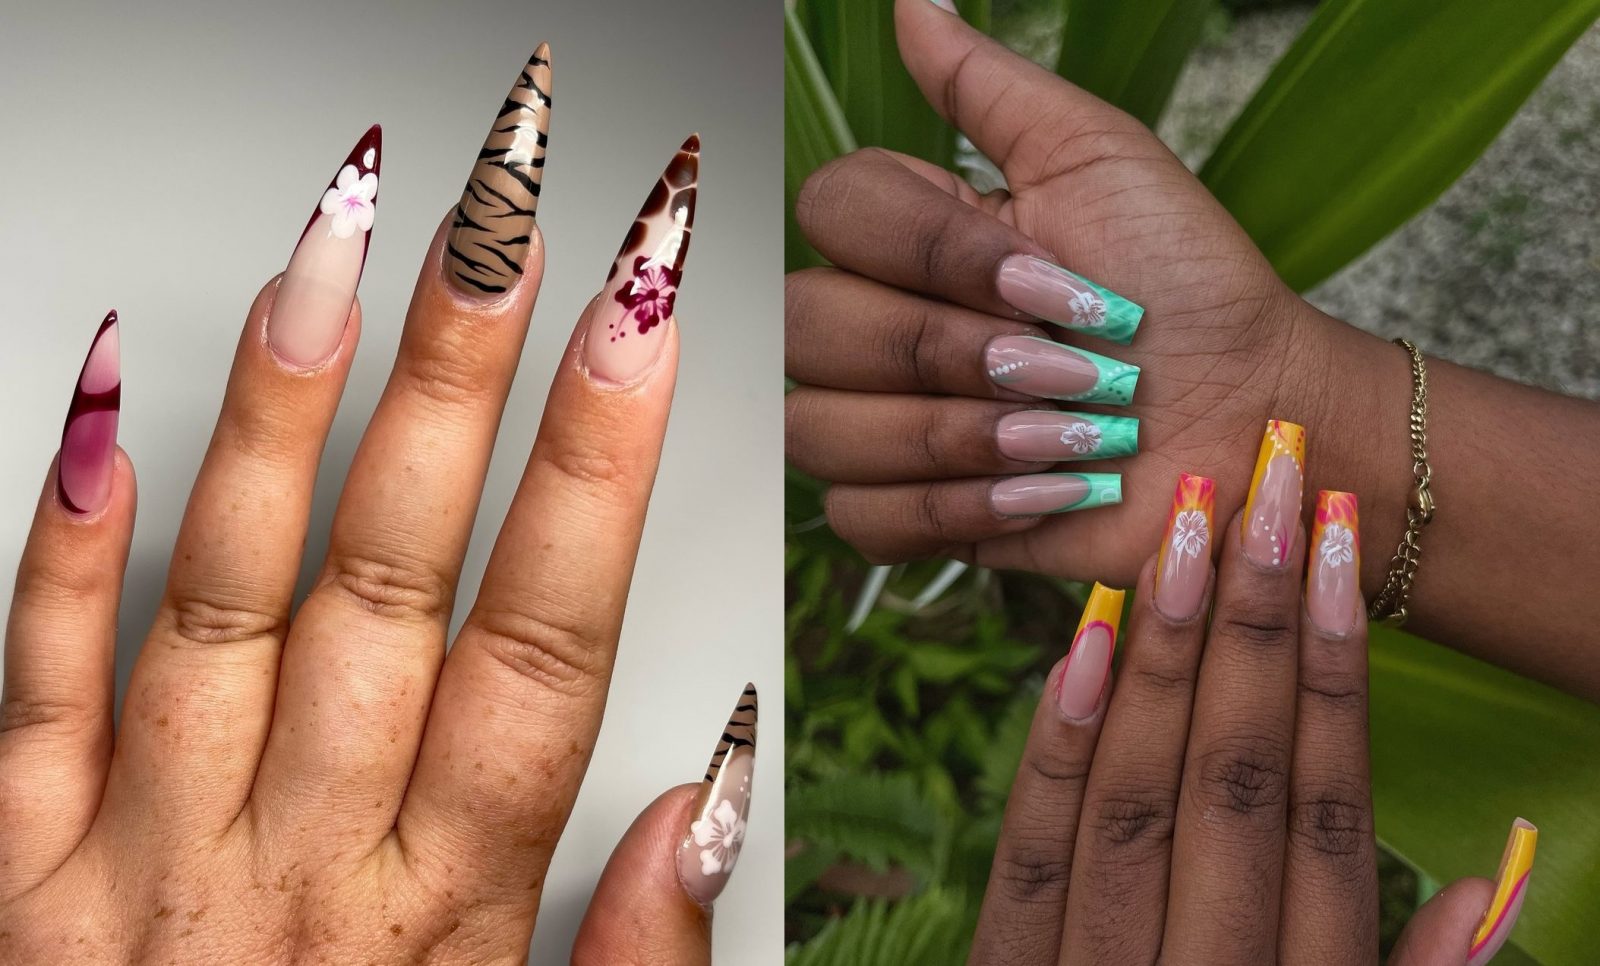
Turquoise Tips Clear Square Nails With Pink Hibiscus Design
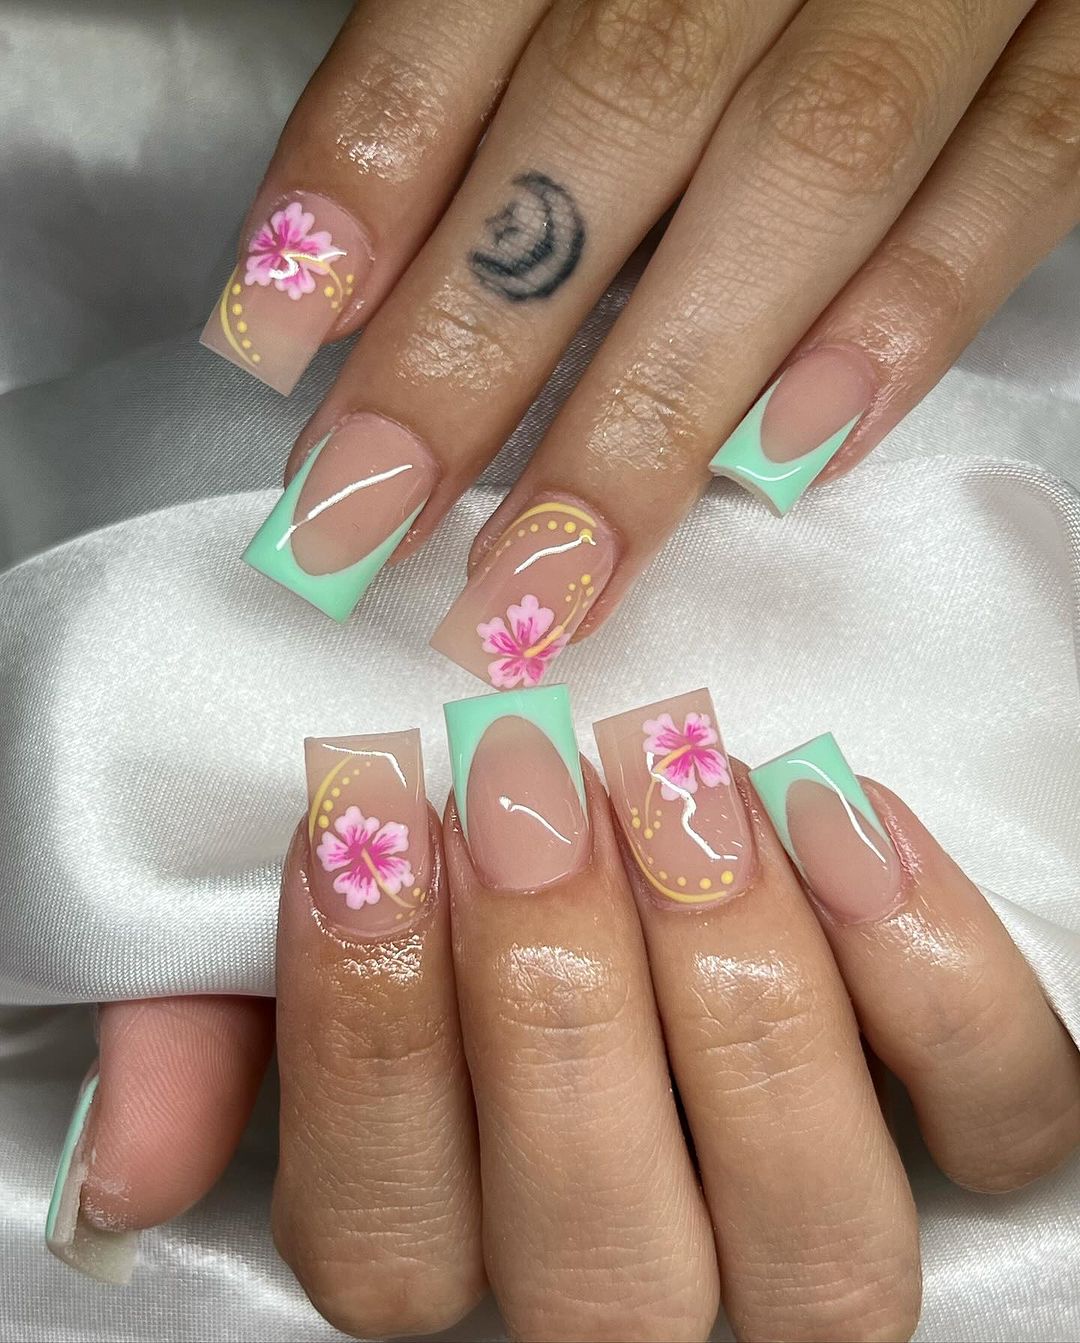
Stiletto Nails With Tiger Print With Dark Pink And White Hibiscus Flowers
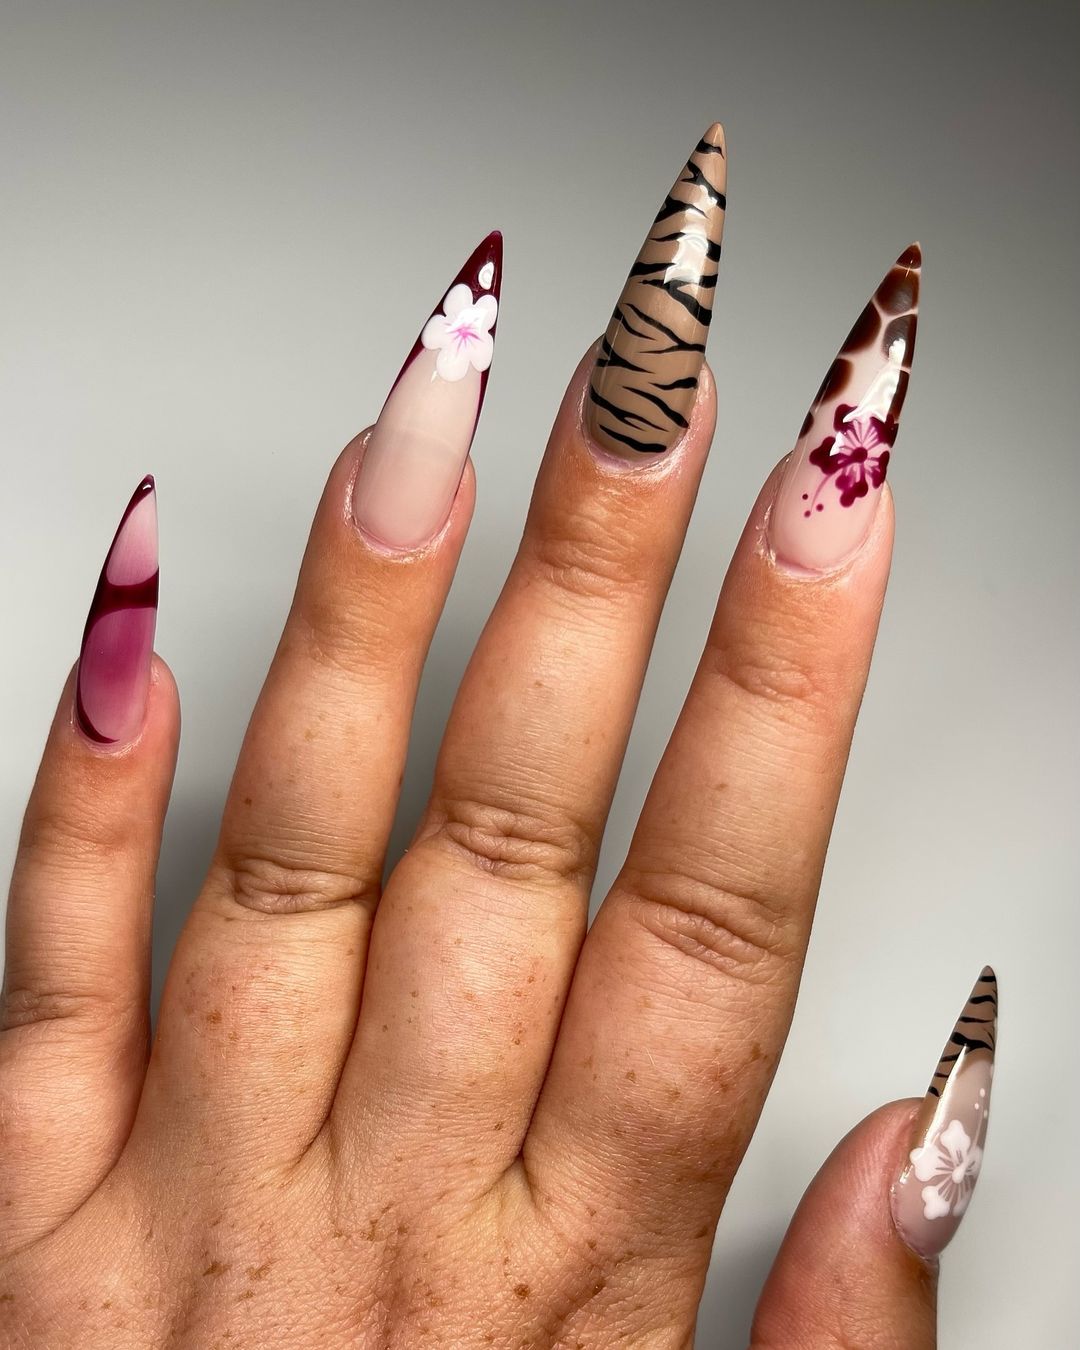
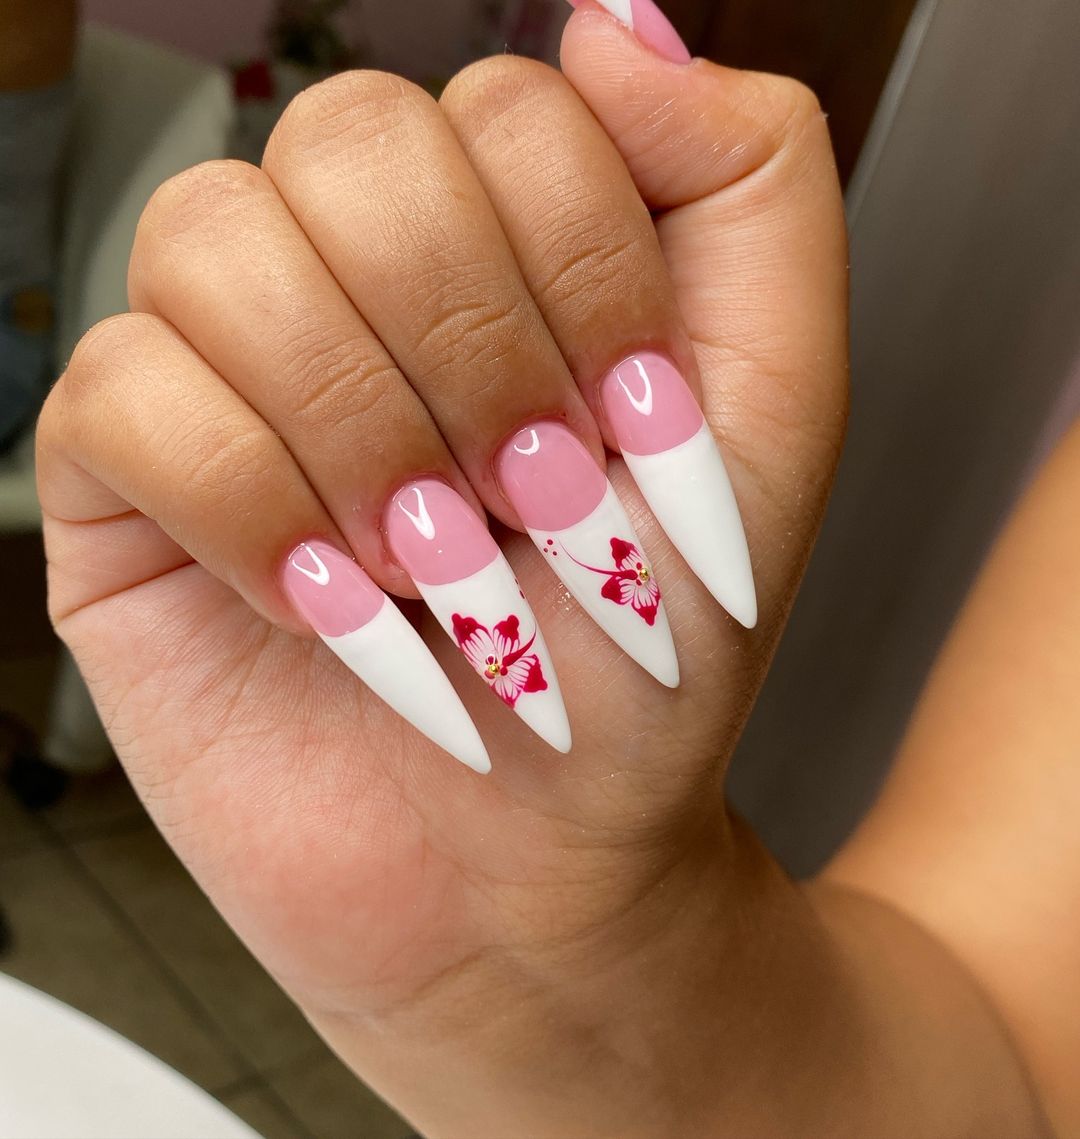
Stiletto French Mani With Red Hibiscus Flower
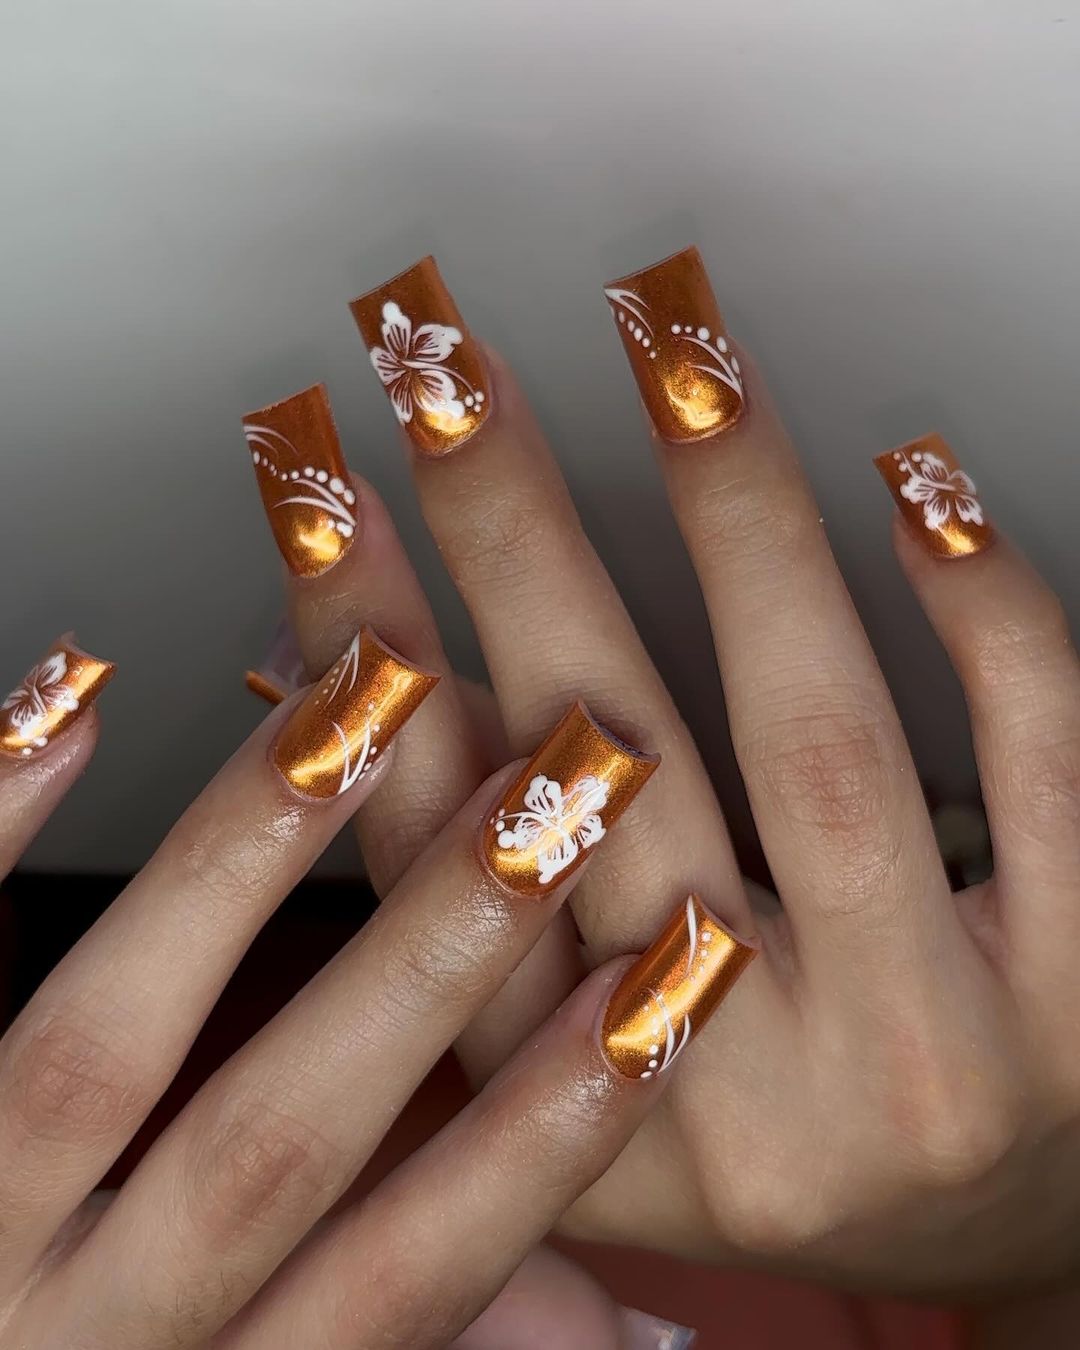
Square Gold Nails With White Hibiscus
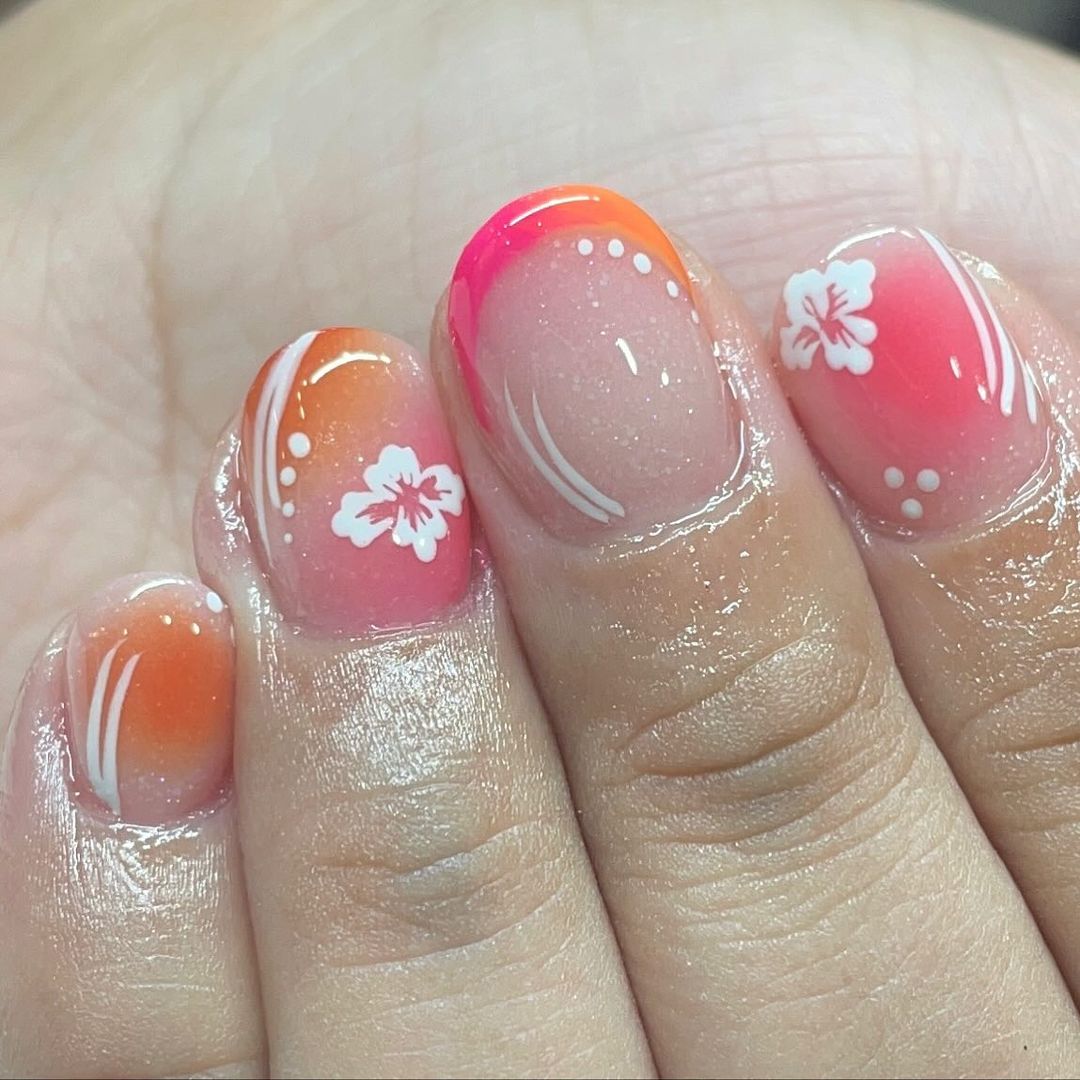
Short Clear Sparkle Nails With Orange and pink Tips And White Flower
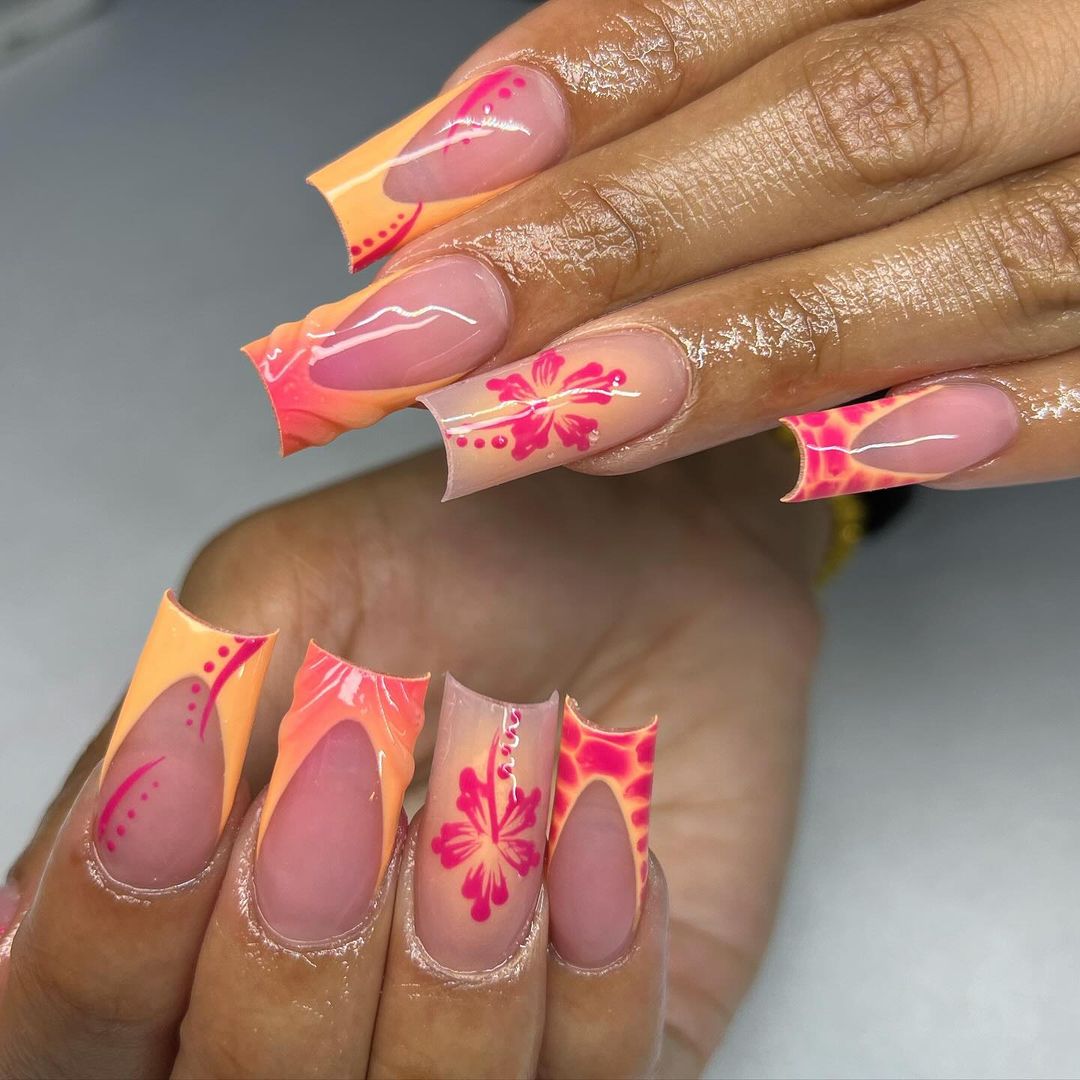
Square Clear Nails With Sunset Peach And Pink V-tips
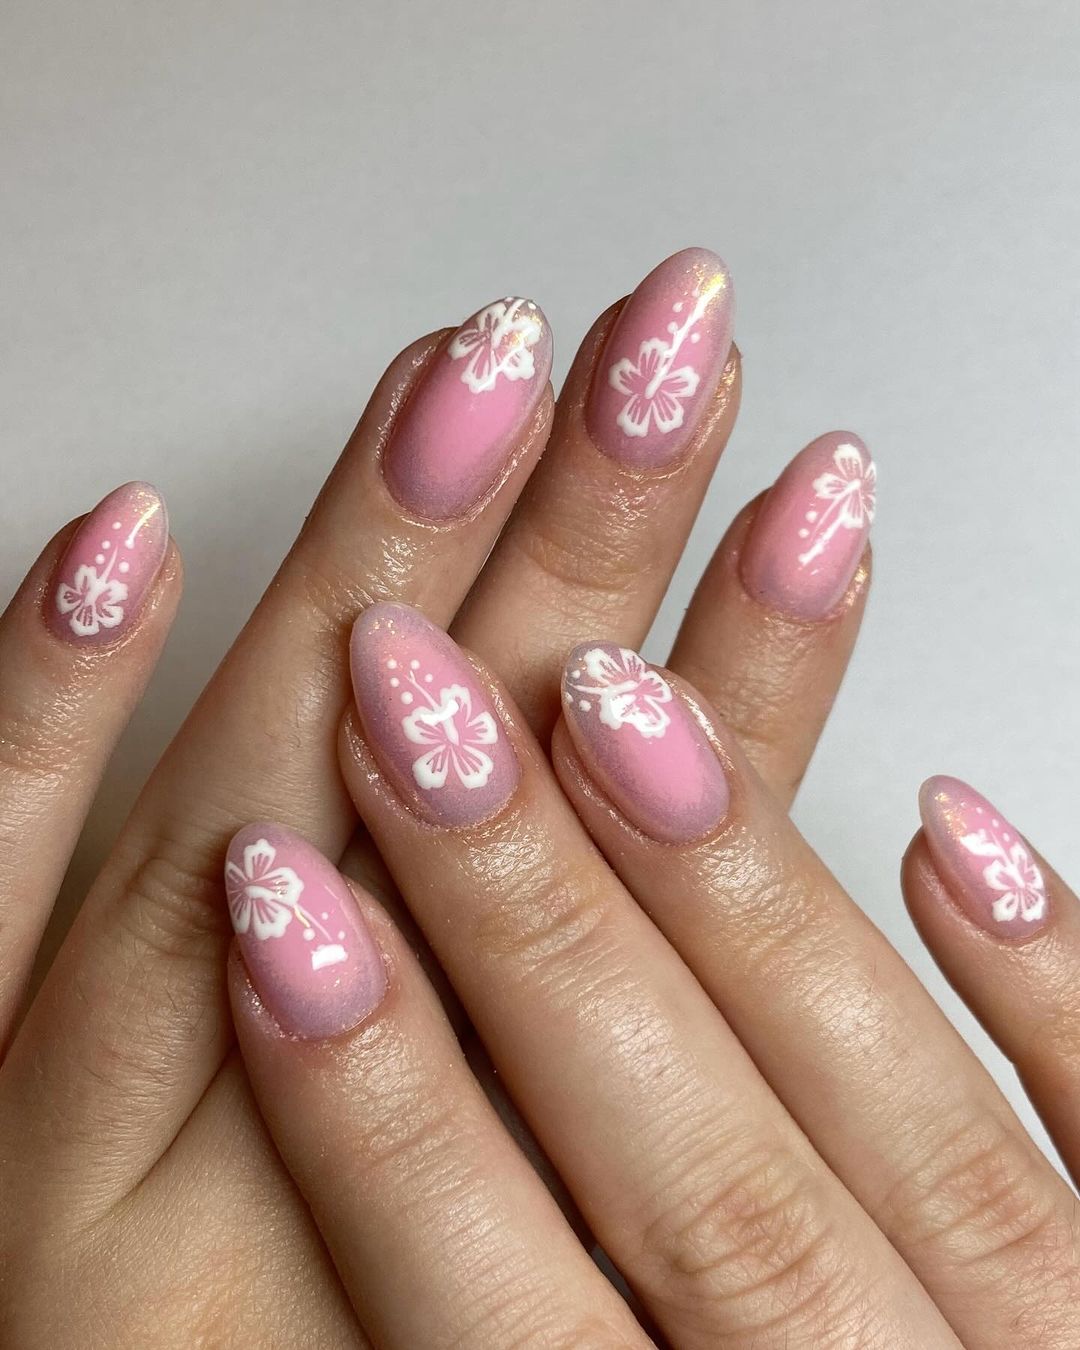
Short Oval Pink Nails With Hibiscus Design
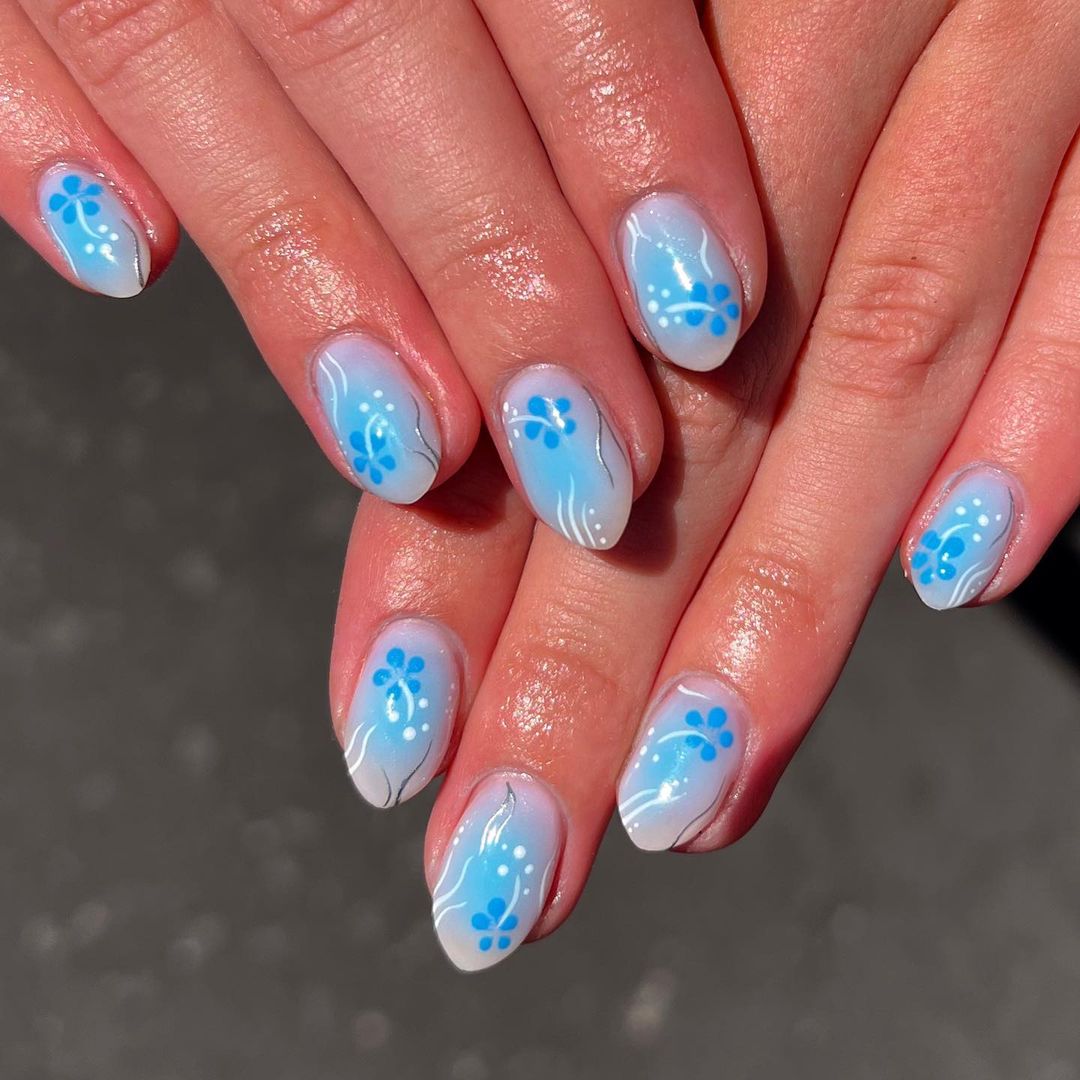
Short Baby Blue Oval Nails With Blue Hibiscus
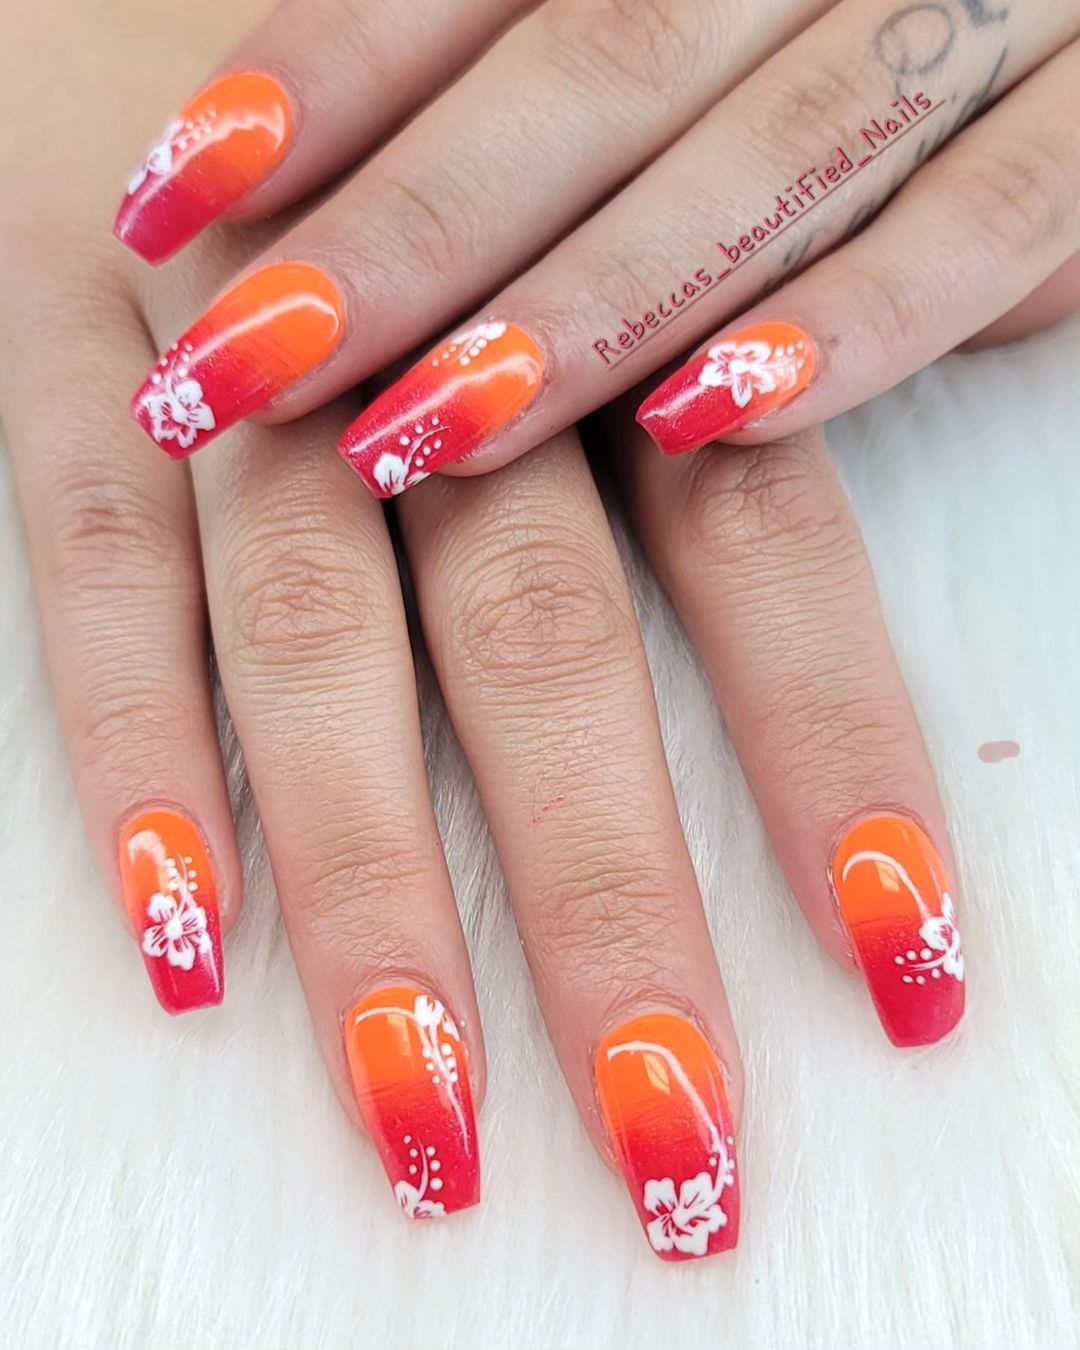
Red And Orange Squoval Nails With White Hibiscus
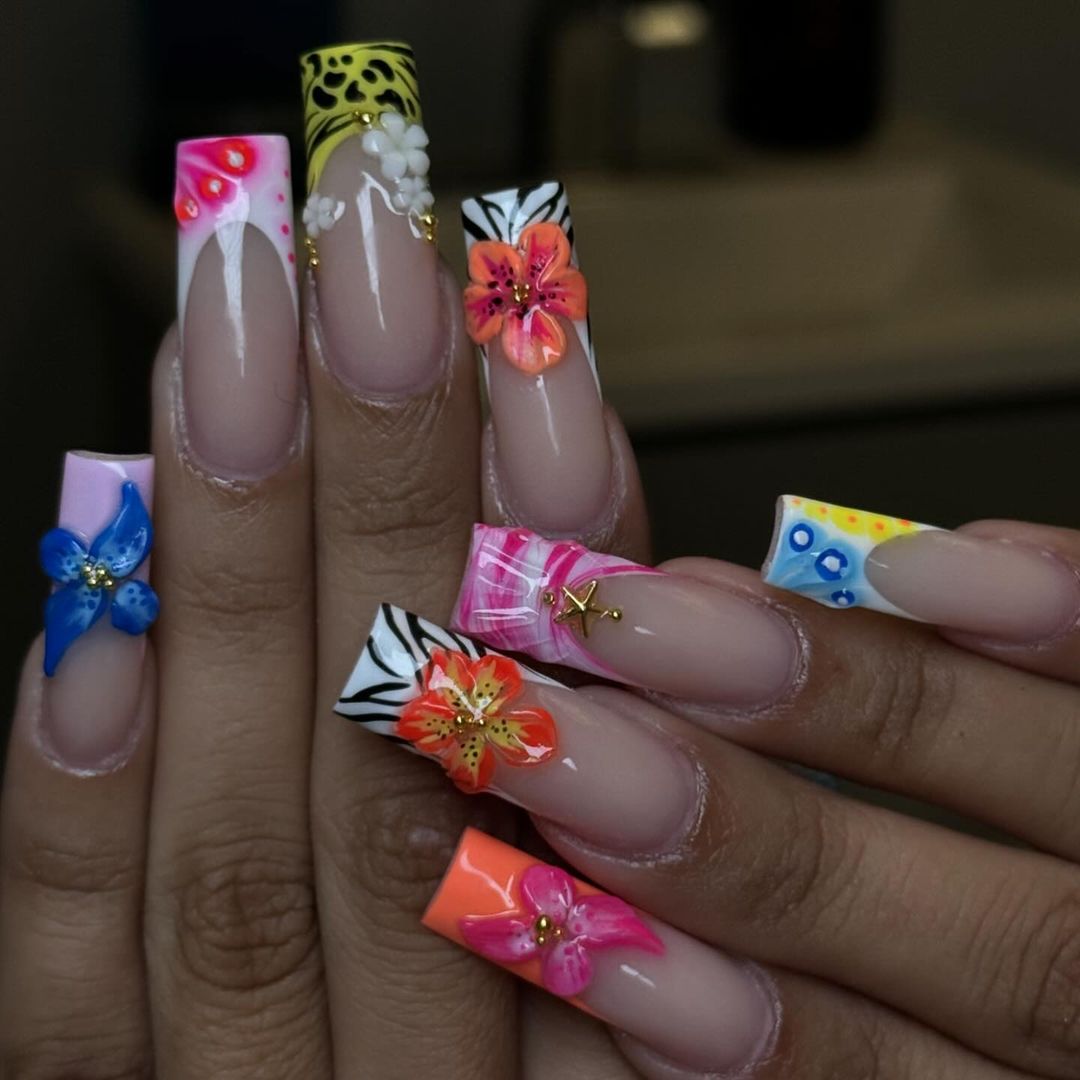
Print French Mani With Acrylic Hibiscus Flowers
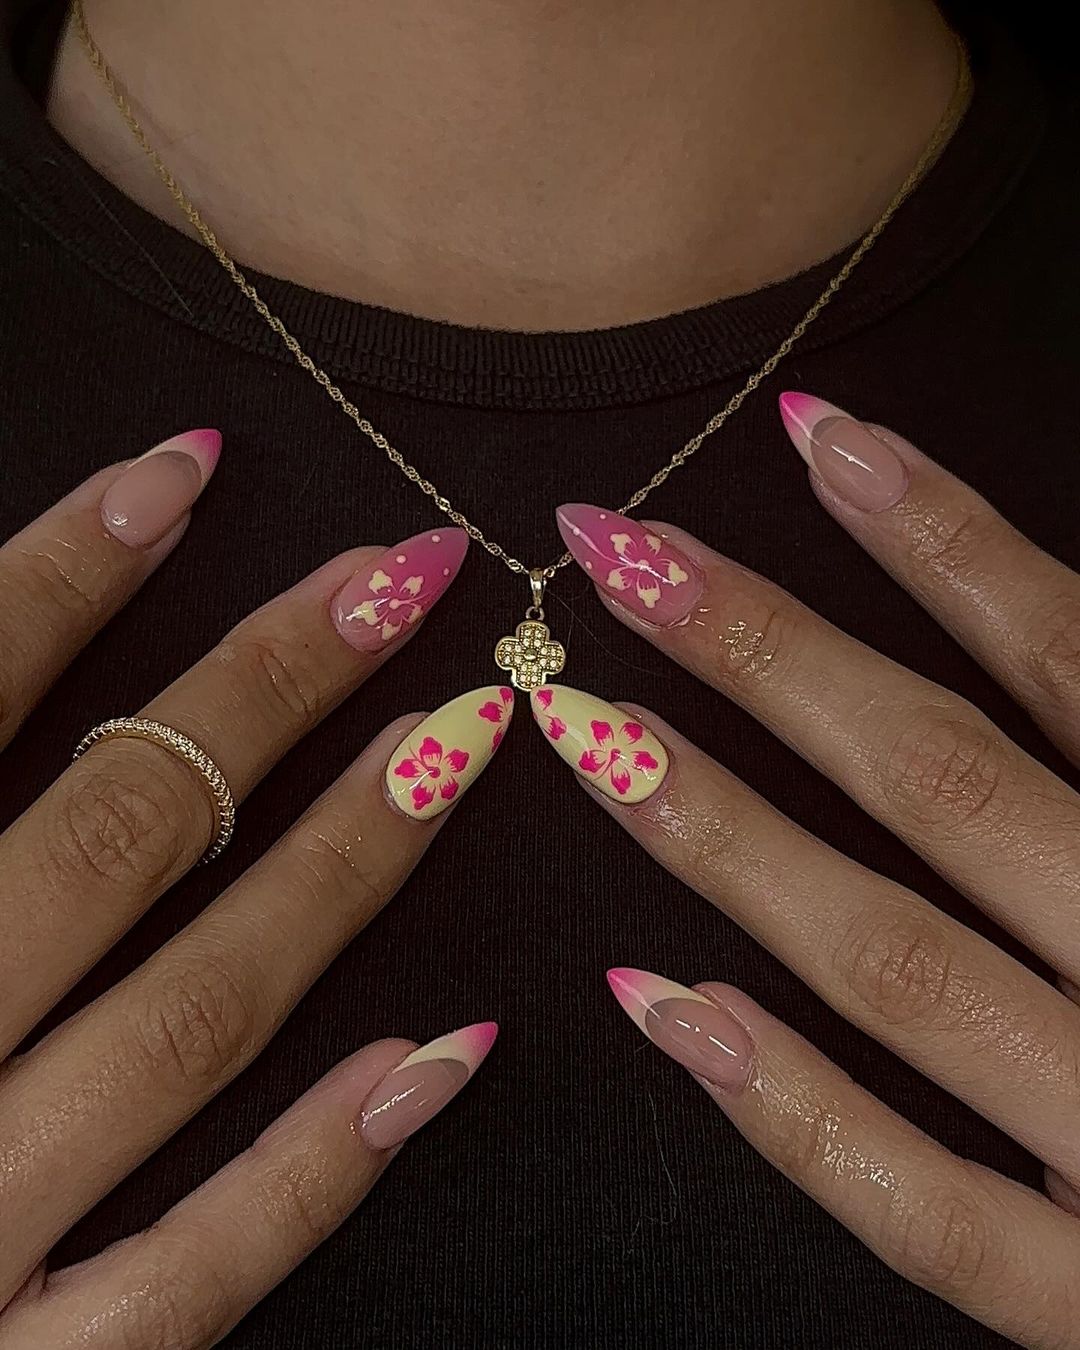
Pink And Yellow Hibiscus Flower Oval Nails
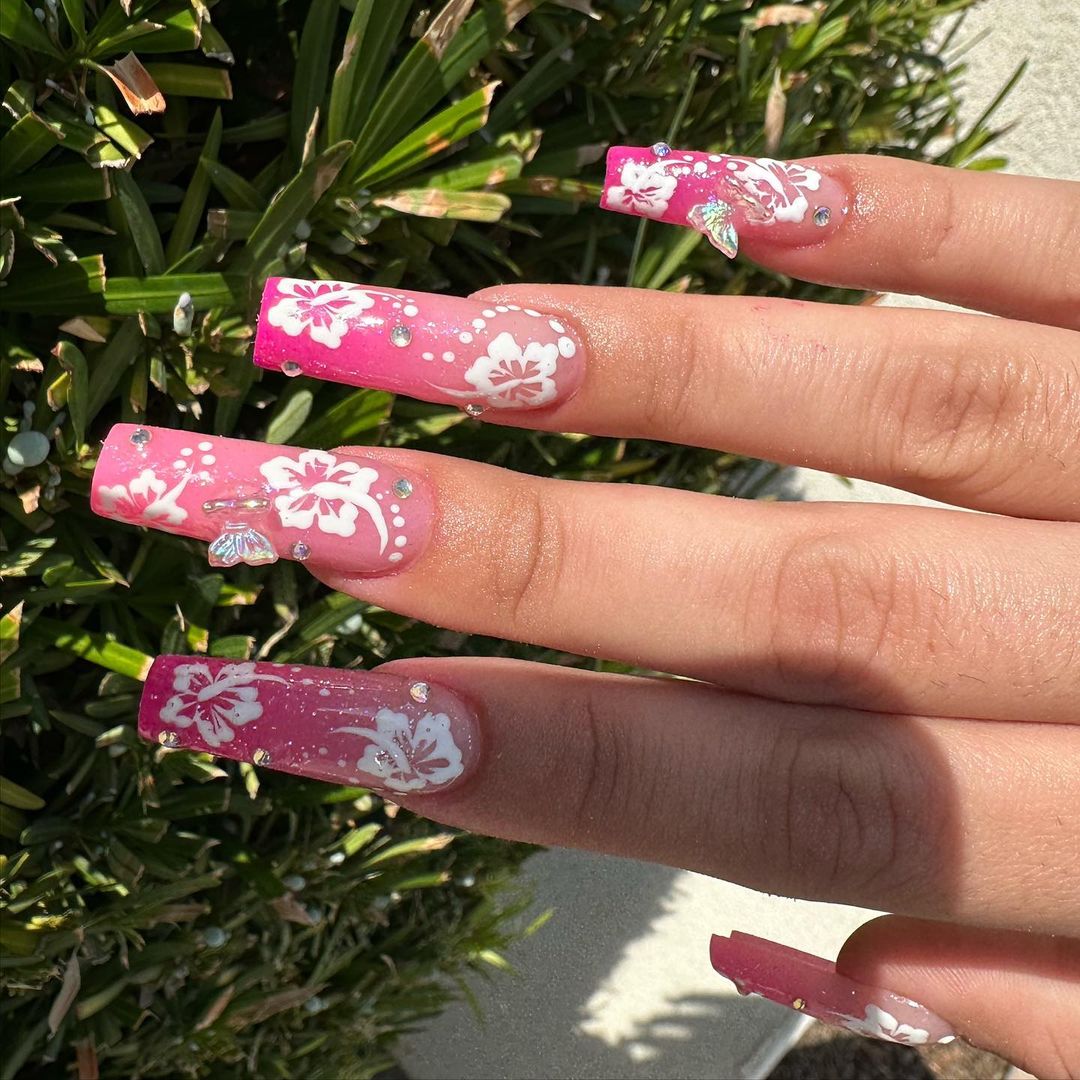
Ombre Glitter Pink Square Nails With White Hibiscus
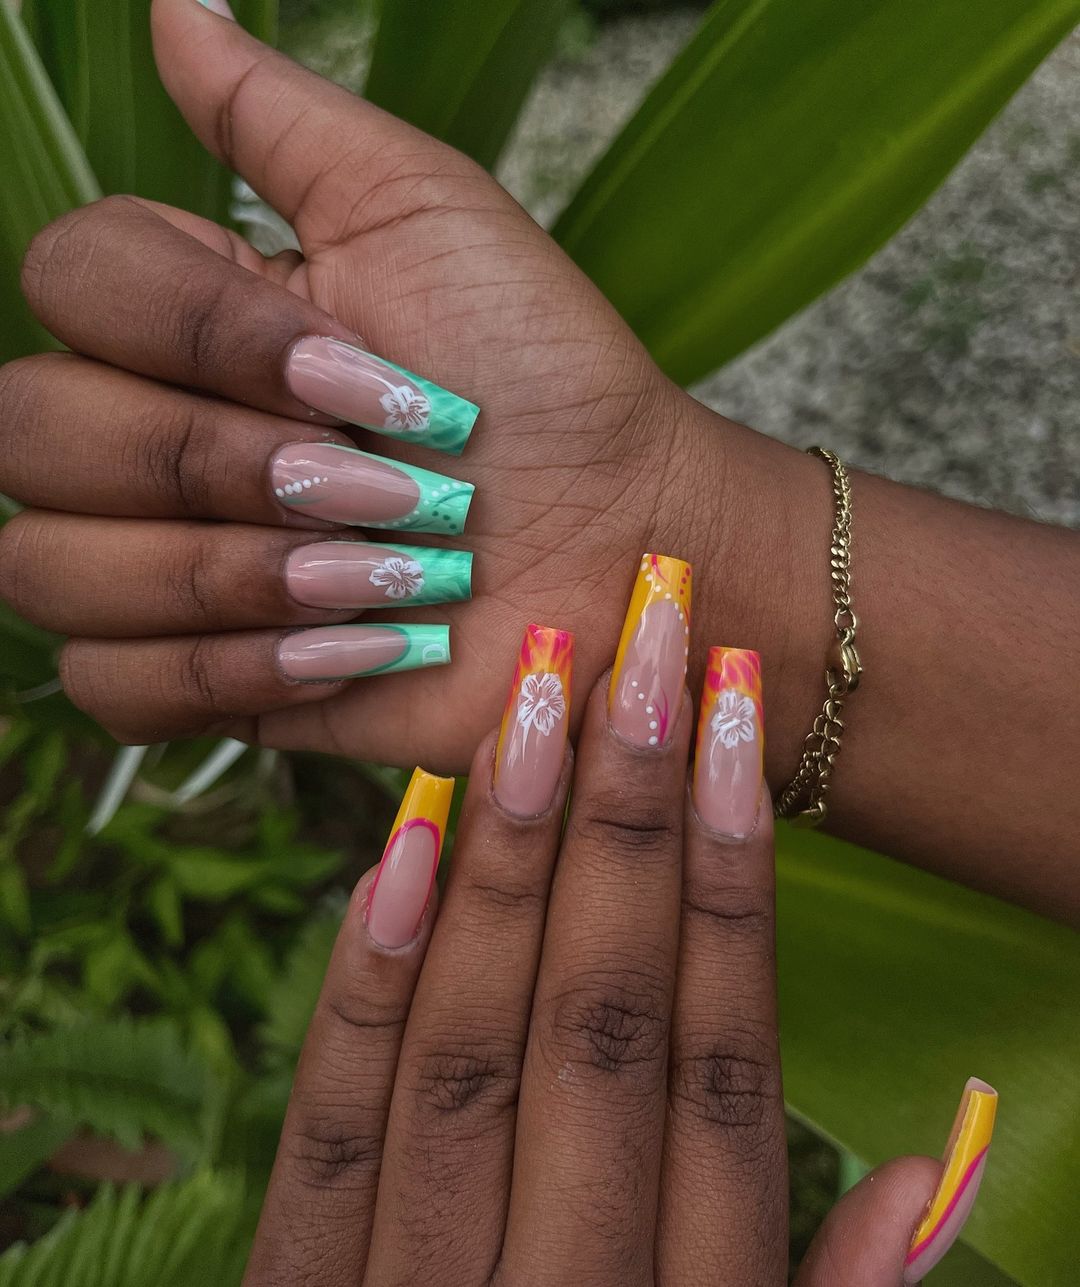
Ocean And Sunrise Tip Hibiscus Nails
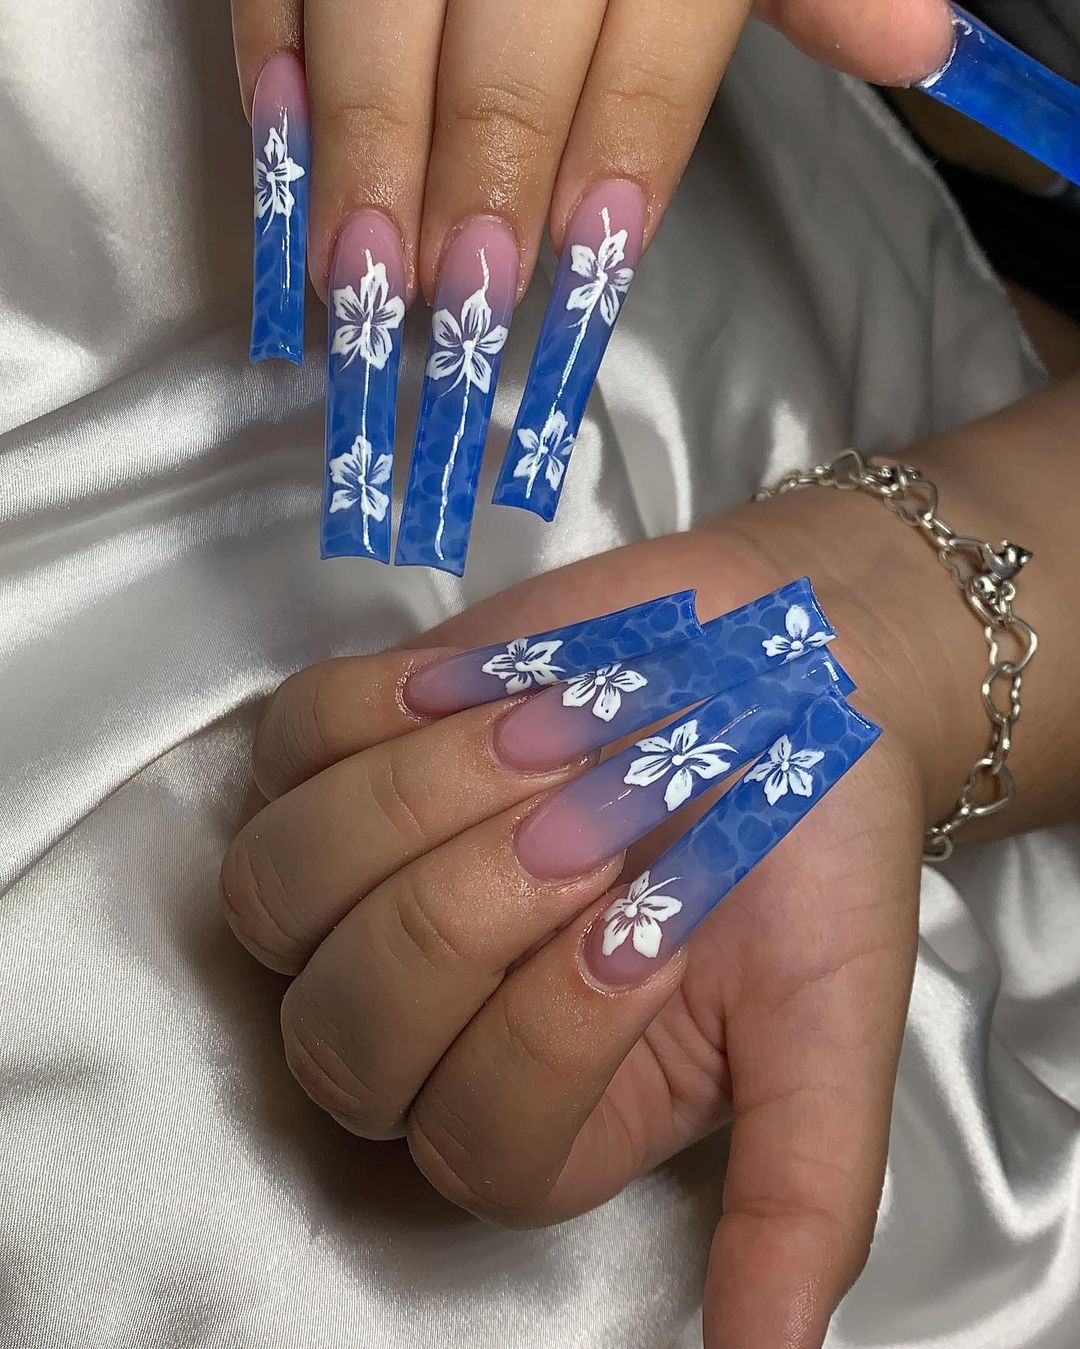
Long Square Nails With Ombre Ombre Ocean Waves
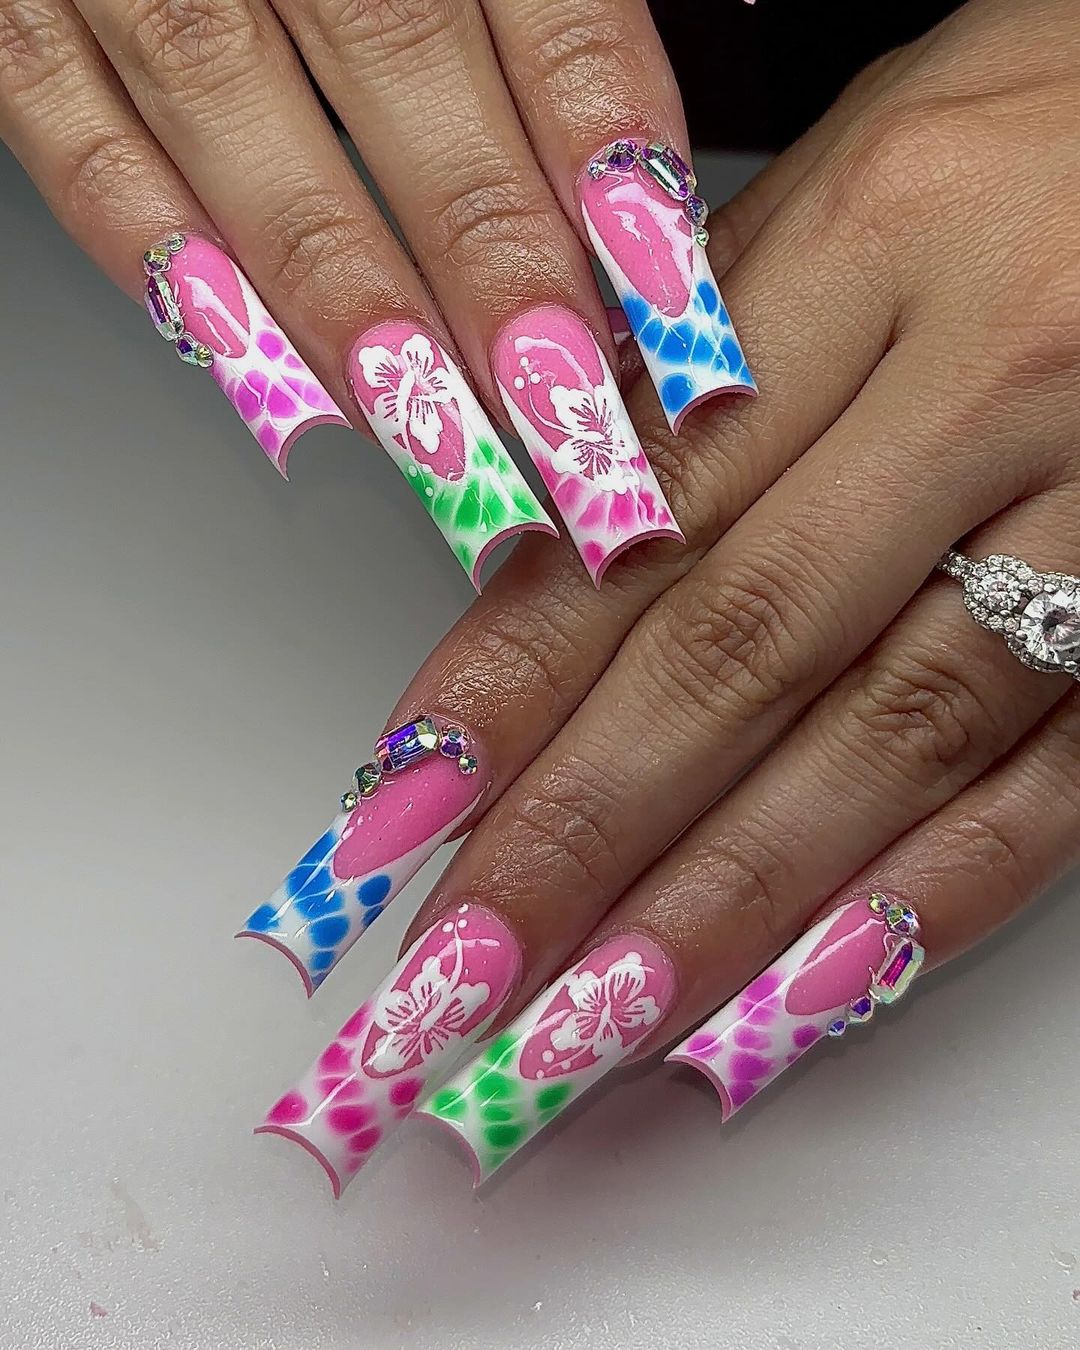
Colorful Square French Tips On Pink Base
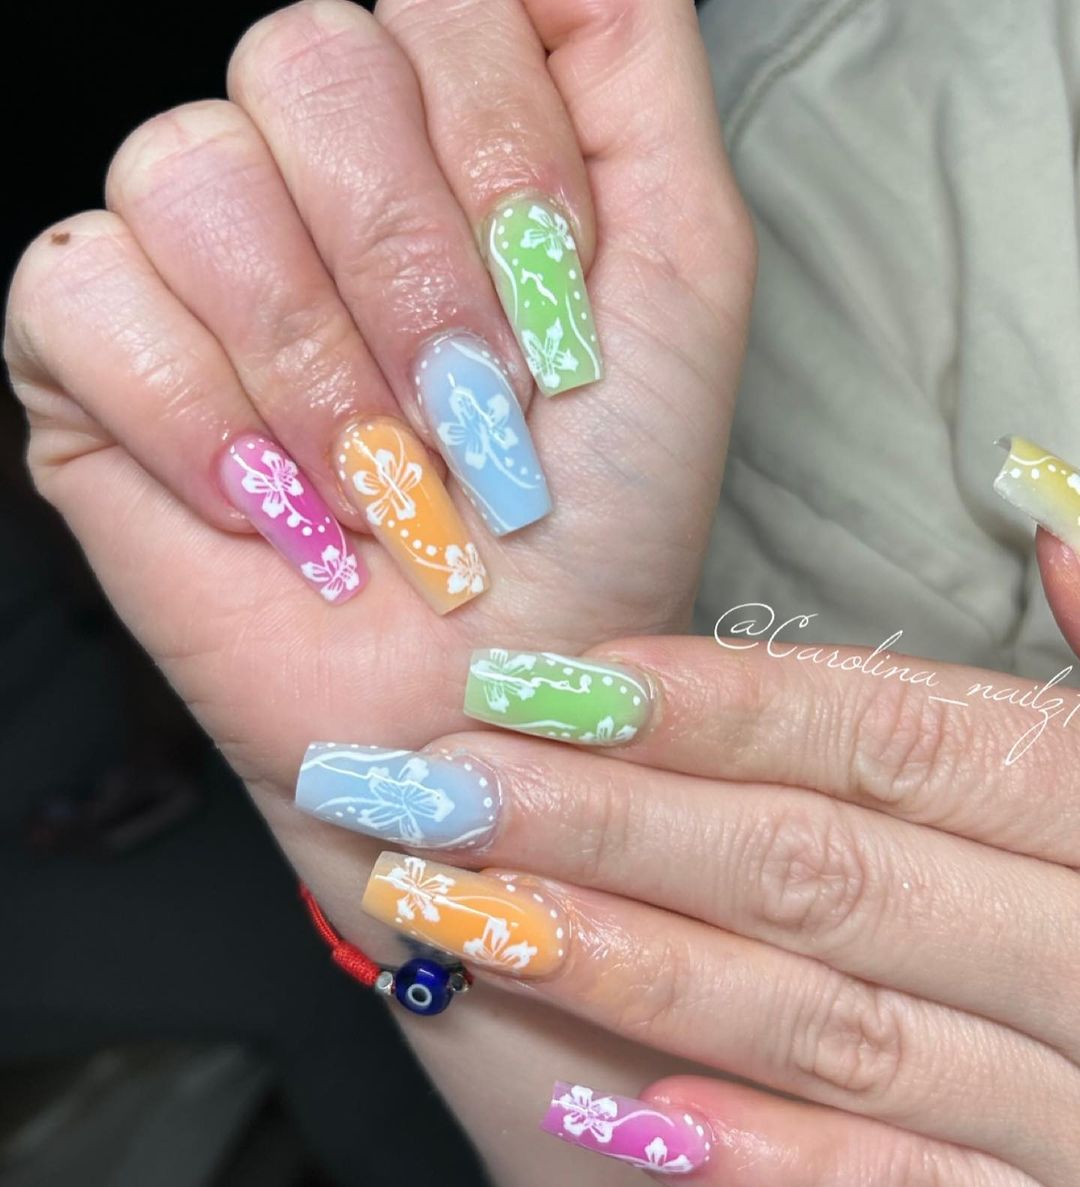
Colorful Pastel Nails With White Hibiscus Design
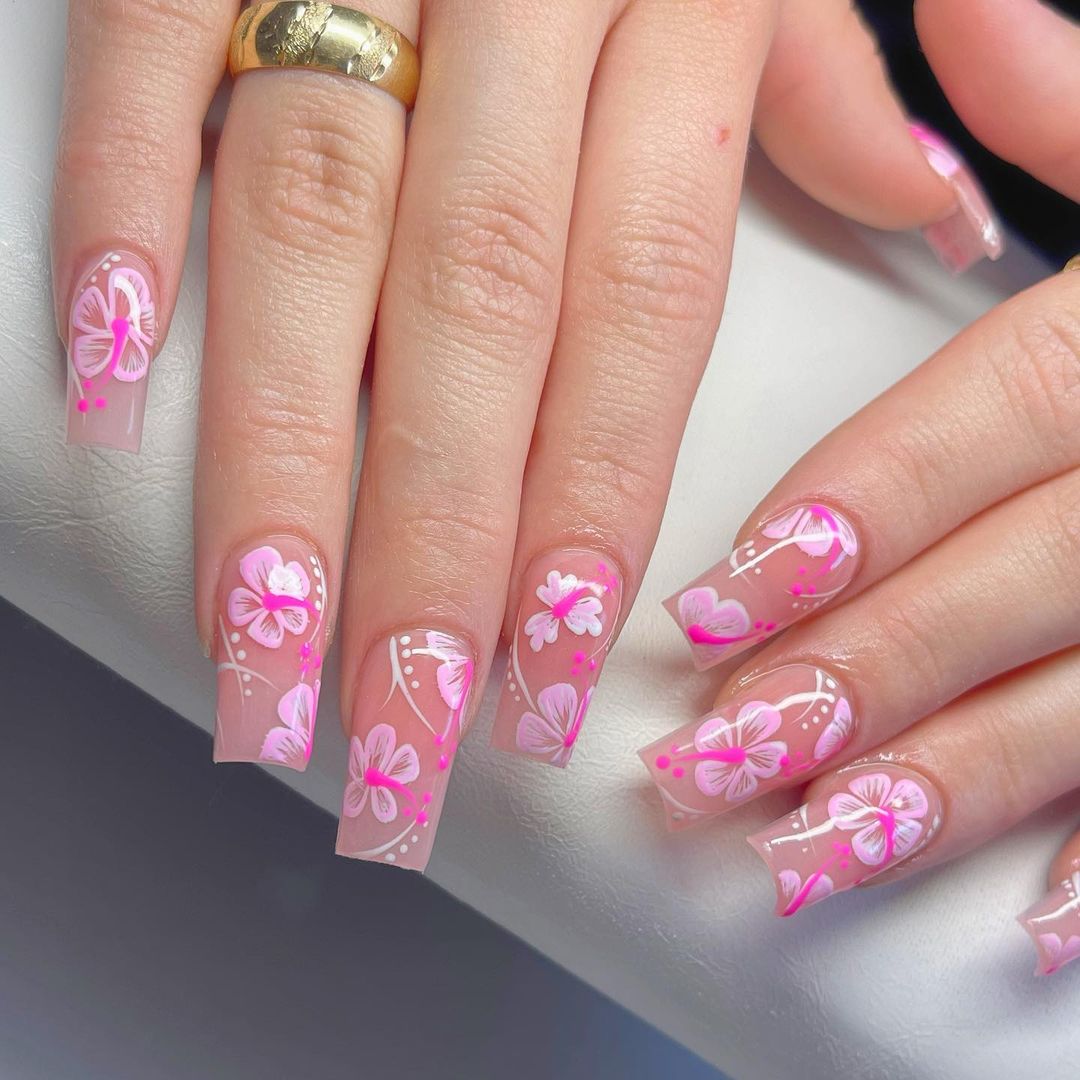
Clear Square Nails With Pink Hibiscus Flowers
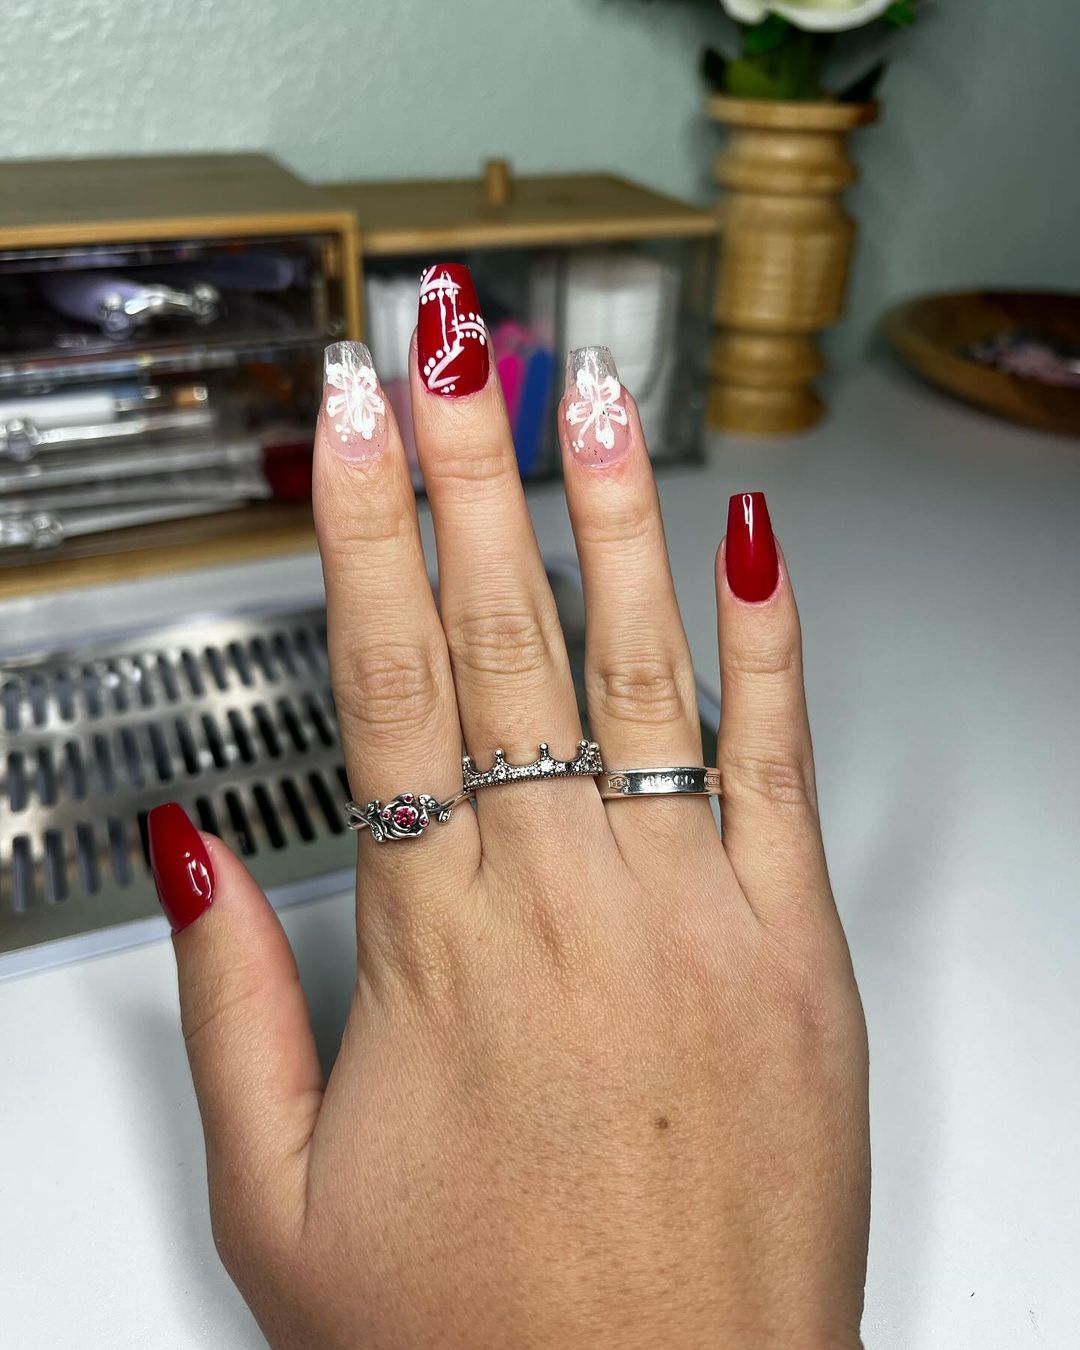
Clear And Red Short Nails With White Hibiscus Design
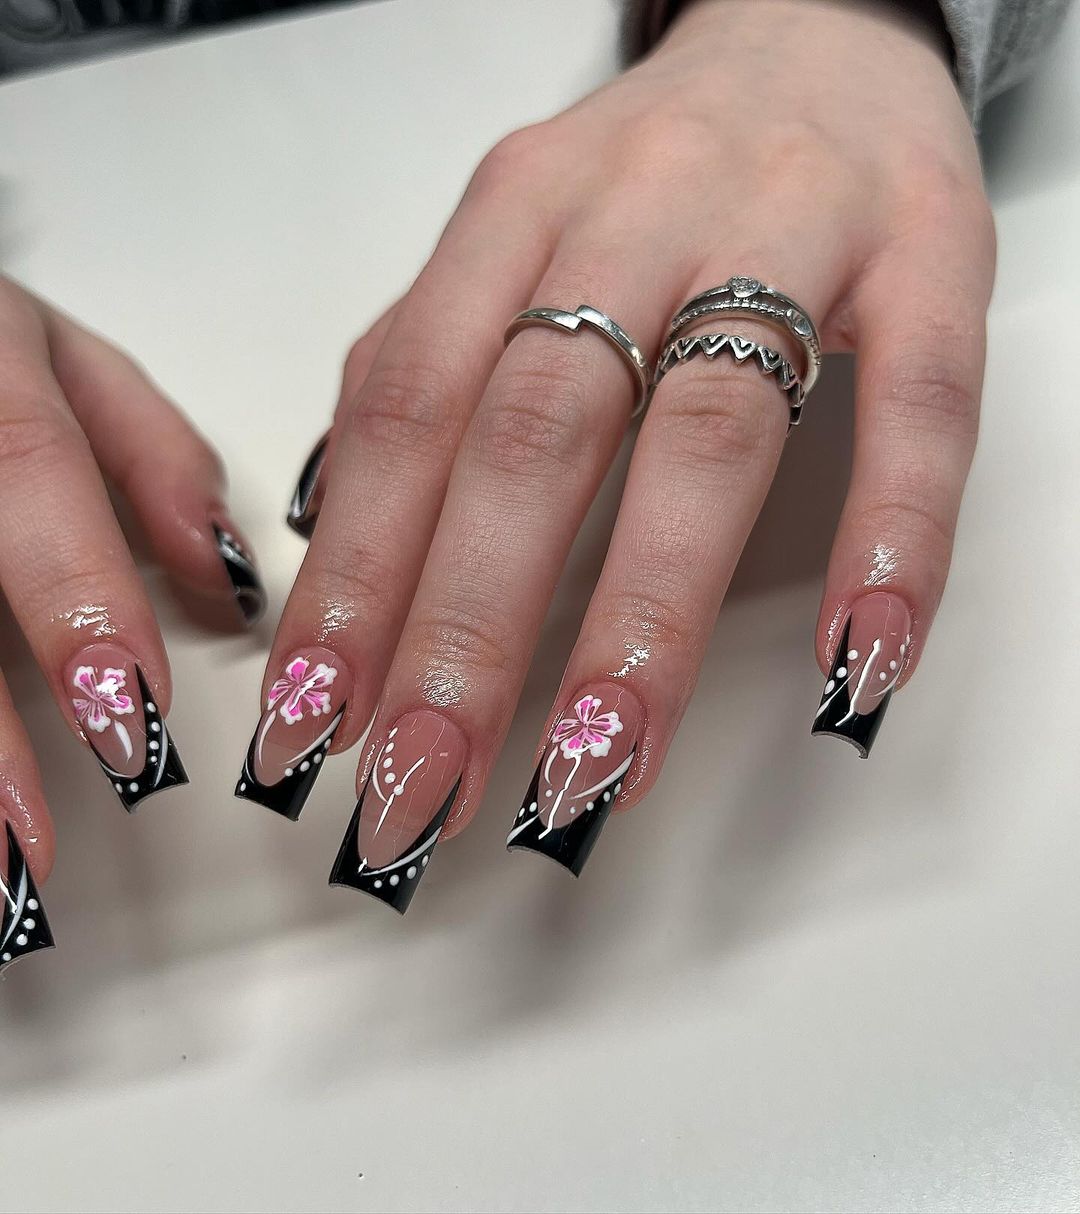
Black French Tip With White And Pink Hibiscus Flower
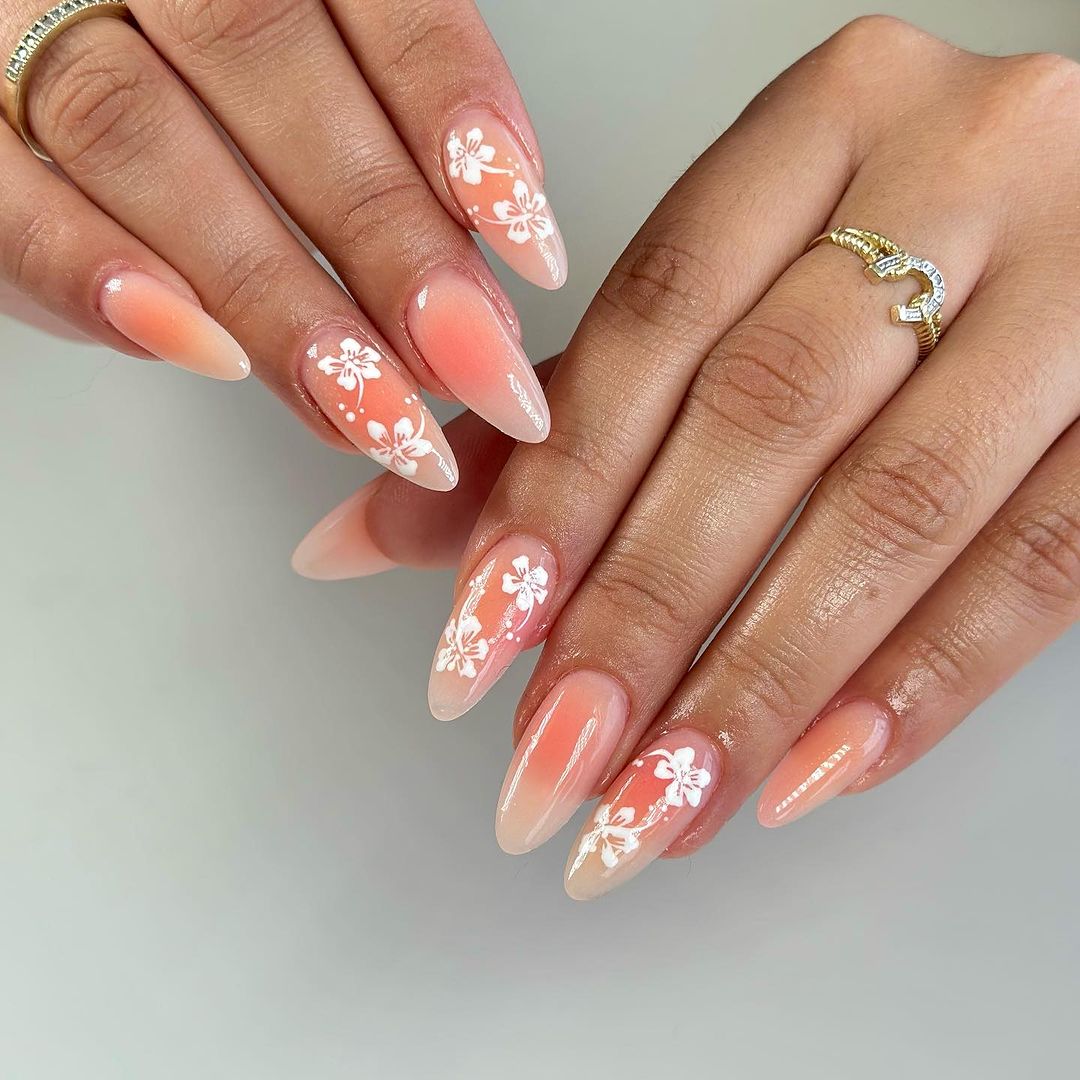
Acrylic Oval Peach Nails With White Hibiscus
Creating Your Hibiscus Flower Nail Art
To achieve the stunning effect of hibiscus flower nail art, I love to mix vivid colors with delicate detailing, creating tropical tips that catch the eye. Let me walk you through the process from prep to polish.
Gathering Supplies and Prepping Nails
I start off by ensuring my nails are clean, filed, and buffed. It’s essential for the final look that my canvas is smooth.
Here’s what you’ll need to get started:
- Base coat: To protect my nails from staining and to make my manicure last longer.
- Nail polishes: I choose a nice pink, orange, and yellow to create a gradient effect for the petals.
- Top coat: This seals in my art and adds a glossy finish.
- Dotting tool: Necessary for those intricate details.
- Fine brush: To draw precise lines and add dimension.
I apply a base coat first to shield my nails. It’s crucial to let each layer dry thoroughly before moving on to the next step.
Painting Basic Petals and Adding Color
Now for the fun part—bringing hibiscus flowers to life! I begin by painting a light pink base on my nails. Once that’s dry, I use a thin brush to create the outline of the petals in a darker pink for contrast. Here is the exciting gradient technique I follow:
- Apply the base color: Light pink polish applied evenly across each nail.
- Create a gradient: Sponge on a blend of pink, orange, and yellow to form a tropical backdrop.
- Outline petals: Using a fine brush, I outline the petals with a darker shade to add depth.
These steps ensure that the petals look vibrant and natural, truly embodying the exquisite beauty of hibiscus.
Detailing with Dots and Lines
The difference between a good nail art and a great one lies in the details. I take my dotting tool and fine brush to add the finishing touches:
- Pistil and stamens: Small dots in a deep shade in the flower’s center.
- Veins in petals: Thin lines emanating from the center using a lighter color.
- Adding texture: Tiny dots along the edges for extra dimension.
I give careful attention to the dotting and line work because that’s what gives the illusion of delicate hibiscus flowers resting on my nails. The final step is a top coat to secure my art and add an eye-catching shine. Voilà, my tropical tips are complete!
Adding the Finishing Touches
Once I’ve got those vibrant pink petals sitting pretty, it’s time to protect and glam up the hibiscus art on my nails. I’m talking about making sure those flowers last through summer days and sparkle at every flip of my hands.
Perfecting the Floral Designs
When I’m adding my floral designs, careful attention to detail is key. I often use a fine brush to outline my hibiscus flowers with precision.
It’s crucial to get the shades right; I usually mix a hint of magenta to nail that authentic hibiscus color. For depth and realism, I add subtle highlights and shadows to the pink petals. The result? Each flower looks as delicate and soft as a real one.
- Outline: Fine brush with magenta highlights
- Details: Add highlights and shadows for depth
- Petal Tips: Dot with a lighter shade for a sun-kissed look
Sealing with a Top Coat for Durability
Next, to keep the beauty from fading, I swipe on a robust top coat over my nail art. This shield locks in color and turns those soft floral details into durable little masterpieces. Whether I’m typing away at work or splashing around at the pool, my manicure stays flawless.
- Top Coat Application:
- Apply a generous amount
- Cover all nail art thoroughly
- Allow to dry completely for a chip-resistant finish
Incorporating Glitter and Accent Nails
Lastly, no summer look is complete without a little sparkle.
I often press a sprinkle of glitter onto an accent nail, creating a balance between flashy and sophisticated. Plus, experimenting with short square nails has been fun; they provide a great canvas for hibiscus nail art ideas.
The glitter dances in the sunlight and makes for the perfect eye-catching complement to my nail story.
- Glitter Placement:
- On accent nails for a pop
- Alongside edges of petals for extra shine
- Spread evenly for a subtle twinkle

Leave a Reply
View Comments