Garden Edging Borders: Easy Tips for a Beautifully Defined Yard
Garden edging serves a practical and aesthetic purpose in my home garden. It’s like drawing a line that tells the grass exactly where its territory ends and my flower beds begin. But it’s not just about functionality; the right garden edging can elevate the beauty of the outdoor space, creating a crisp, clean look that […]

Garden edging serves a practical and aesthetic purpose in my home garden. It’s like drawing a line that tells the grass exactly where its territory ends and my flower beds begin.
But it’s not just about functionality; the right garden edging can elevate the beauty of the outdoor space, creating a crisp, clean look that complements my home’s style.
Every time I step outside, I’m greeted by the neat borders that frame my little patches of paradise, not just keeping the lawn in check but also enhancing the overall appearance of my garden.
When I began picking out materials for my garden edging, I took into account both durability and design.
I wanted to ensure that the materials would stand the test of time against the elements, but also that they matched my vision for the garden’s look and feel.
The installation process required some planning too.
I had to consider the layout of my garden, the type of soil, and what tools I might need.
Getting the edging right meant having both a good eye for design and a willingness to get my hands dirty.
Key Takeaways
- Garden edging defines space and adds aesthetic appeal to the garden.
- Choosing durable materials that complement your home’s style is crucial.
- Proper installation requires planning and can enhance the edging’s functionality and appearance.
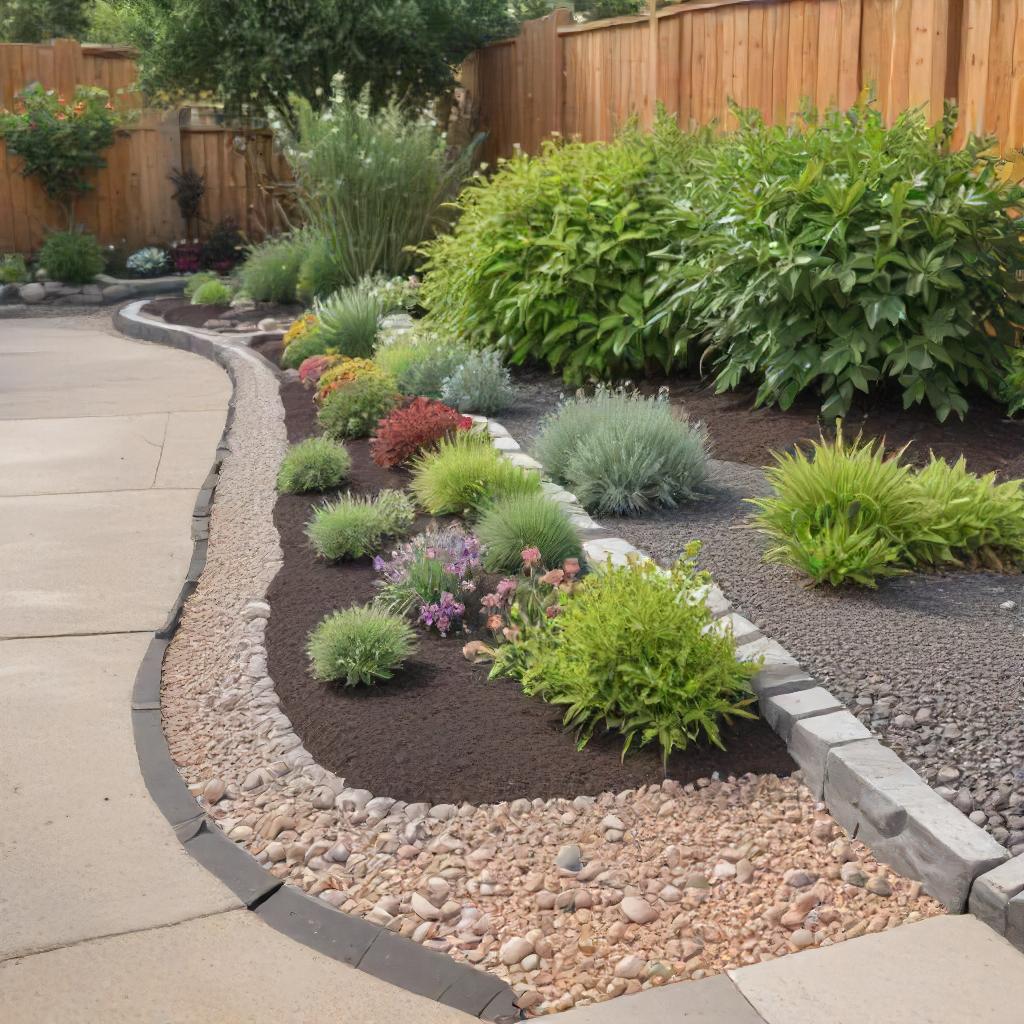
Gravel And Brick Edgings
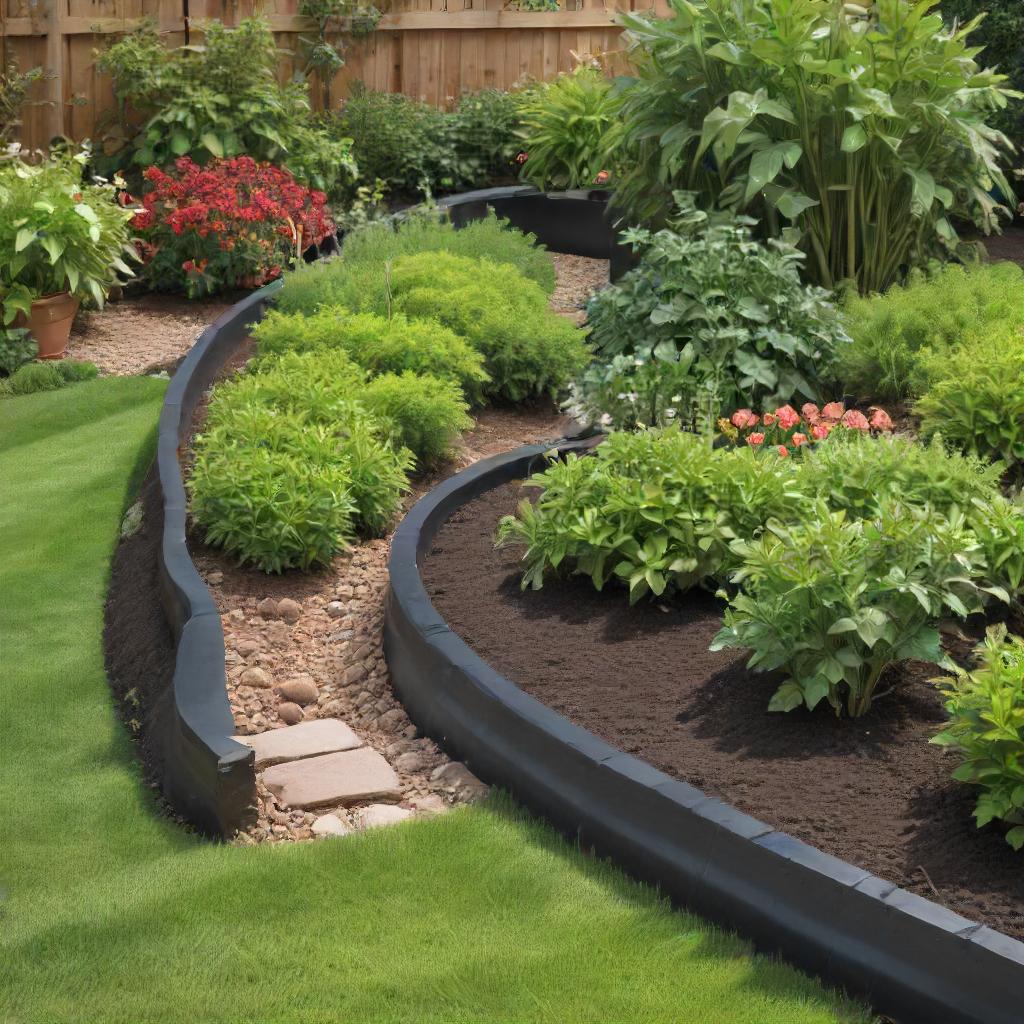
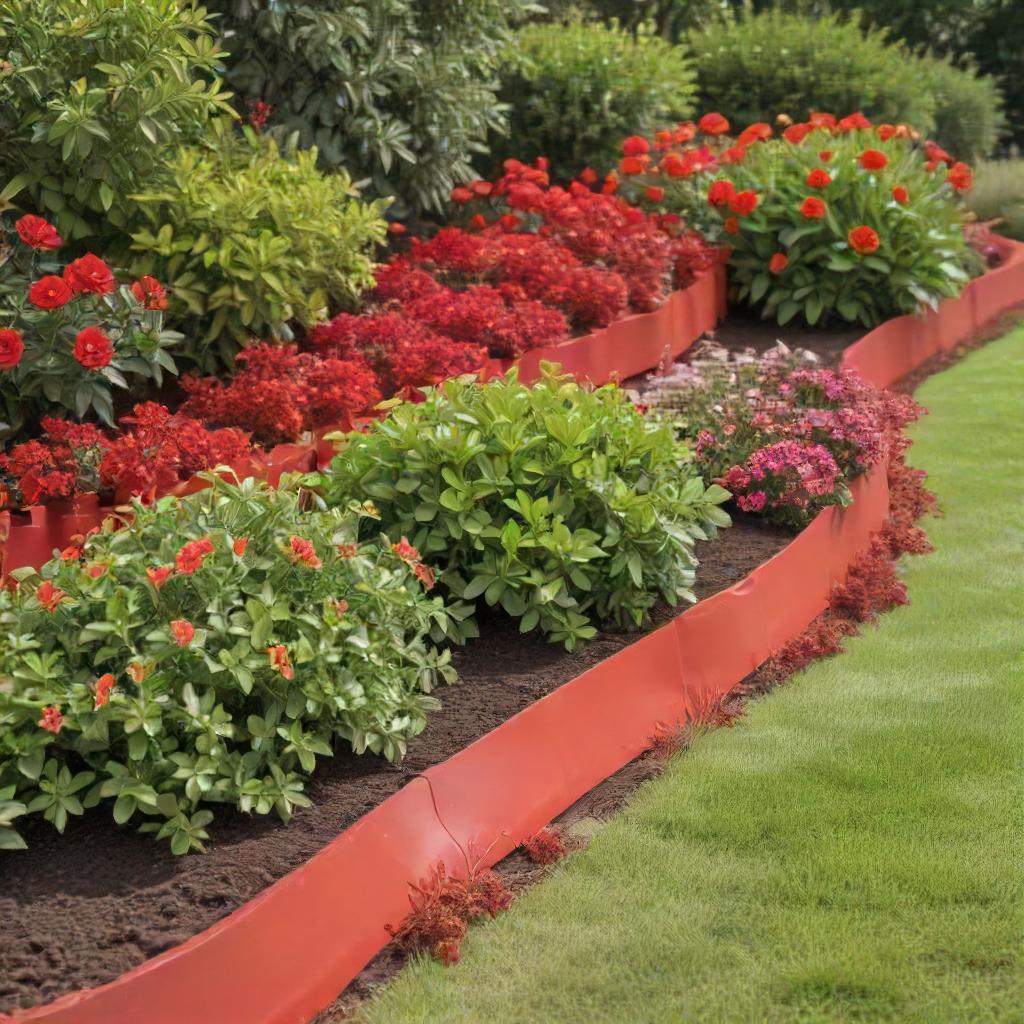
Black Rubber Edging
Woven Willow and Pebbles Edging
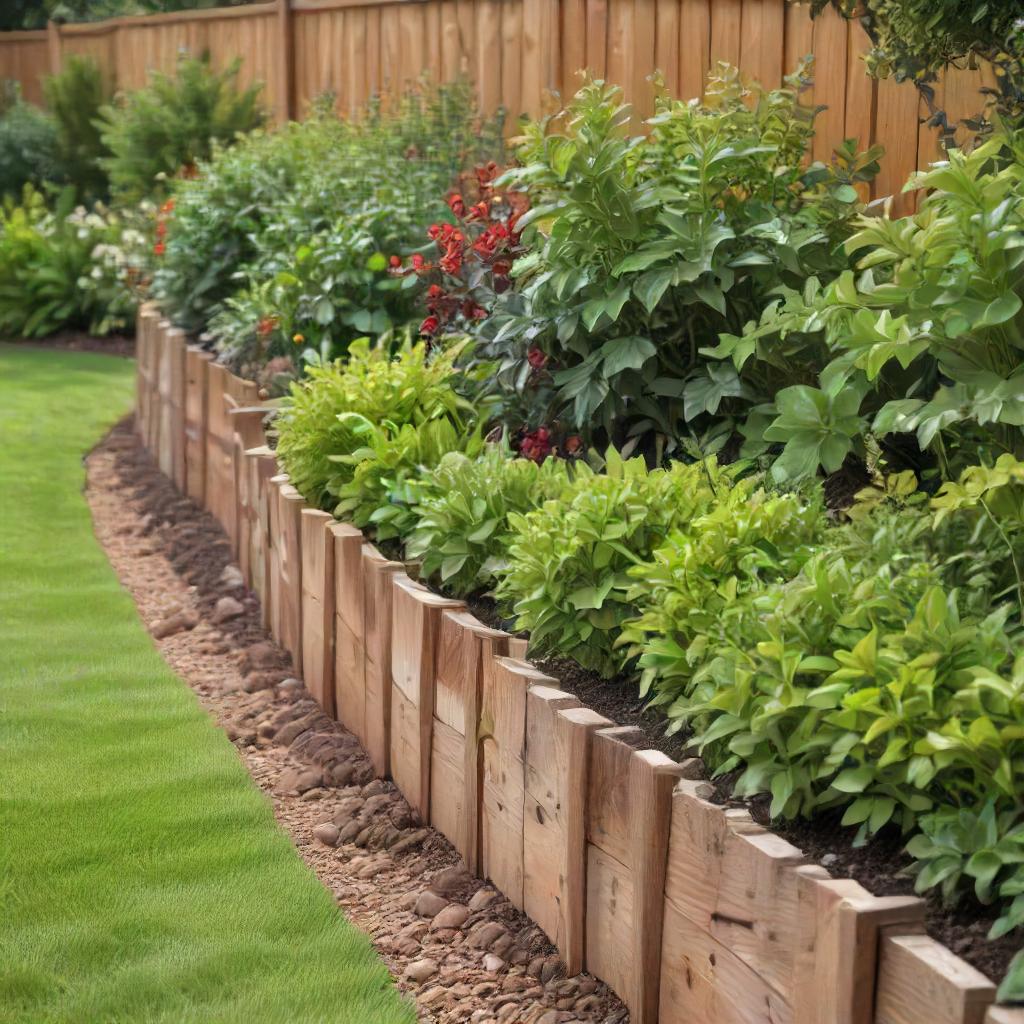
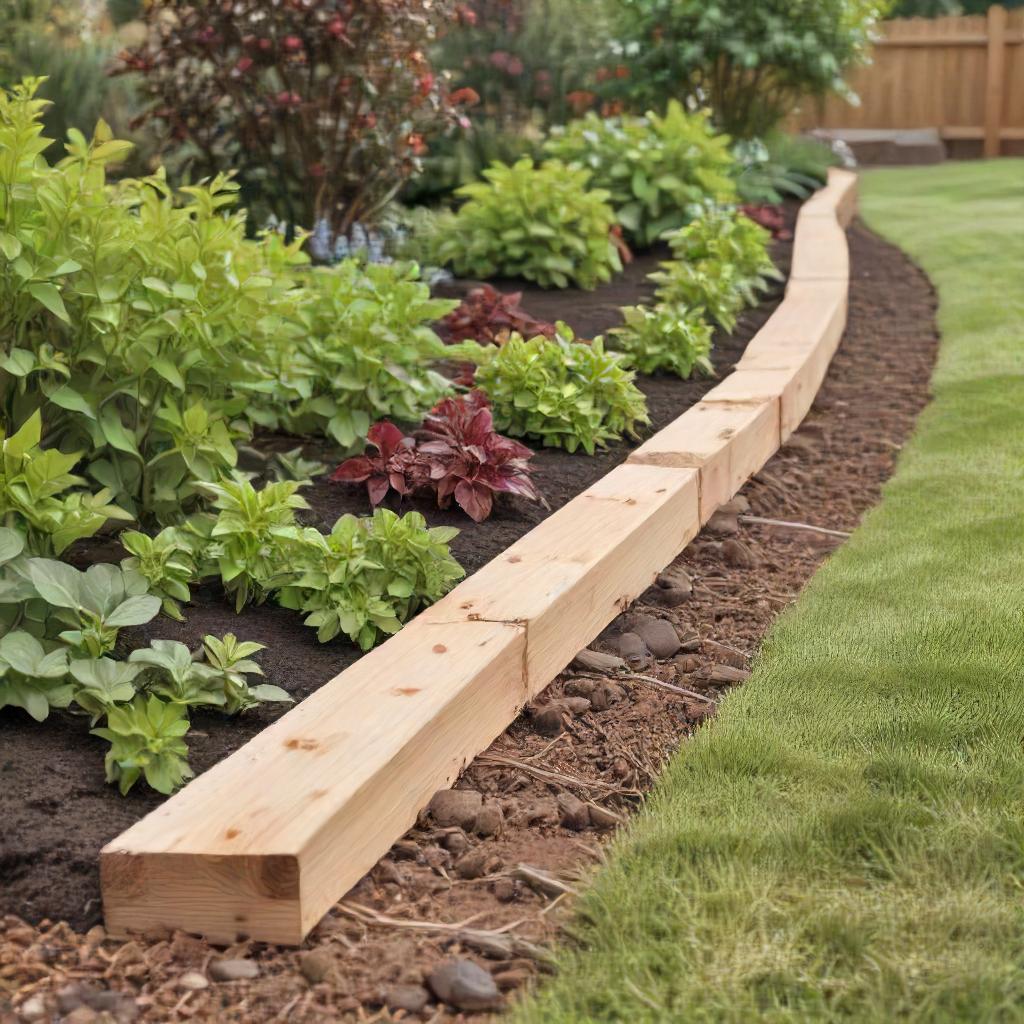
Raised Bed Vertical Wood Edgings
Two-Tiered Rubber Edging
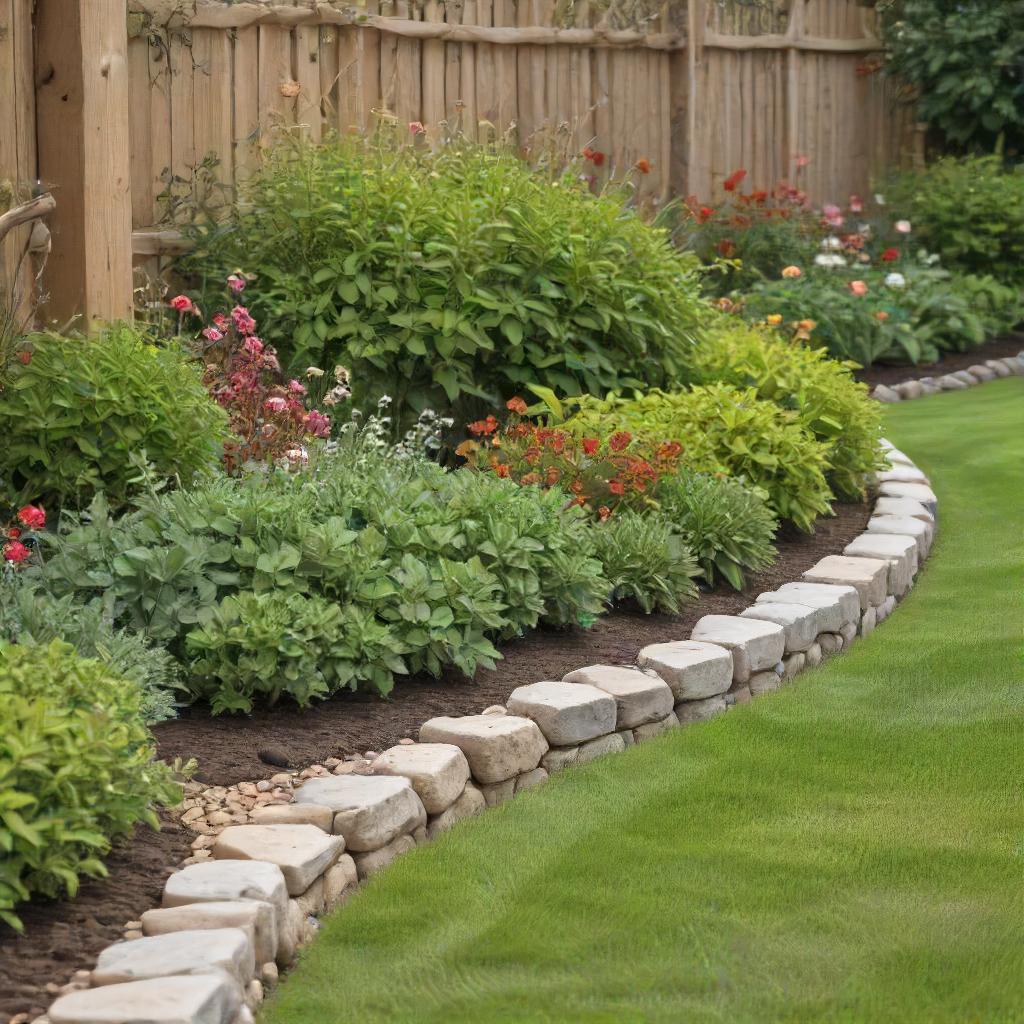
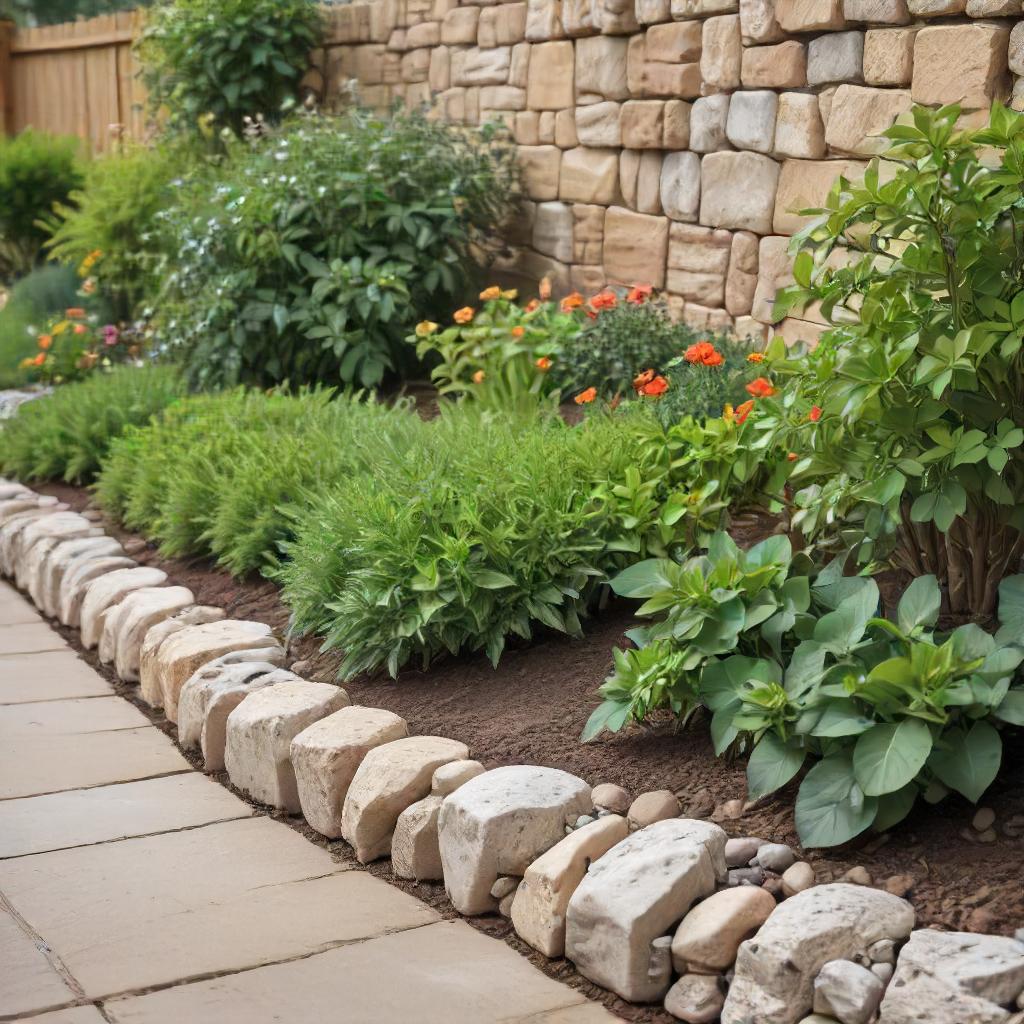
Stacked Stone Garden Edgers
Sawn Granite Sett Garden Edging
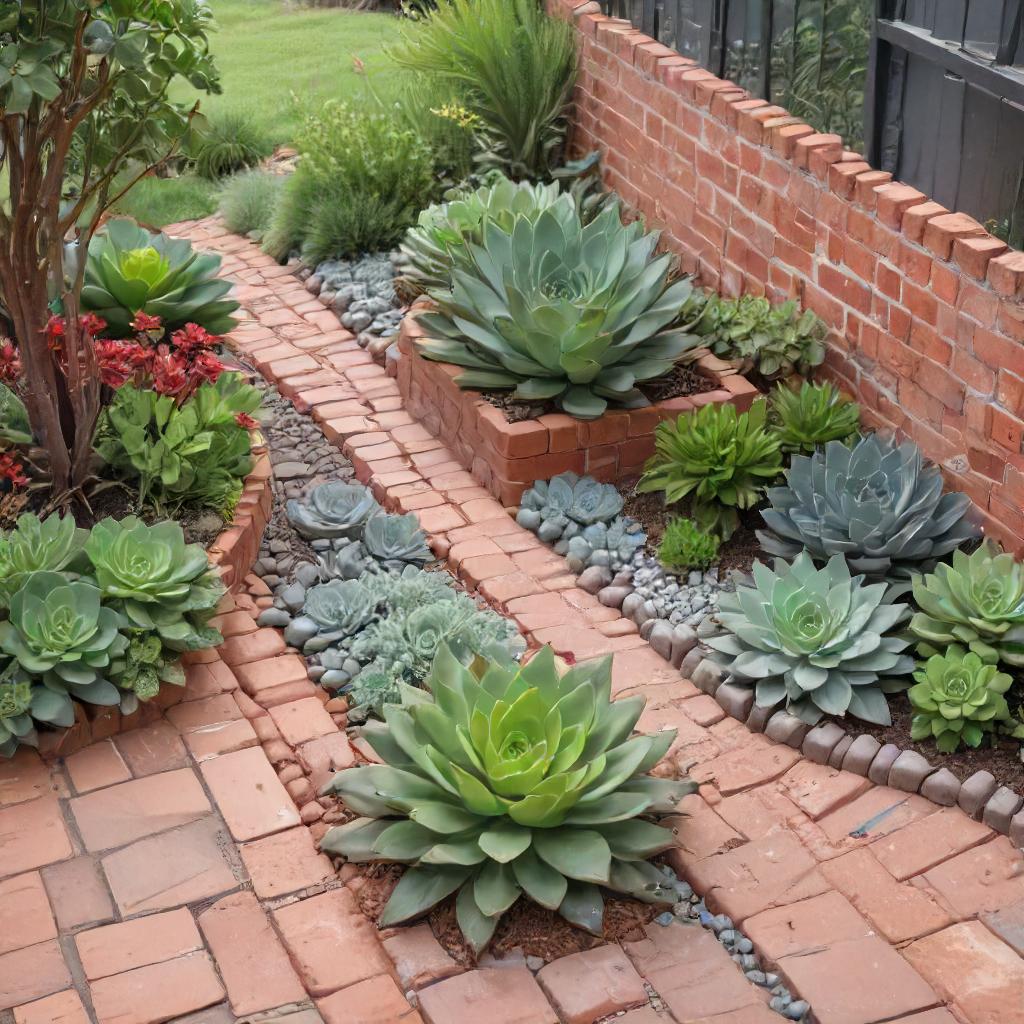
Red Bricks Edgers And Raised Beds
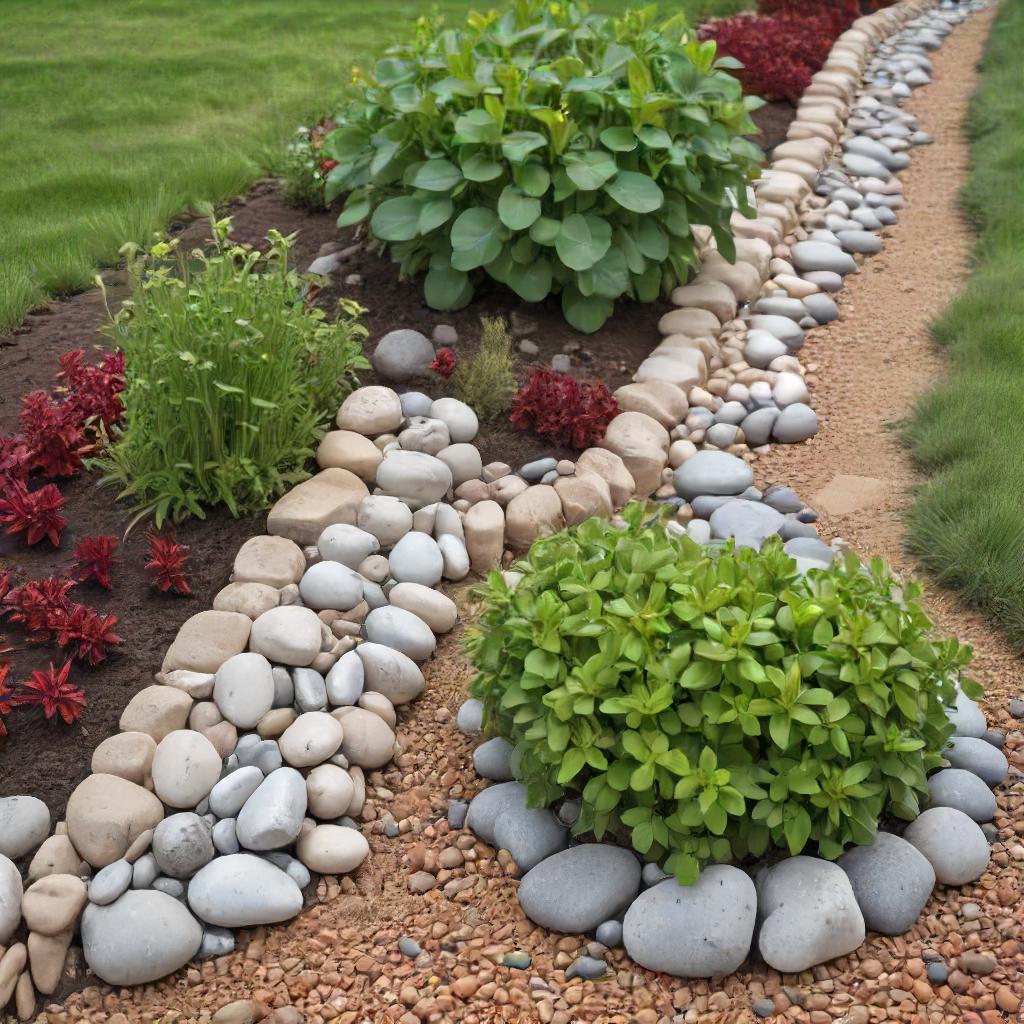
Pebble Edgers
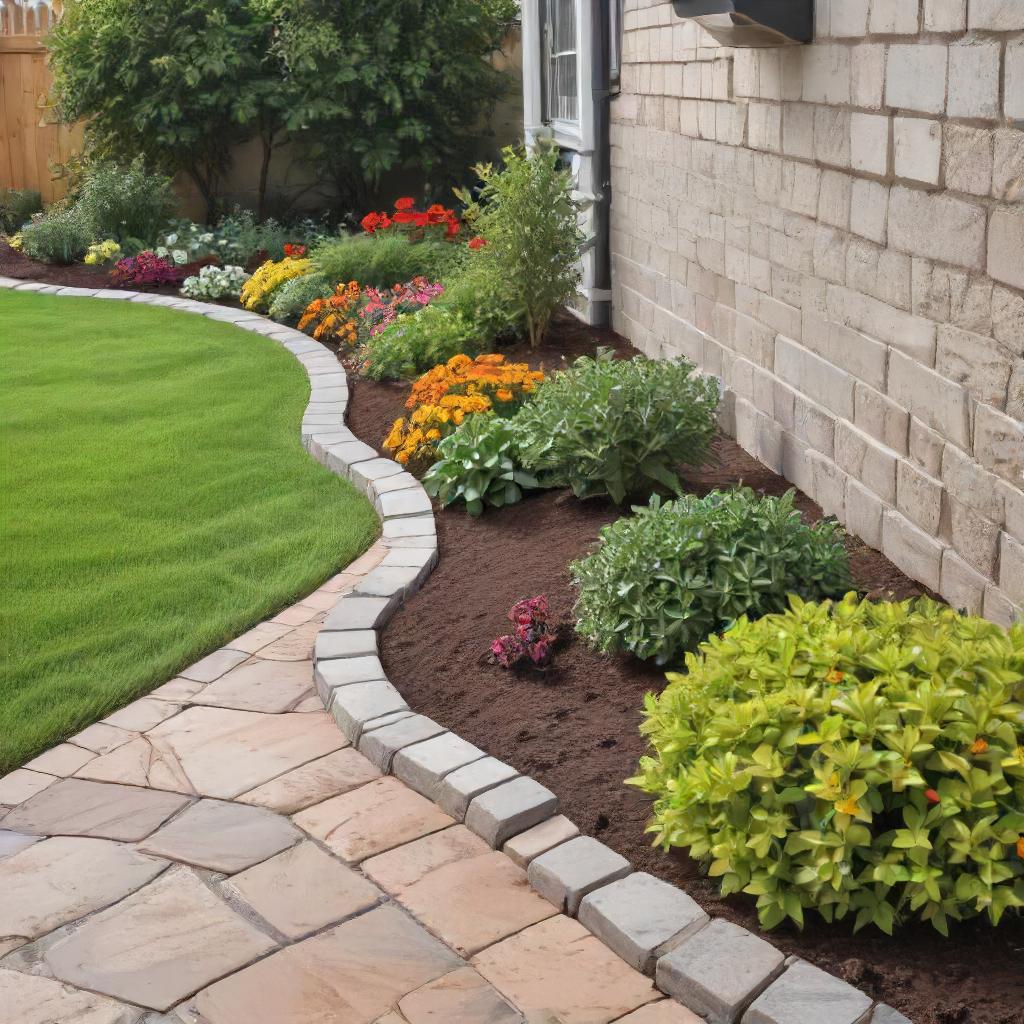
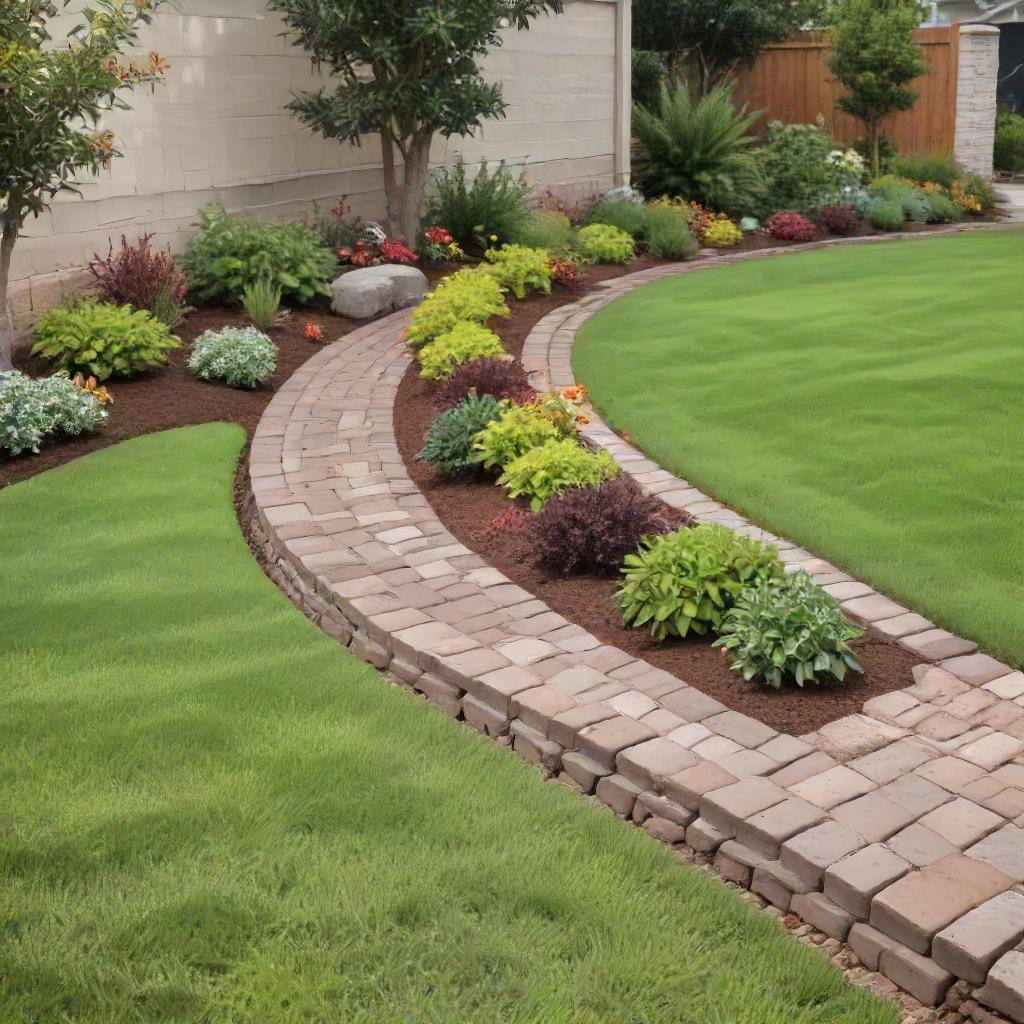
Pavers Edging In Curvy Lines
Lumber Pavers Edging
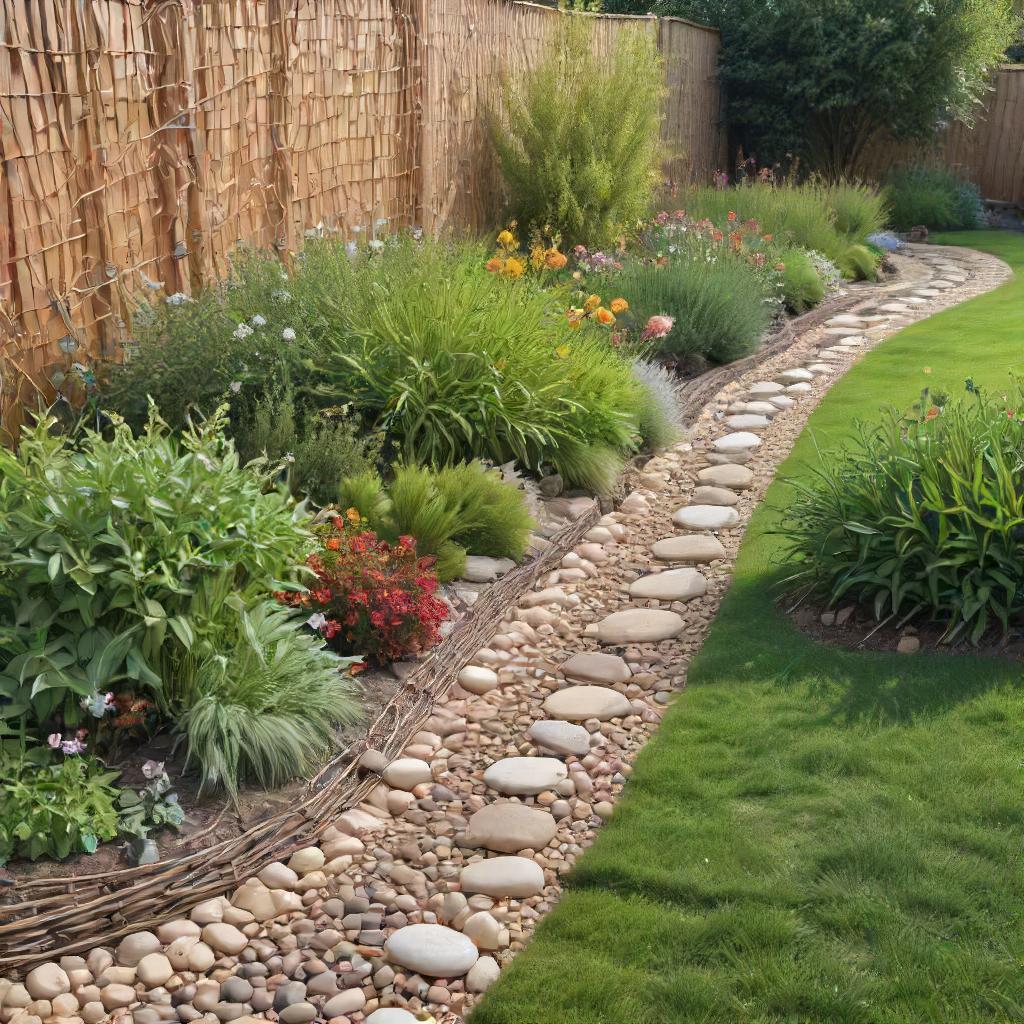
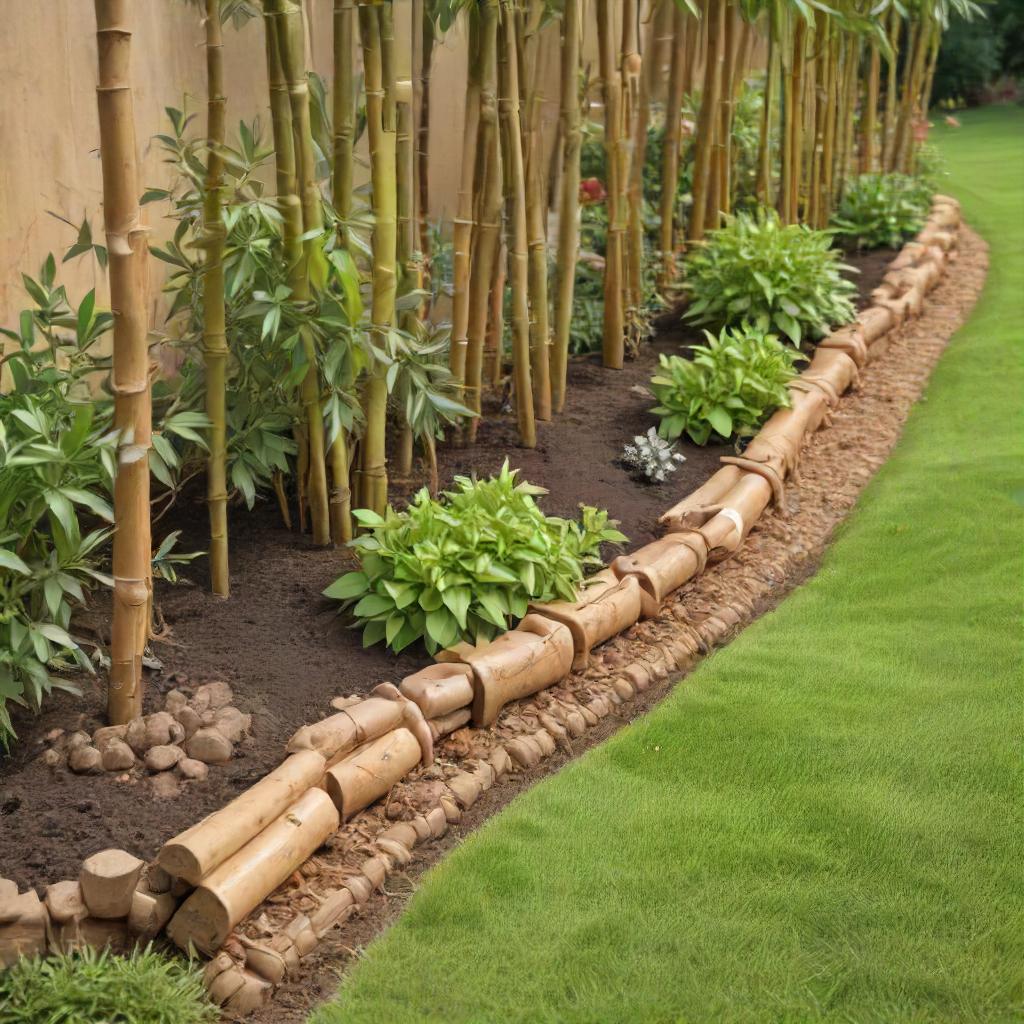
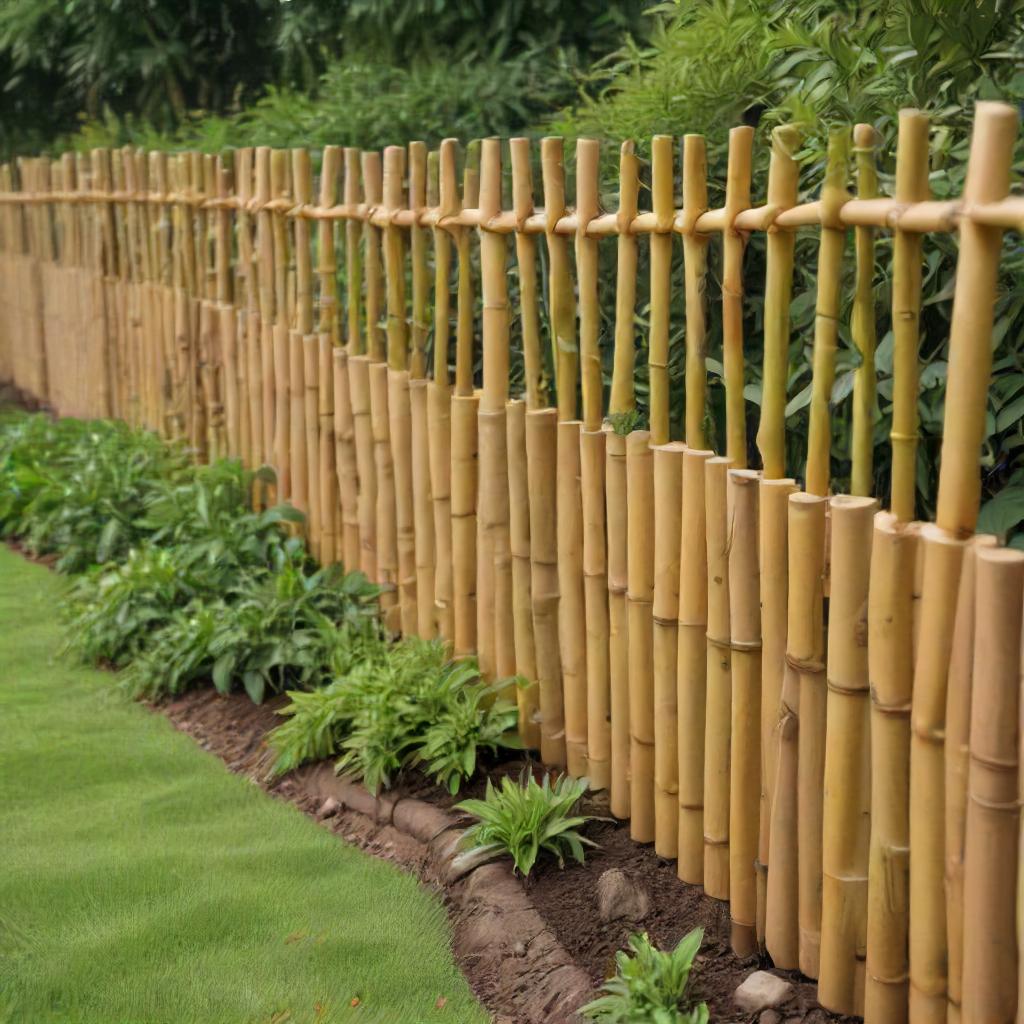
Laid Down Bamboo Sticks Edgings
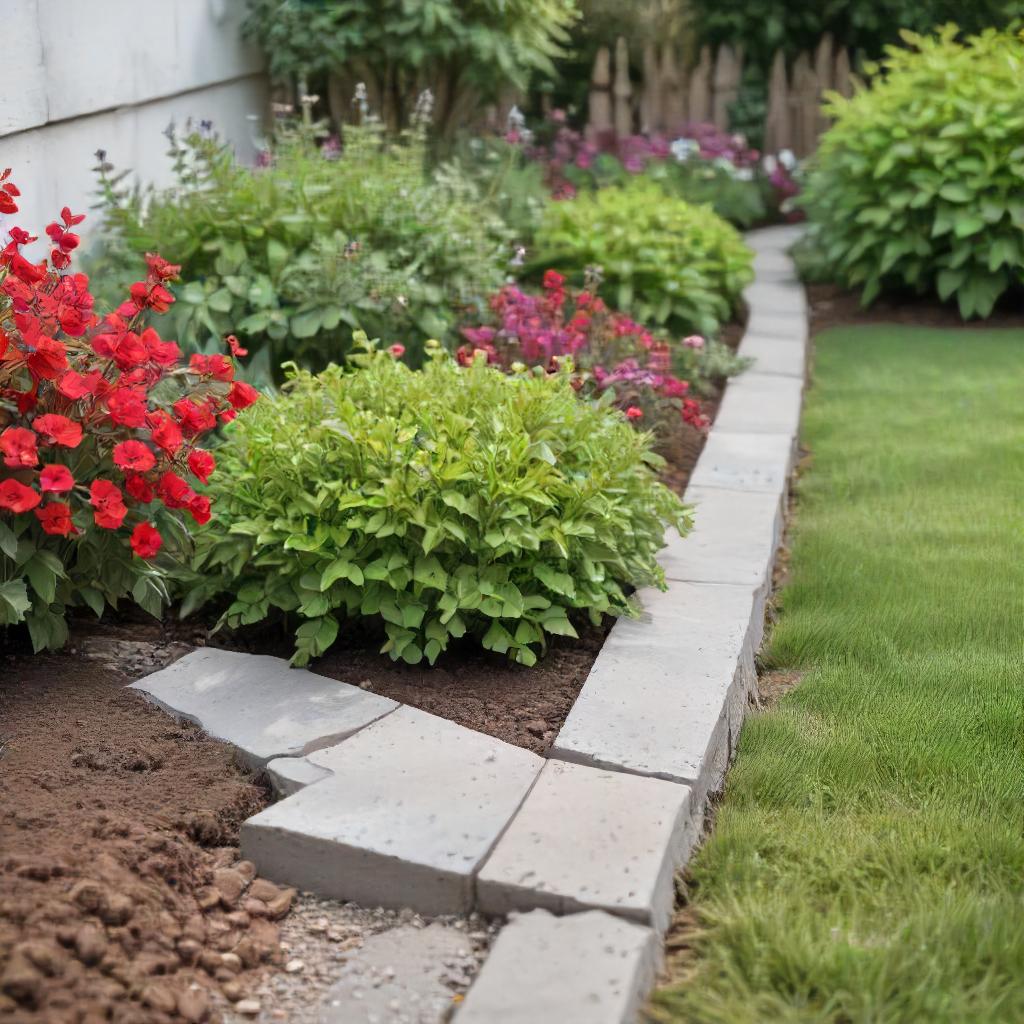
Garden Edgers With Pavers
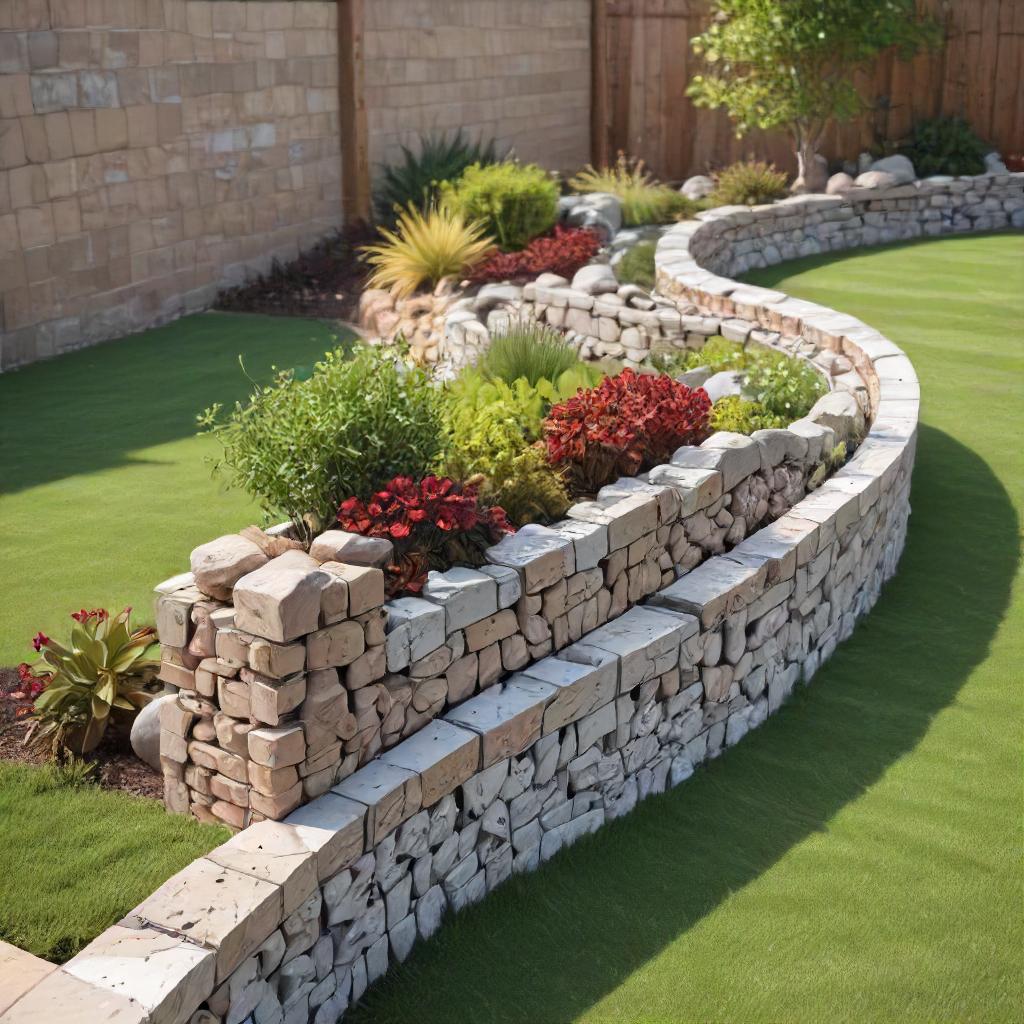
Gabion Garden Wall Edgers
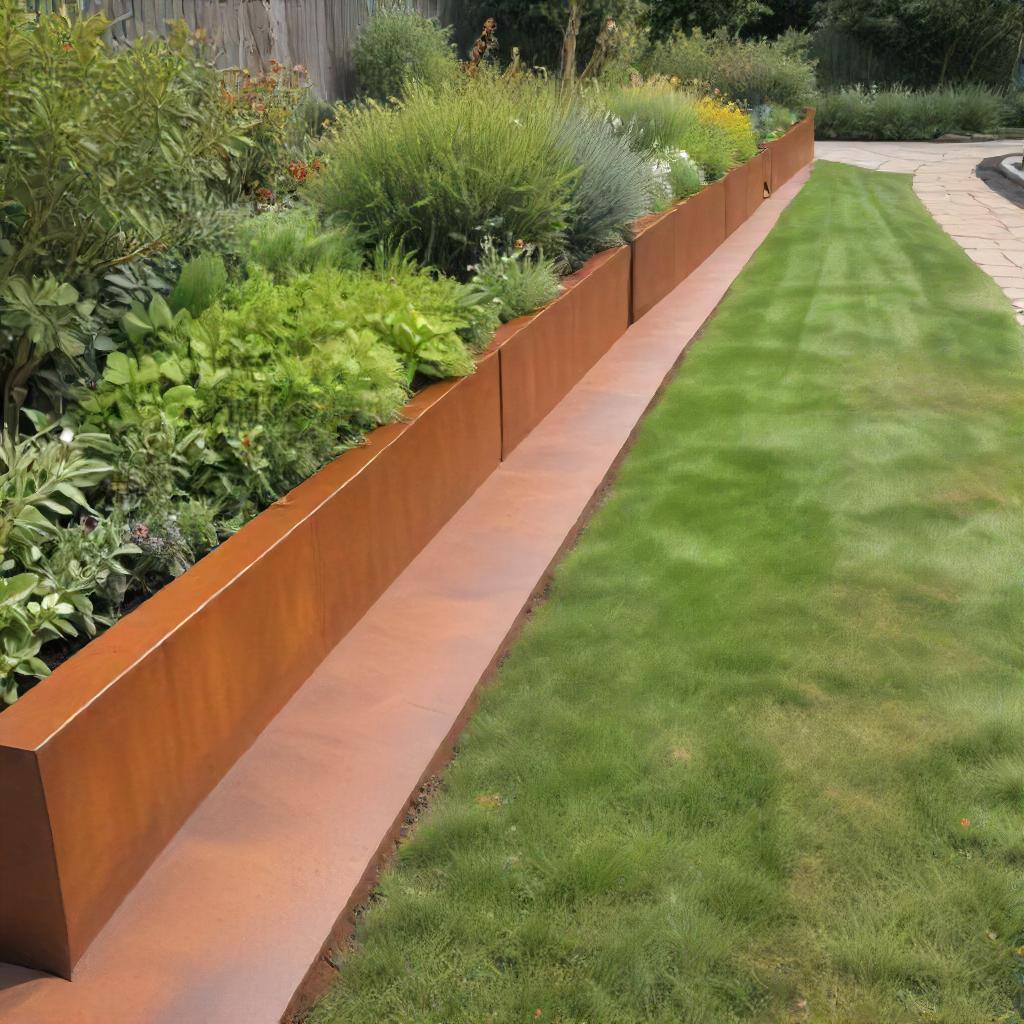
Corten Metal Raised Bed
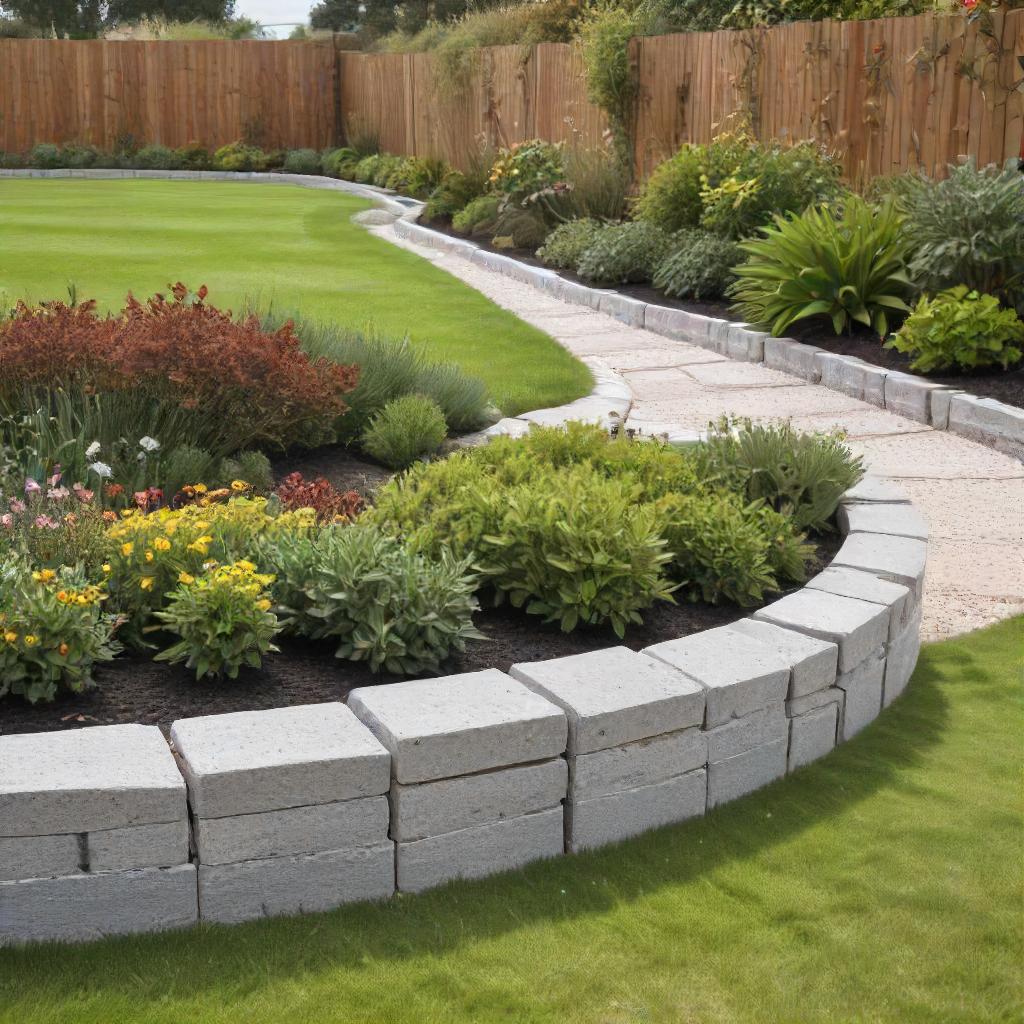
Concrete Blocks edgers
Boulders And River Stone Edgers
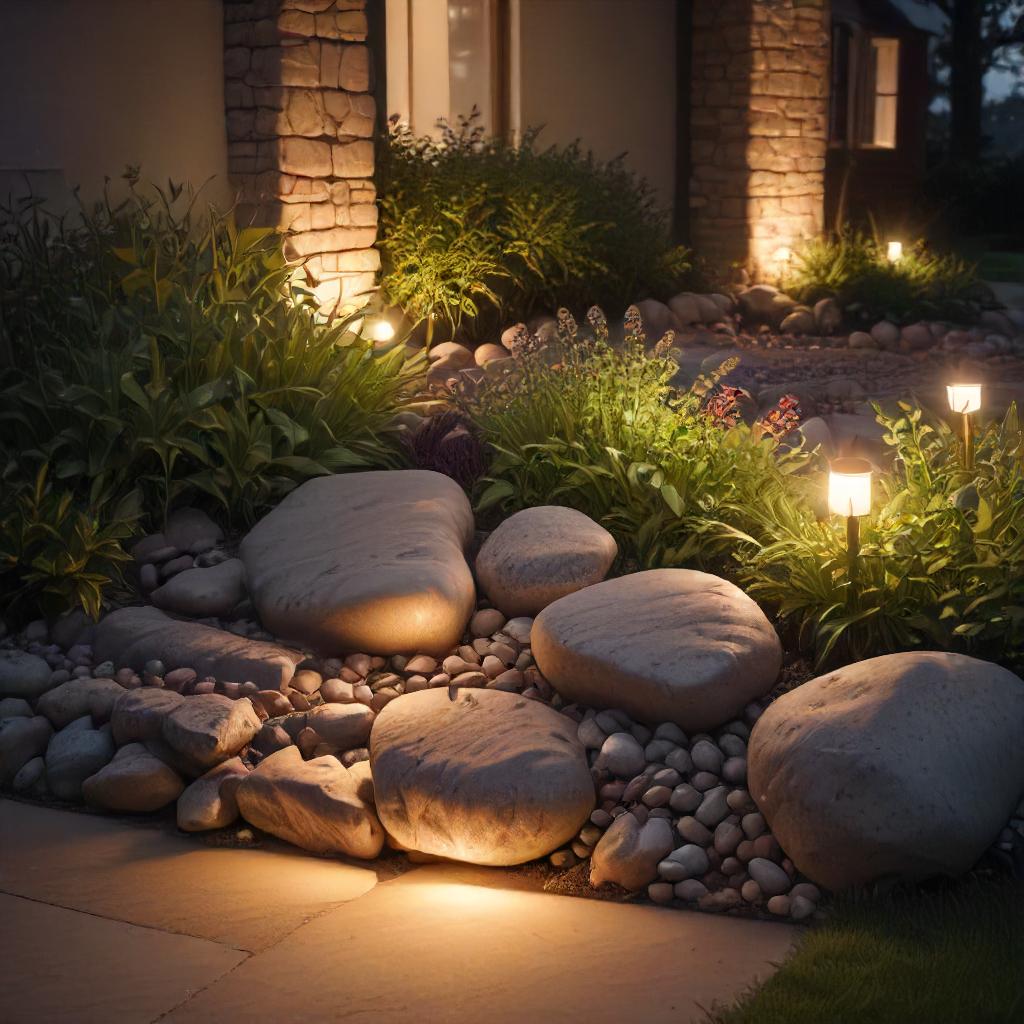
Big Stone Edger
Bamboo Fence Border Edger
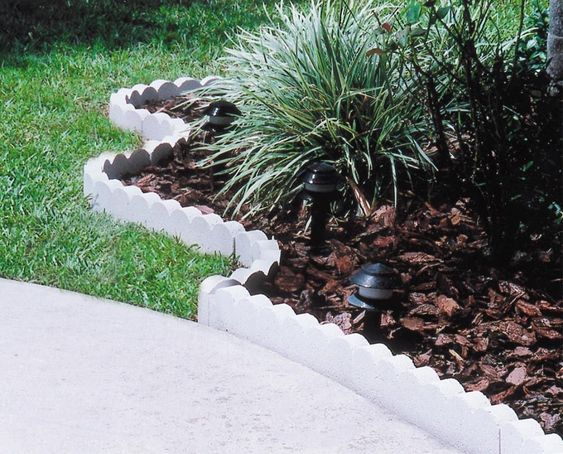
Scalloped Edging
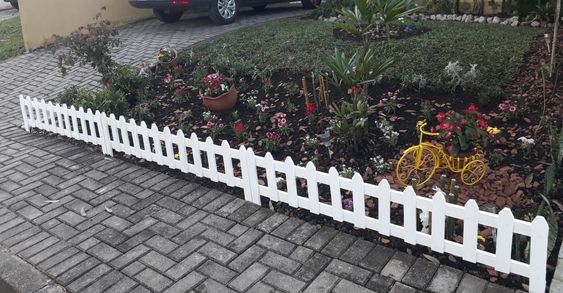
Small Picket Fence Edging
Choosing the Right Materials
When I’m picking materials for garden edging, I think about longevity, cost, and how much upkeep they’ll need.
Whether I’m drawn to the charm of natural stone or the durability of metal, there’s a range of options to suit my garden’s needs and my personal values, especially when it comes to being eco-friendly.
Natural Materials
I adore the timeless look that natural materials give to garden borders.
Stone is a popular choice for its durability and classic appearance. Different types of stone, like flagstone and fieldstone, offer a variety of textures and colors.
Then there’s brick – it’s another dependable option that weathers beautifully over time and gives that lovely, traditional feel.
For a more rustic edge, wood or logs can be charming, but they don’t hold up as long as stone or brick.
I also like bamboo for its natural vibe and it’s pretty sturdy, but keeping it in check is key to prevent spreading.
- Stone: Durable, weather-resistant
- Flagstone
- Fieldstone
- Brick: Lasts a long time with a classic look
- Wood/Logs: Gives a rustic feel but less durable
- Bamboo: Strong, natural look; requires containment
Man-Made Materials
Sometimes, man-made materials are the way to go for edging. They can be more uniform and easier to work with.
Concrete edges are pretty tough and can mimic the appearance of stone at a lower cost.
Plastic edging is really budget-friendly and easy to install, but it may not last as long compared to other options.
Then there’s metal edging, which is solid and gives a clean, modern line. It’s got longevity but can be pricier and may need a bit more work to install.
- Concrete: Mimics stone, durable, cost-effective
- Plastic Edging: Inexpensive, easy to install, less durable
- Metal Edging: Long-lasting, sleek look, higher cost
Eco-Friendly Options
I’m always thinking about my footprint, so eco-friendly options are close to my heart.
Edging made from recycled plastic or rubber gives new life to materials that would otherwise end up in landfills.
These are great for the environment and they’re typically low-maintenance. As an added bonus, they’re often more affordable and can last quite a while.
It feels good knowing my garden is bordered with materials that are kinder to our planet.
- Recycled Plastic: Environmentally friendly, low-maintenance, cost-effective
- Rubber Edging: Made from recycled tires, durable, eco-conscious
Design and Installation Tips
Setting up garden edging is like giving your garden a tidy haircut, one that keeps the lines clean and helps everything look more put-together.
I’ll walk you through laying out your garden, the actual installation process, and some tips to keep your edging looking crisp.
Creating a Garden Layout
When I’m planning my garden layout, I like to think about it as sketching a roadmap for my plants and flowers.
It’s all about visualizing where I’ll need that vibrant and defined edge to separate the flower beds from the garden path.
I always suggest using a hose or a string to outline curves if you’re going for a softer, more natural look.
For a garden that pops, raised beds surrounded by edging create a dramatic and well-defined appearance.
Stick to simple and harmonious designs to maximize curb appeal – no need to make it complicated.
Here’s a pro tip: when I’m mapping out perennials, I leave a bit of breathing room for them to grow year after year without having to redo my borders.
Installation Techniques
Now, for the nitty-gritty of installation.
First and foremost, I grab my tools – a sturdy spade or a half-moon edger works wonders for digging crisp trenches. It’s like staking out your territory.
When I’m preparing to lay the edging, I’m extra careful to dig a clean line along the garden path.
Here’s how I do it:
- Measure: I measure the length of the border with a tape measure to know how much edging material I’ll need.
- Dig a Trench: The trench needs to be just wide enough to fit the edging material.
- Place the Edging: I ensure that each piece is snug against the next for a seamless look.
- Backfill the Trench: I fill in the soil and pack it down to hold the edging in place.
Remember, the key is to have the top of the edging just slightly above ground level to help with mowing and to reduce the risk of tripping.
Maintenance Advice
If you’re like me and prefer spending your weekends enjoying the garden rather than fixing it, then choosing edging that requires little maintenance is crucial.
Opt for long-lasting materials like metal or stone that can withstand the elements.
Each season, I take a quick walk around my garden borders to make sure everything is holding up and do a quick touch-up if necessary.
Keep an eye out for any areas where the soil may have settled causing the edging to shift – a simple pat down usually does the trick to realign them!
Vicky
I am a mother, wife, daughter, granddaughter, writer, living in Virginia Beach. I love creativity, ideas, crafts, arts, photography, movies, food, coffee, naps, outdoors. I love to make stuff!


