Creating a personalized photo backdrop can add a unique touch to any event, portrait session, or creative project.
As a DIY enthusiast myself, I’ve found that making my own backdrops allows for customization that can’t be matched by store-bought options.
Whether you’re preparing for a special occasion or just looking to spice up your photography, you can create a beautiful backdrop with a few simple materials and a bit of imagination.
Best of all, most of these projects are not only affordable but also easy to make, ensuring your photographs look professional without breaking the bank.
I’ve learned that the key to successful DIY backdrops is in the planning and execution.
Start by selecting a theme or color scheme that complements your subject and, from there, gather materials that fit within your vision.
Common items like fabric, paper, and paint can be transformed into stunning backdrops with a little creativity.
Techniques such as draping, layering, or painting can be applied to construct the perfect setting for your photo shoot, and the satisfaction of saying “I made that!” is an added bonus.
Remember, these DIY creations can be as simple or elaborate as you desire, catering to seasoned crafters and beginners alike.
Reader's Roadmap
Key Takeaways
- Personalizing your photo backdrop enhances photo sessions and enables complete creative control.
- Affordable materials and simple techniques can be used to craft professional-looking DIY backdrops.
- The DIY process is adaptable, catering to various skill levels and allowing for easy customization.
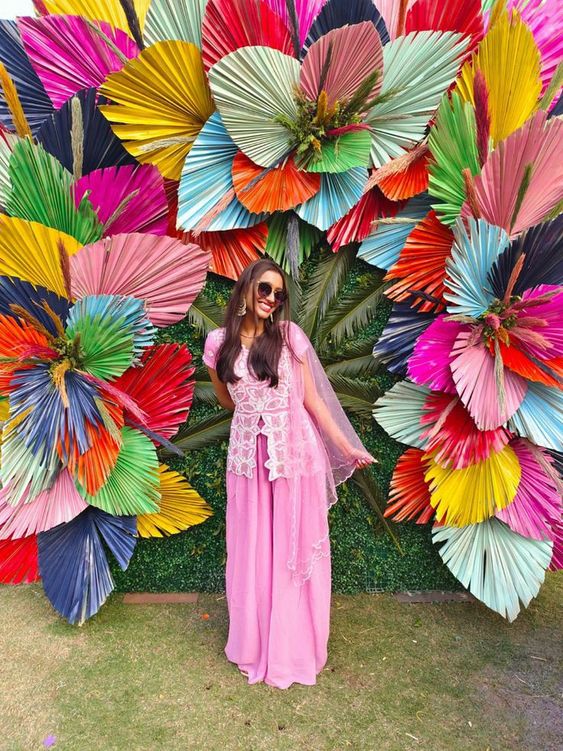
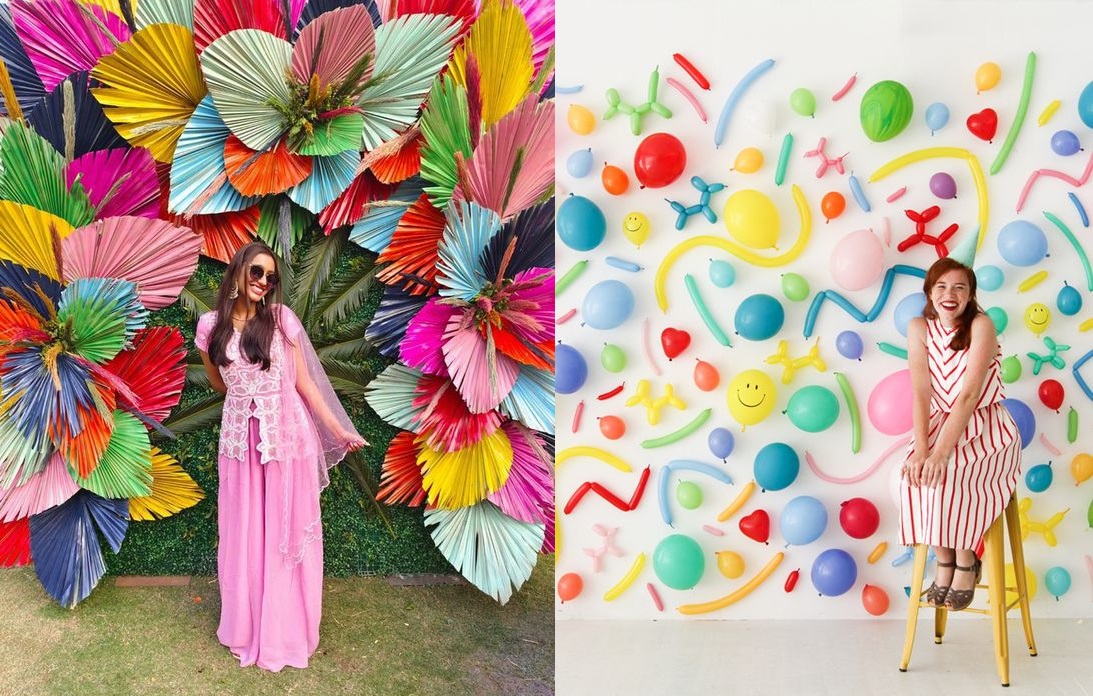
Paper Palm Leaf Backdrop
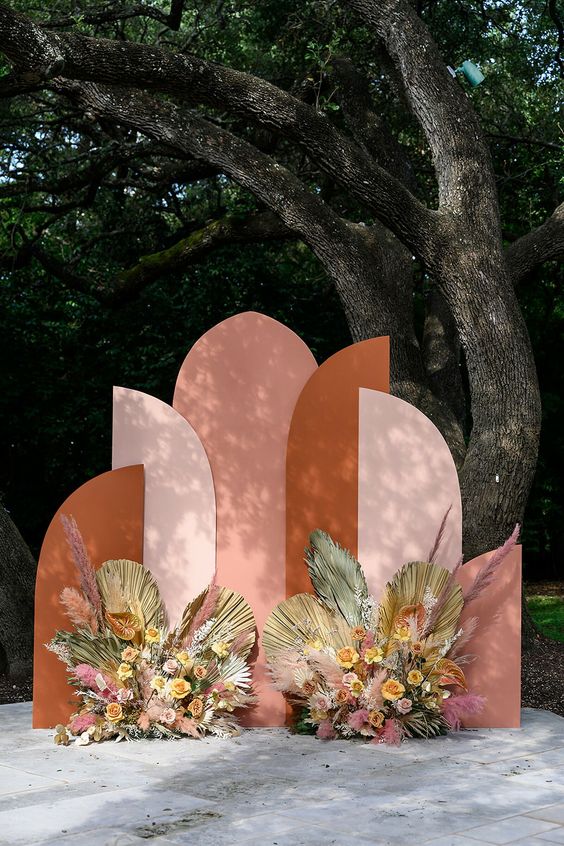
Arched And Half-Arched Panels With Flowers Backdrop
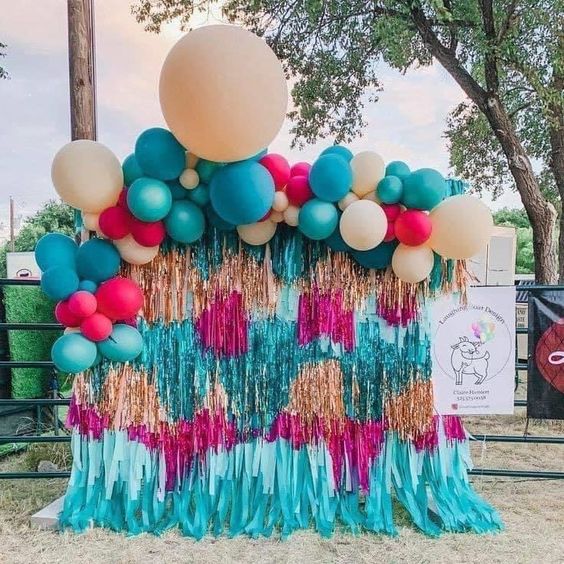
Balloon Garland And Fringe
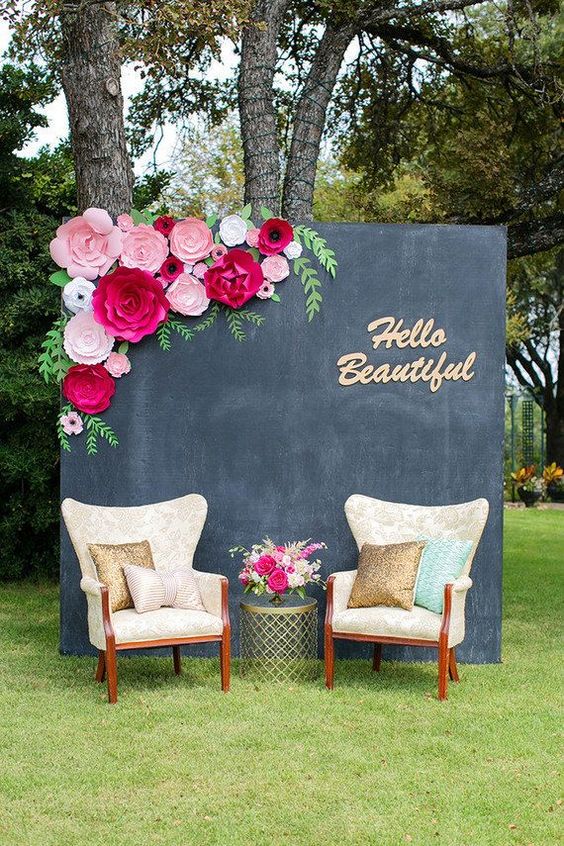
Chalkboard With Jumbo Paper Flowers
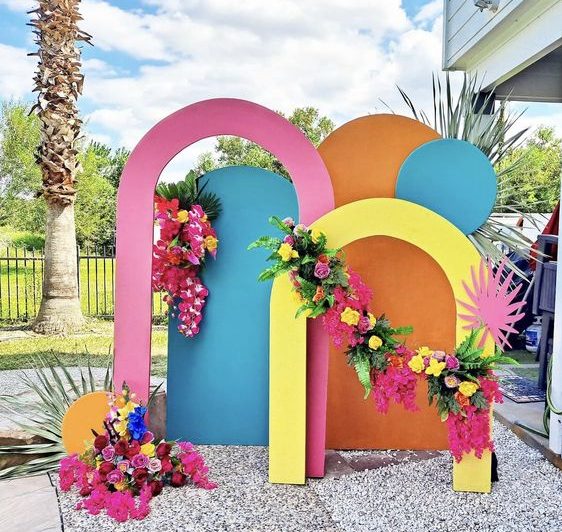
Colorful Arched Frames With Floral Accents
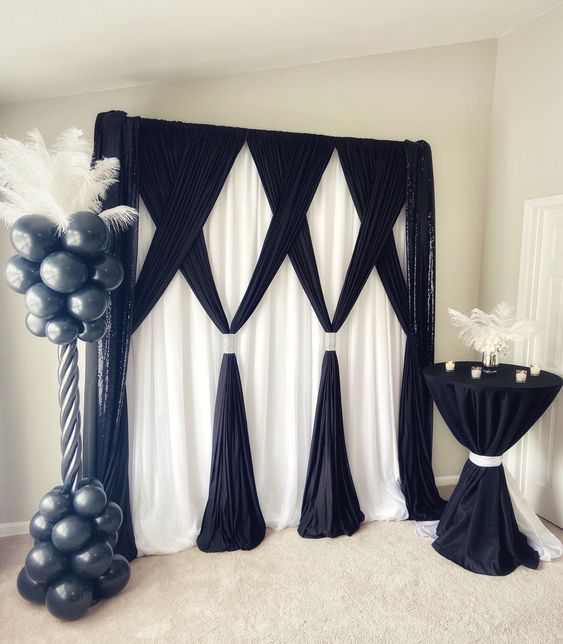
Criss-Crossed Navy Curtains On White Backdrop
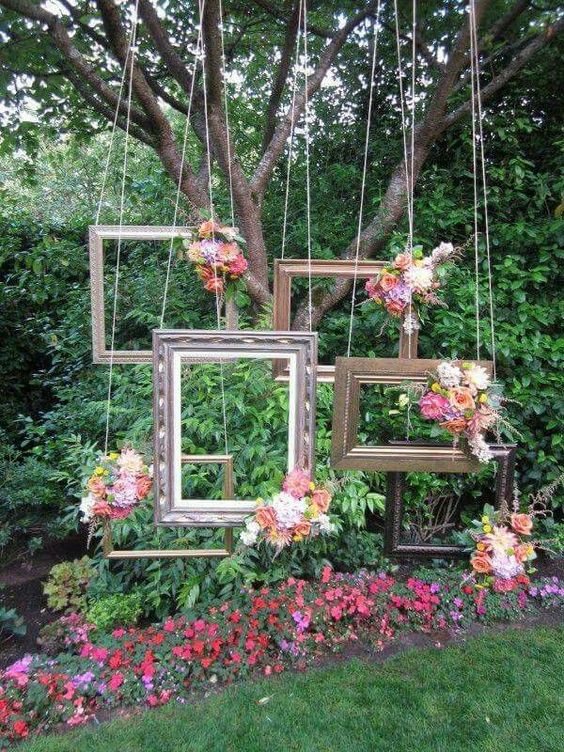
Floating Picture Frames With Flowers
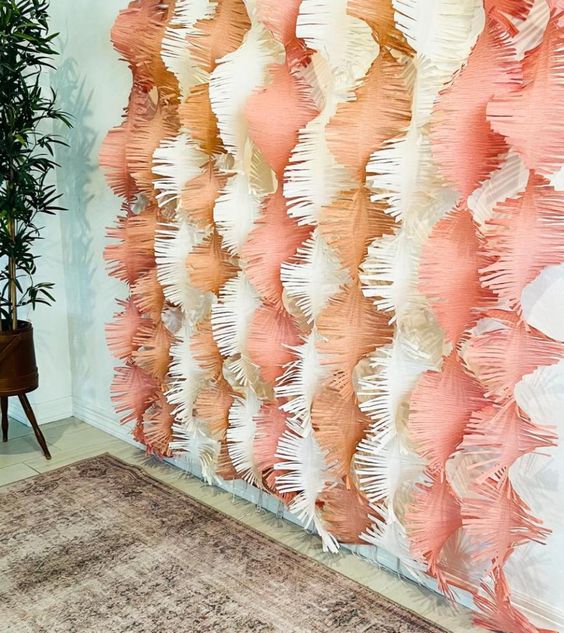
Fringe Streamers
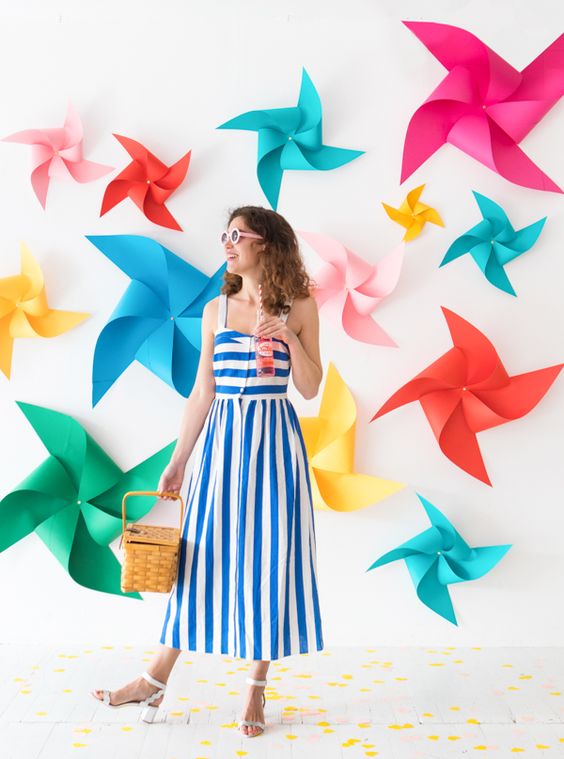
Giant Pinwheel Backdrop
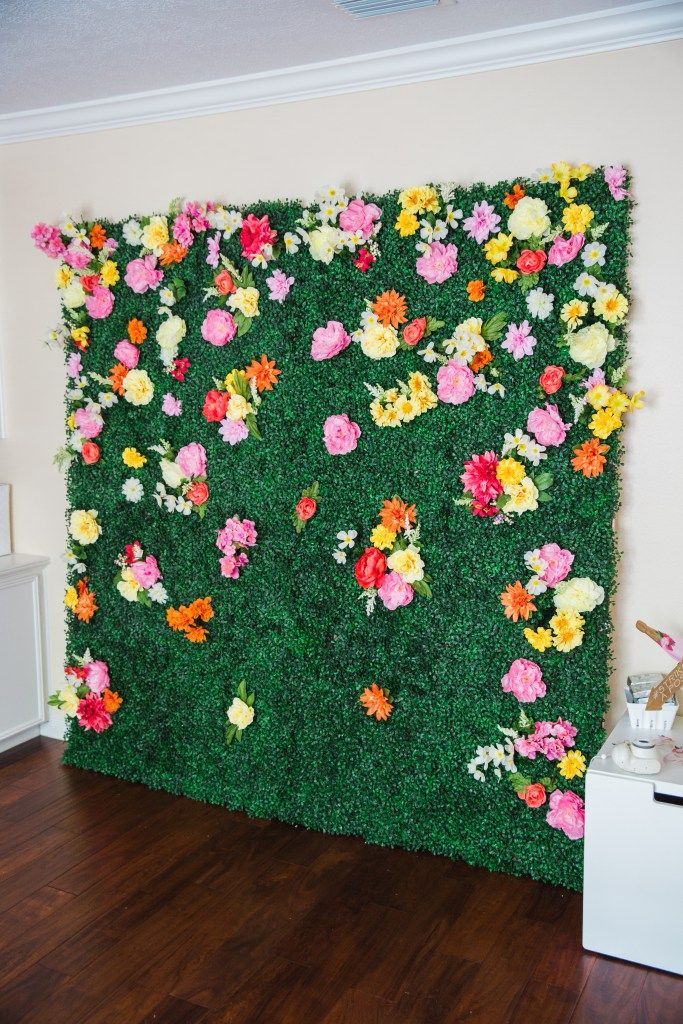
Green Garden Backdrop From Artificial Foliage Wall Tiles
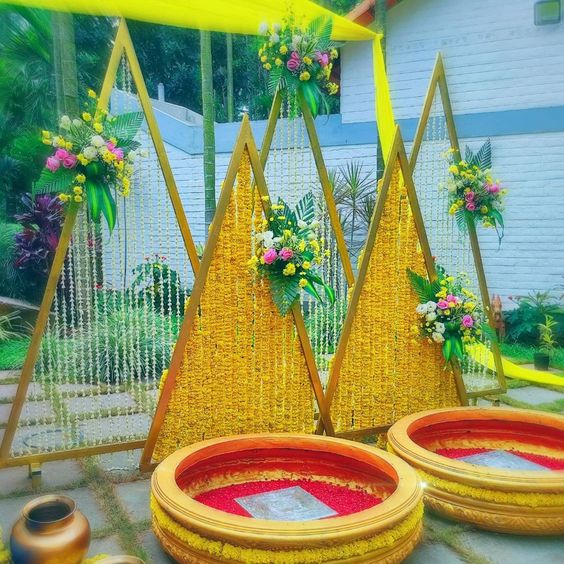
Haldi and Mehendi Triangular Backdrop
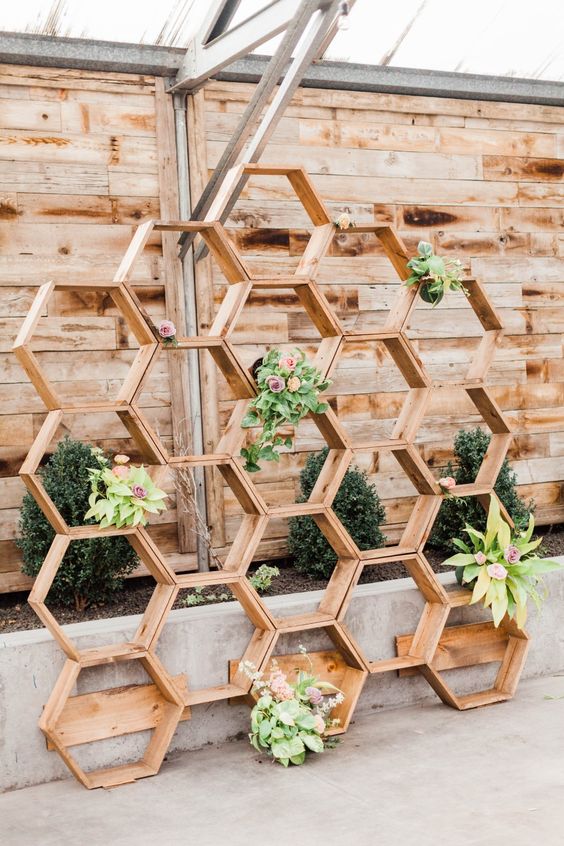
Hexagon Shelves And Flowers Backdrop
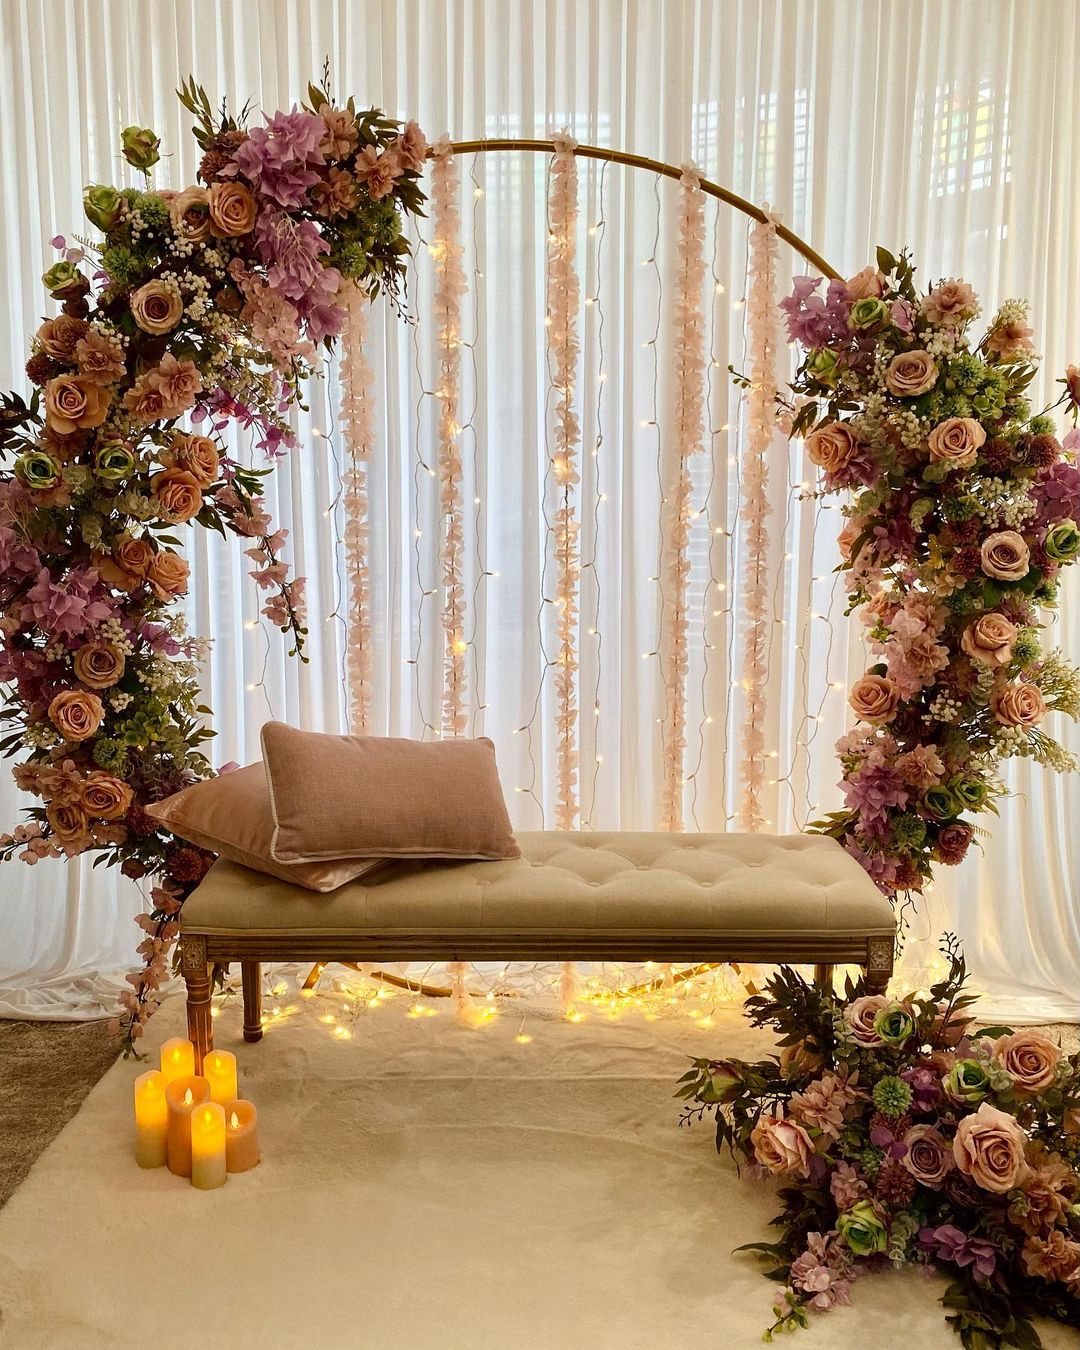
Metal Hoop With Flowers And Bench
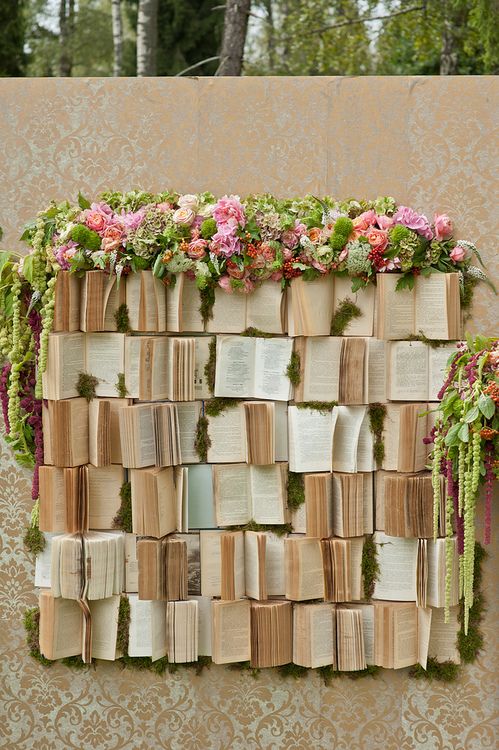
Old Books and Flowers Backdrop
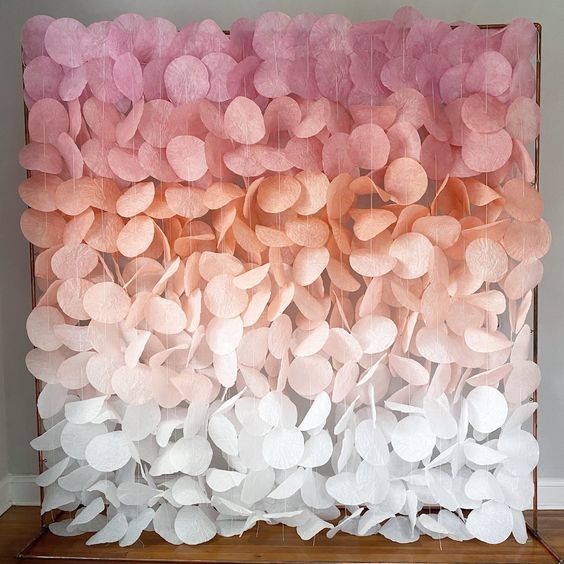
Ombre Paper Circle Garland
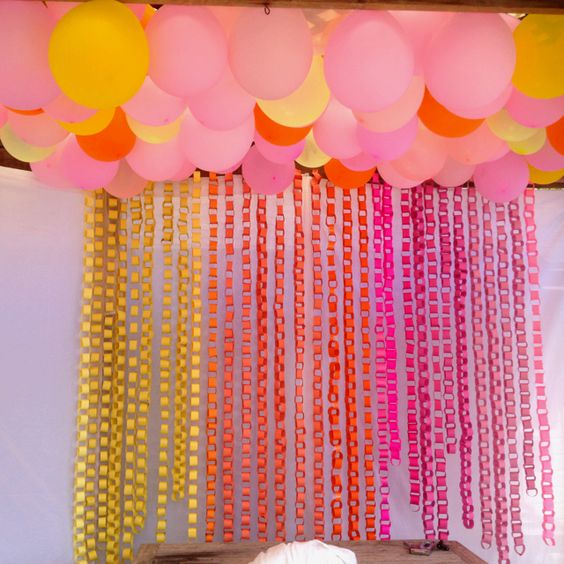
Paper Chain And Balloon Backdrop
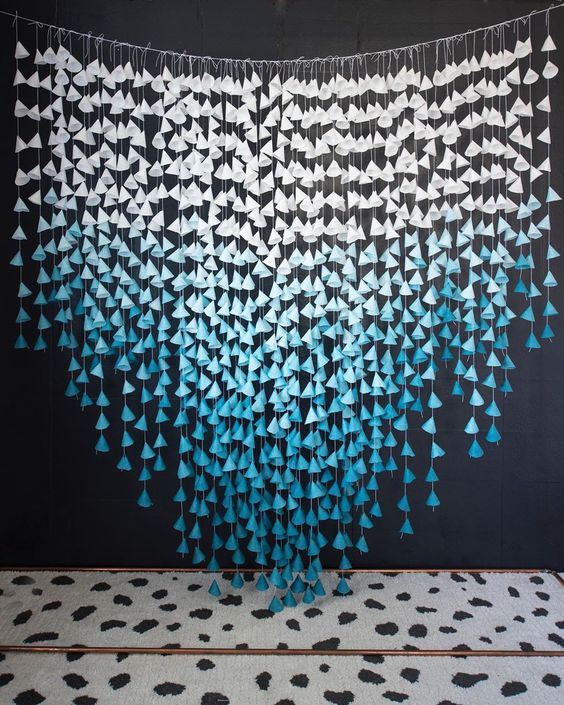
Paper Cones Streamers Ombre Backdrop
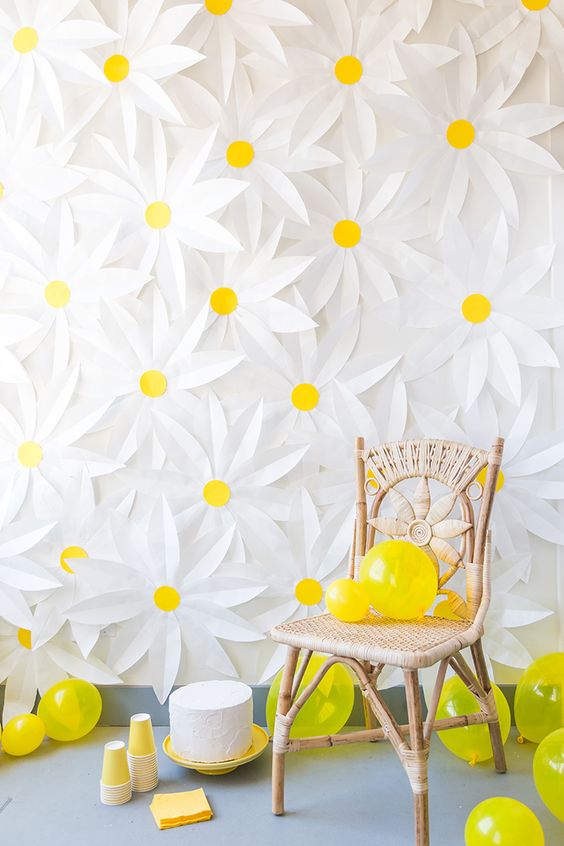
Paper Daisy Backdrop
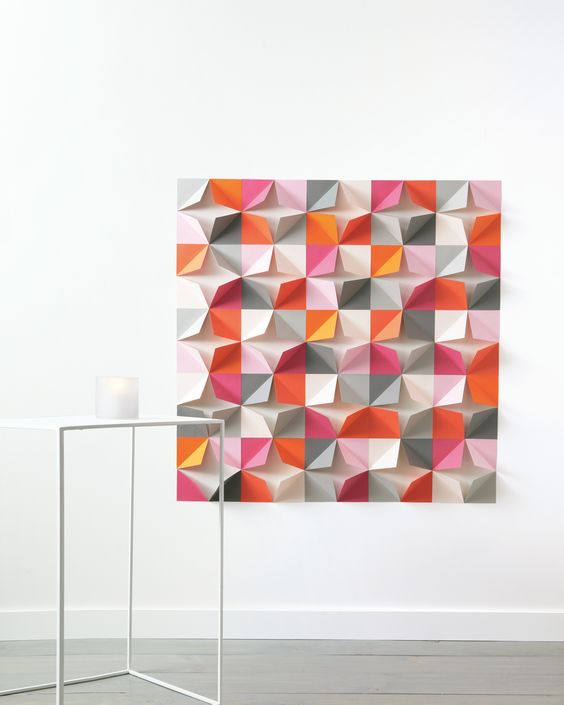
Paper Folding 3D Backdrop
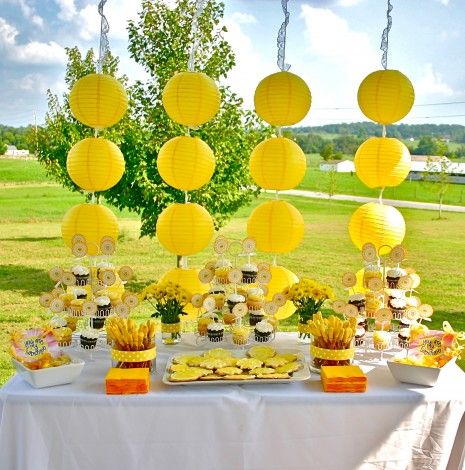
Paper Lantern Backdrop
Paper Plate Wall Backdrop

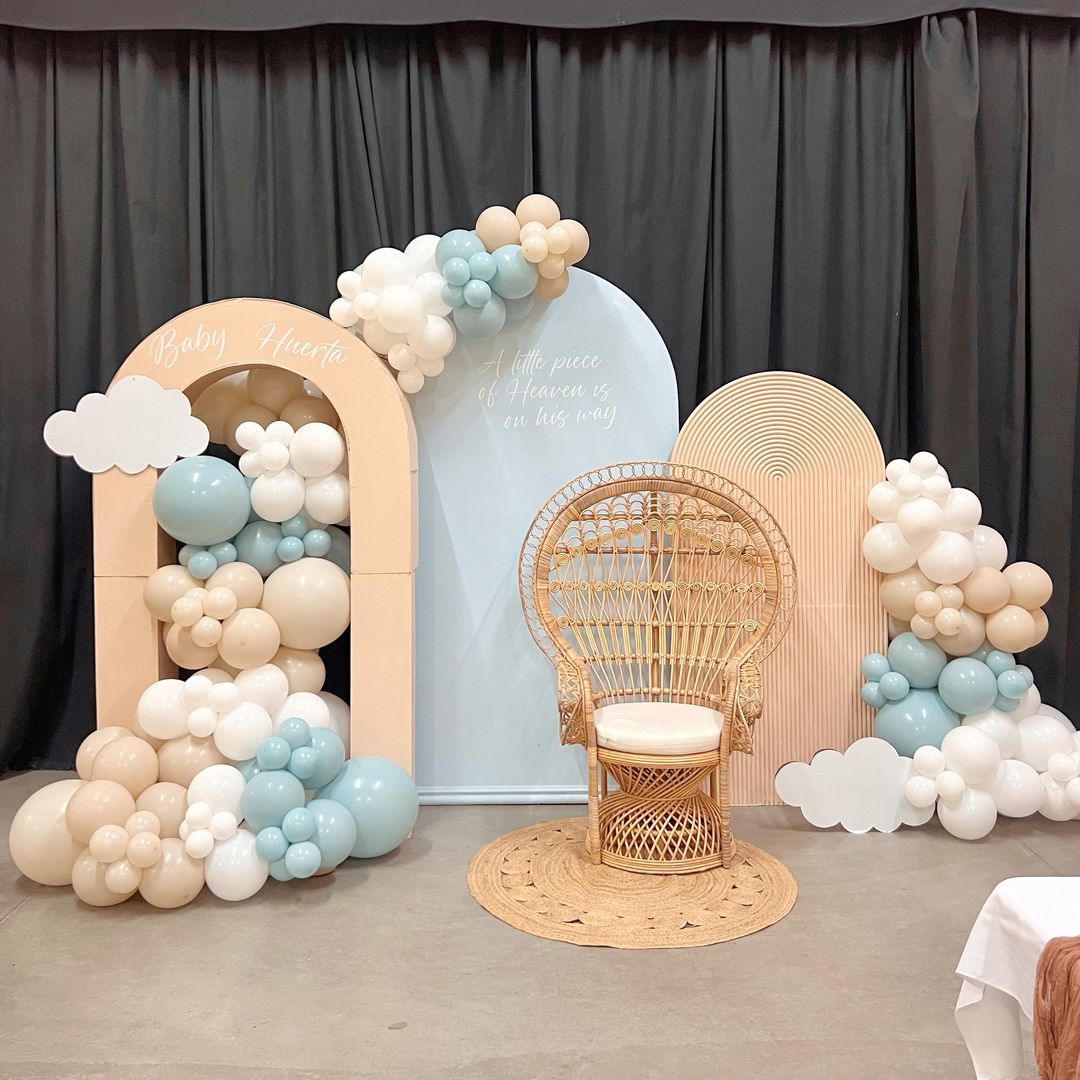
Pastel Arch With Balloons
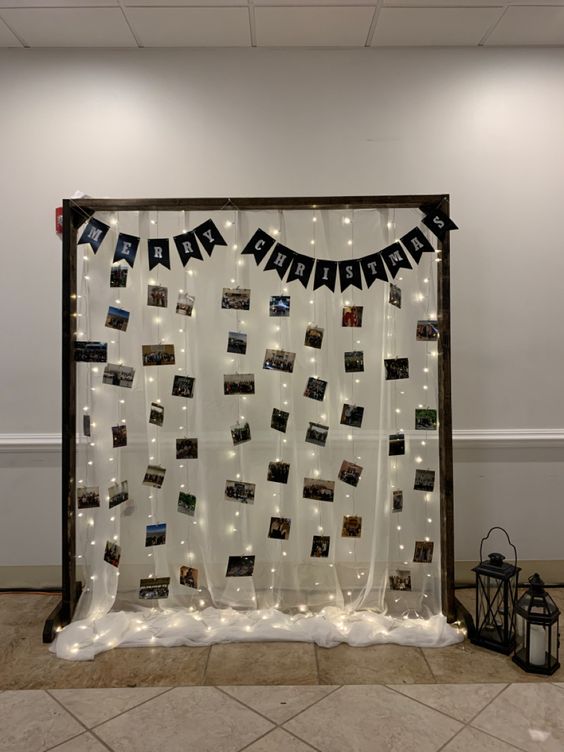
Picture Collage Backdrop
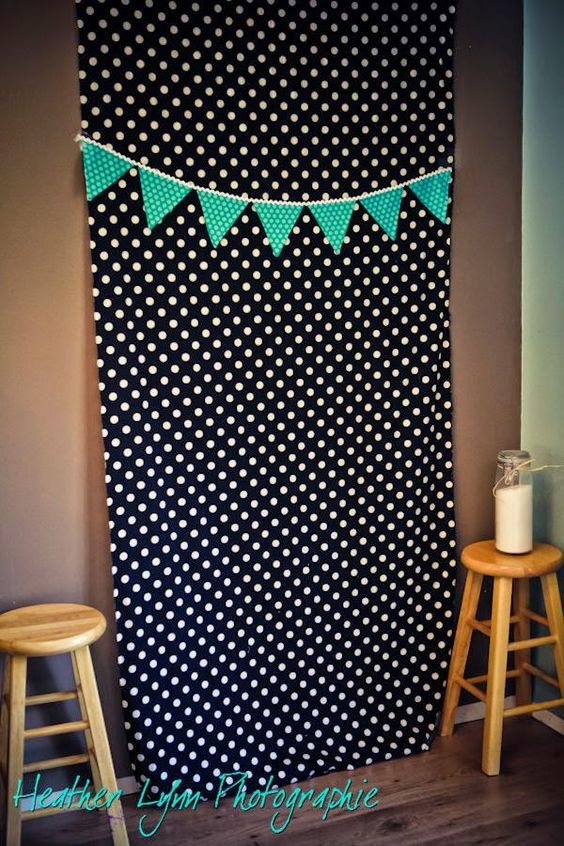
Polka Dot Fabric Backdrop
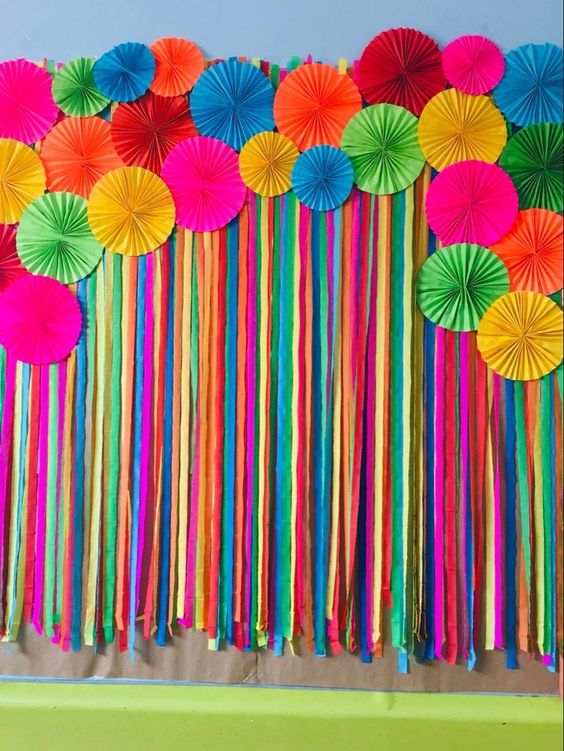
Rainbow Streamers And Rounded Banners
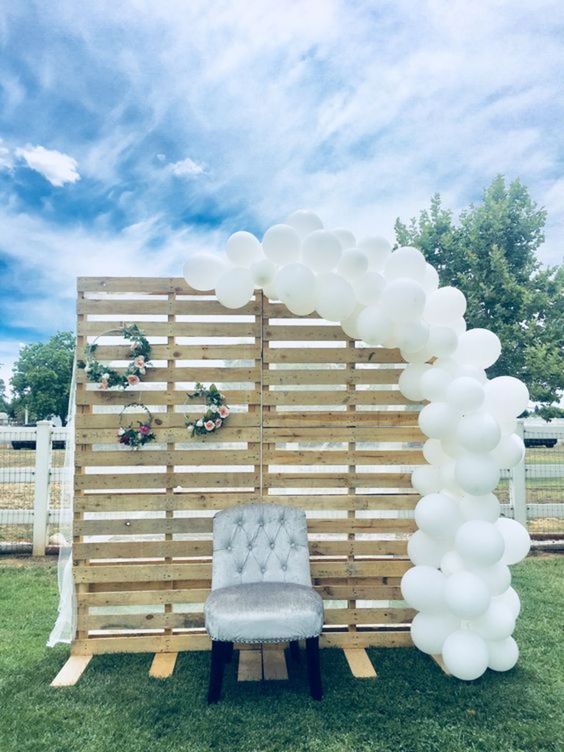
Rustic Pallet, Balloon, And Flower Backdrop
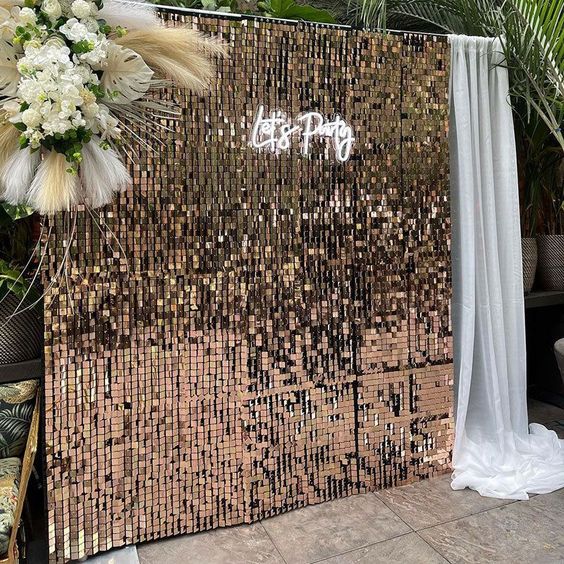
Shimer Sequin Panels Backdrop
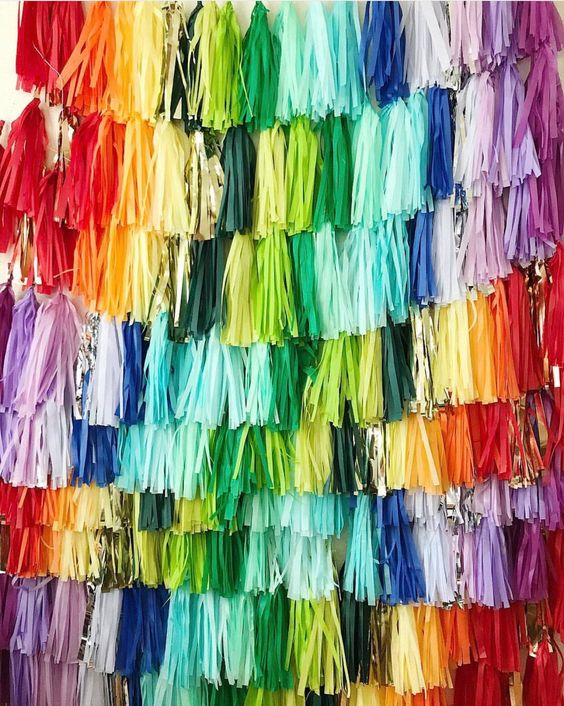
Tassel Fringe Backdrop
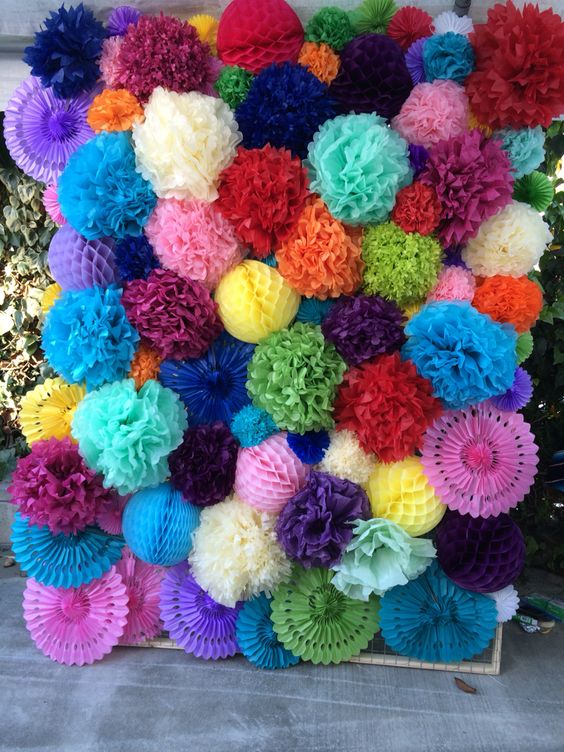
Tissue Pom Paper Flowers Backdrop
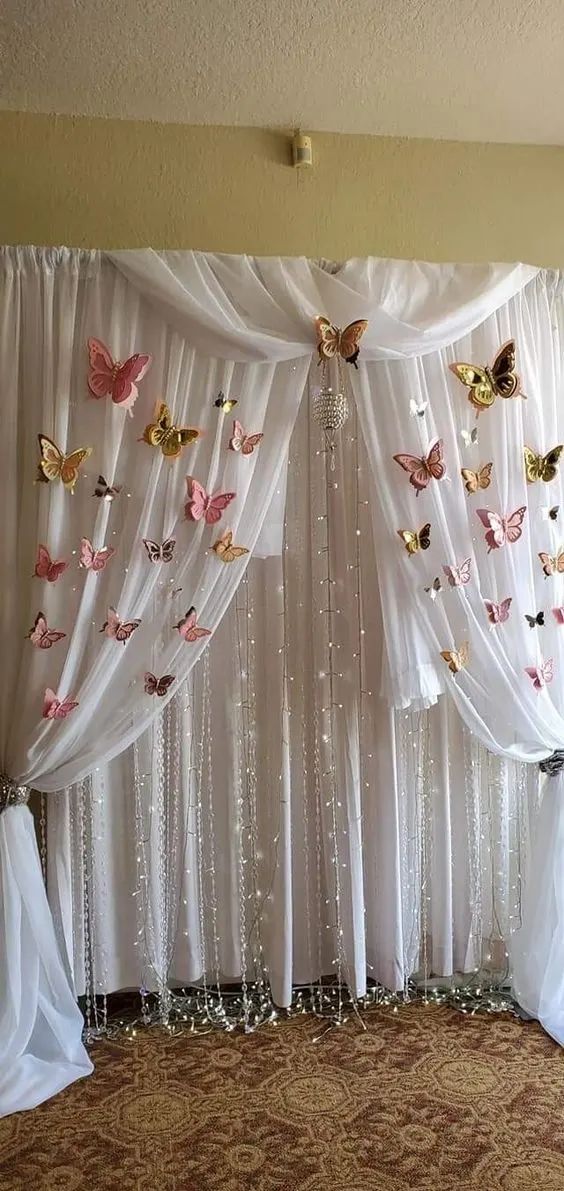
White Chiffon, Fairy Lights And Butterflies
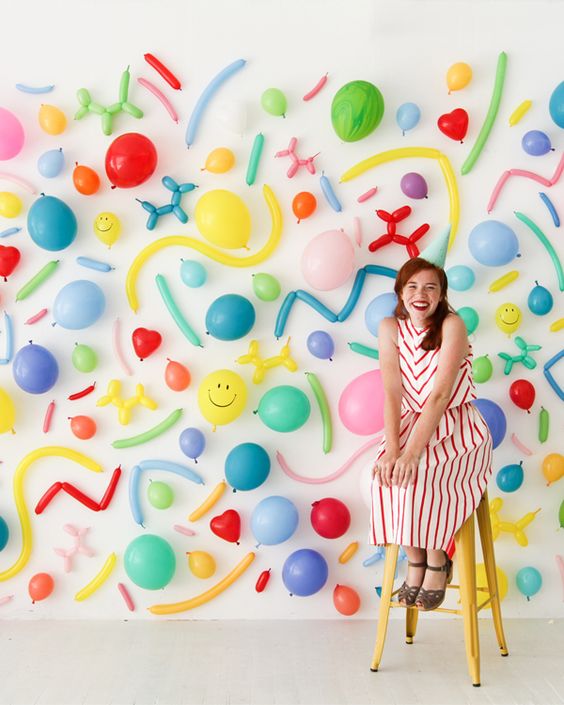
Confetti Balloon Wall Backdrop
Creating Your DIY Photo Backdrop
When I first started making my own photo backdrops, I realized it’s all about finding the right materials and letting my creativity flow.
I’m sharing my personal tips with you so you can get great results for any occasion—be it a wedding or a baby shower.
Choosing Materials
The materials you need for your DIY photo backdrop can be as simple as fabric, tape, scissors, string, cardboard, and a ruler.
I’ve found that a hot glue gun and command hooks are lifesavers for assembly. Remember to pick materials that match the vibe of your event.
Backdrop Assembly
For assembly, I usually start with a backdrop stand or a blank wall. Zip ties and mounting tools like command hooks can be used to secure your backdrop.
I’ll give you step-by-step instructions to make the process foolproof.
Design Ideas and Inspiration
I get my inspiration from all over, but Pinterest is a goldmine for backdrop ideas.
Think balloon backdrops and flower walls—they’re always a hit.
For something unique, I like to experiment with an ombre tissue paper look or create a forest vibe with greenery and branches.
Finishing Touches
Lighting can transform your DIY backdrop from good to fabulous.
Fairy lights add a whimsical touch, while a spotlight can give a professional look.
Don’t forget the power of final touches like a greenery wall backdrop or delicate taped flowers.
Customization Techniques
DIY means you can tailor it exactly to your liking.
For customization, I’ve added polka dots with washi tape or hung open books for a literary theme.
Even a painted canvas backdrop can be a canvas for your imagination.
Practical Tips for DIY Photography
Always test your lighting before the shoot to avoid shadows.
If you want a clean look, use background removal tools like Luminar Neo to edit out any unwanted bits.
Also, remember the FAQs—sometimes a simple white sheet works wonders as a backdrop.
Quick and Simple Backdrop Projects
If you’re short on time, go for simple.
Tackling a backdrop made from plastic tablecloths or paper plates cut into triangles can be done quickly.
Even a fringe backdrop using streamers is both budget-friendly and easy to make. I’ve seen these work well for both photo booths and professional photography.
Frequently Asked Questions
I know you’ve got questions about DIY backdrops, and I’m here to help clear things up with practical advice and tips.
Handling Common DIY Challenges
When I’m crafting a DIY backdrop, I sometimes run into issues like the backdrop not hanging straight or materials tearing. Here’s my quick-fix cheat sheet:
- If tape isn’t holding: Use zip ties or a glue gun for a stronger hold.
- For tears: Apply discreet washi tape or sew small repairs.
- Uneven backdrops: Level with a metal rod at the bottom or adjust your backdrop stand.
Maintaining and Storing Your Backdrop
After spending time making a beautiful backdrop, I make sure it lasts. Here’s what you should keep in mind:
- Cleaning: Dust with a soft brush; spot clean with mild soap.
- Storage: Roll up on a PVC pipe or fold gently; store in a cool, dry place.
- Repairs: Keep a repair kit with tape, scissors, and glue gun.
Advantages of DIY Over Store-Bought Backdrops
I adore the creativity and control I have with DIY backdrops. Here’s why:
- Budget-friendly: Significant savings by using affordable materials.
- Customization: Tailoring every aspect to my taste or the event theme.
- Personal touch: Adds a unique flair that pre-made backdrops can’t match.
DIY Backdrops for Special Occasions
Creating DIY backdrops for events like weddings or baby showers gives me a chance to make something one-of-a-kind.
Remember:
- Weddings: Add elegance with greenery and floral wire.
- Baby Showers: Go playful with colorful balloons and soft fabrics.
- Step-by-step, these unique designs will bring your special occasions to life.

Leave a Reply
View Comments