Nail art has always been a way for me to express my mood and show off my personal style. Lately, I’ve become enamored with bow-nail designs. They’re charming, and playful, and fit perfectly with several emerging aesthetics that are all about embracing a more flirtatious and whimsical fashion sense.
Whether it’s the coquette aesthetic, the dance-inspired ballet core, or the lively spirit of barbie-core, bow nail art can be a delightful nod to these trends.
Creating bow nail art is not only a fashion statement; it’s also a fun way to put my creativity to the test. I’ve found that it requires a steady hand and a flair for design to get the bows looking just right. Selecting the perfect polish to contrast or complement my outfit adds another layer of complexity and excitement to the process.
Each bow serves as a miniature artwork, a testament to patience and precision in the art of nail design.
Reader's Roadmap
Key Takeaways
- Bow nail design is a fun and stylistic choice that aligns with popular fashion aesthetics.
- Personal creativity plays a big role in designing distinctive bow nail art.
- A careful technique is crucial for crafting the perfect bow shape on nails.
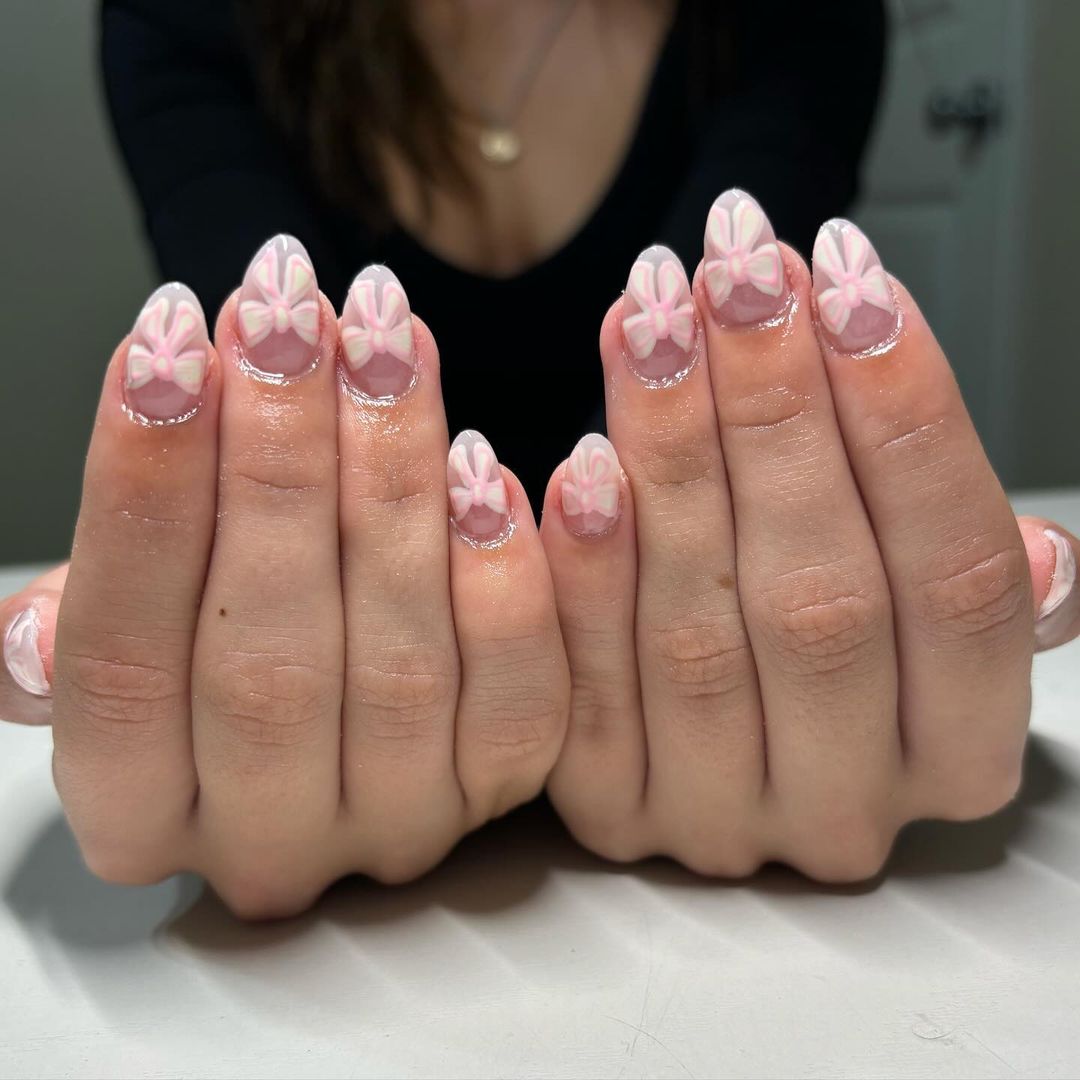
Baby Pink Bows On Clear Short Oval Nails
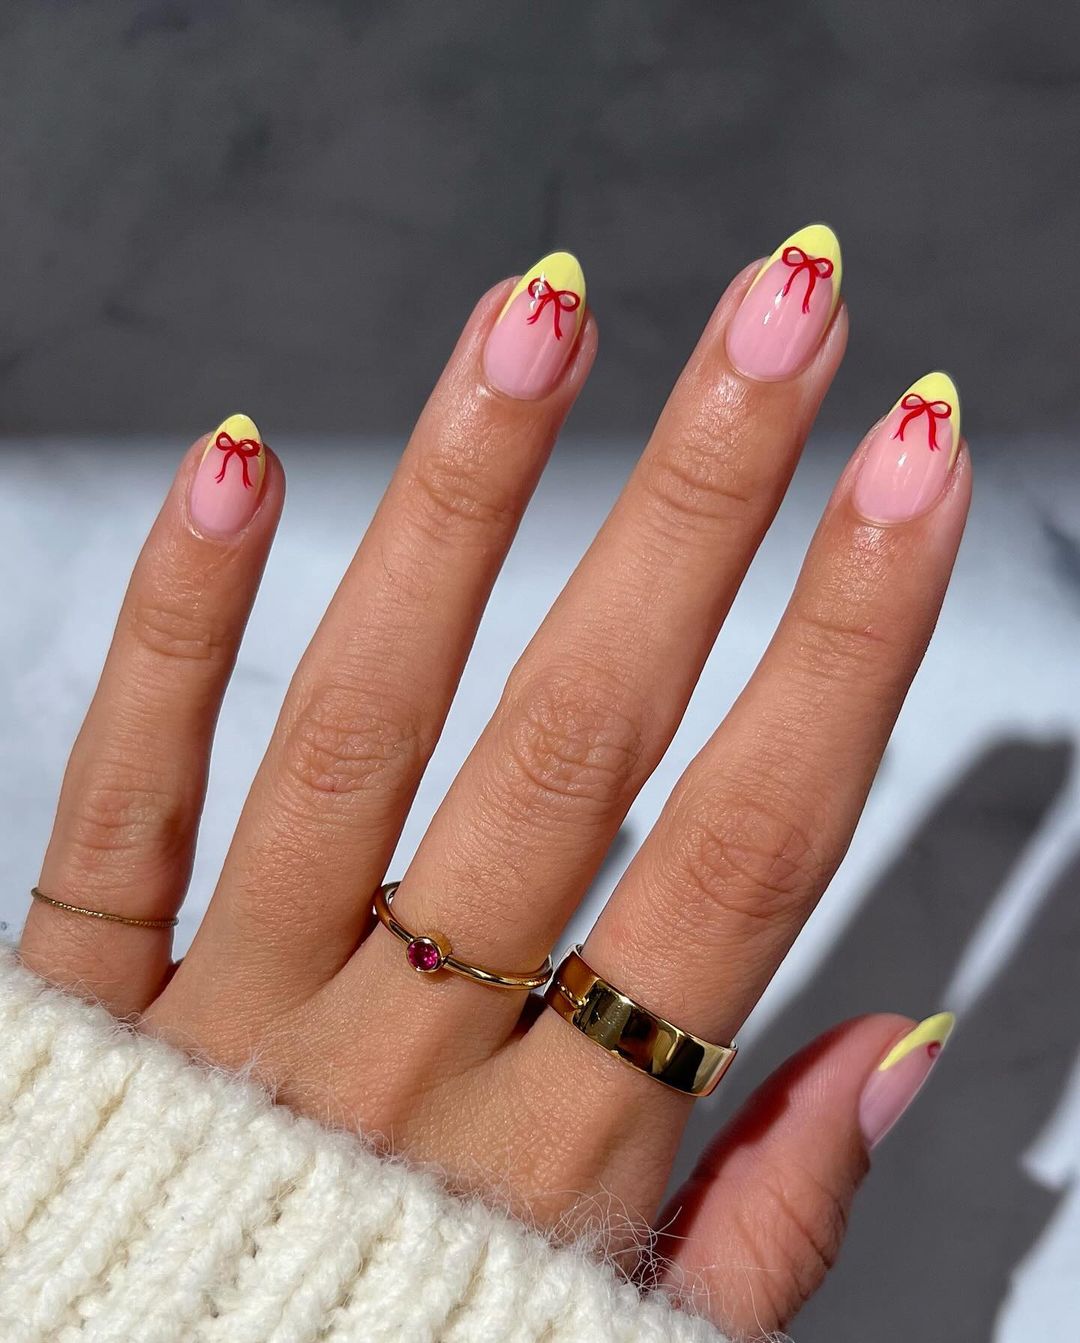
Yellow French Mani With Red Bow On Short Oval Nails
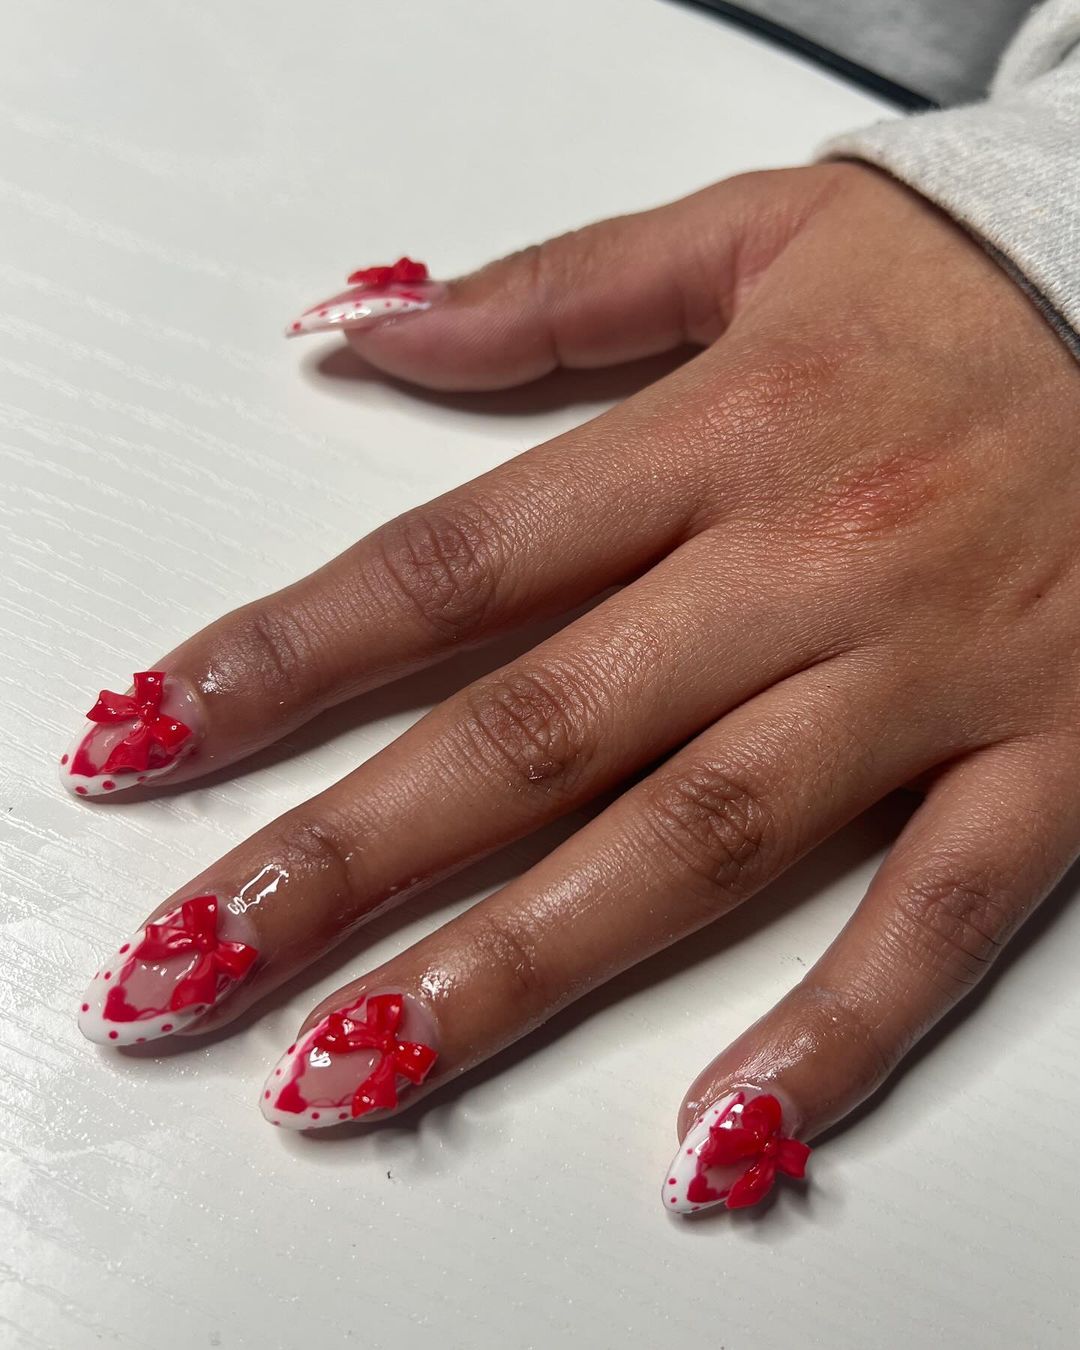
White And Red Polka Dot French Mani With Red 3D Bow
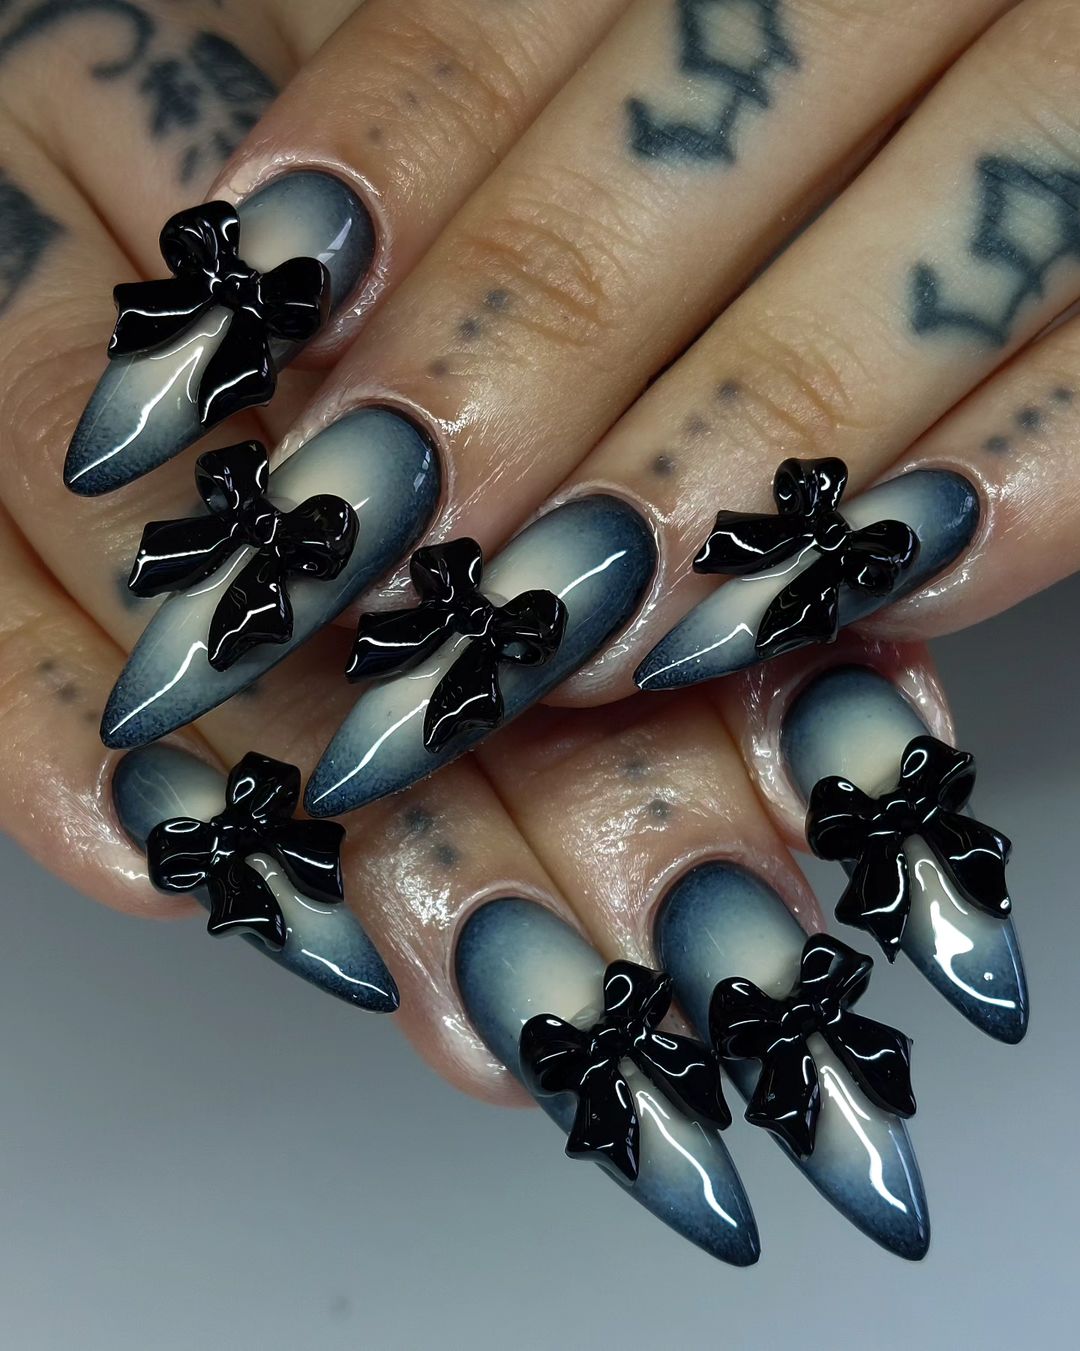
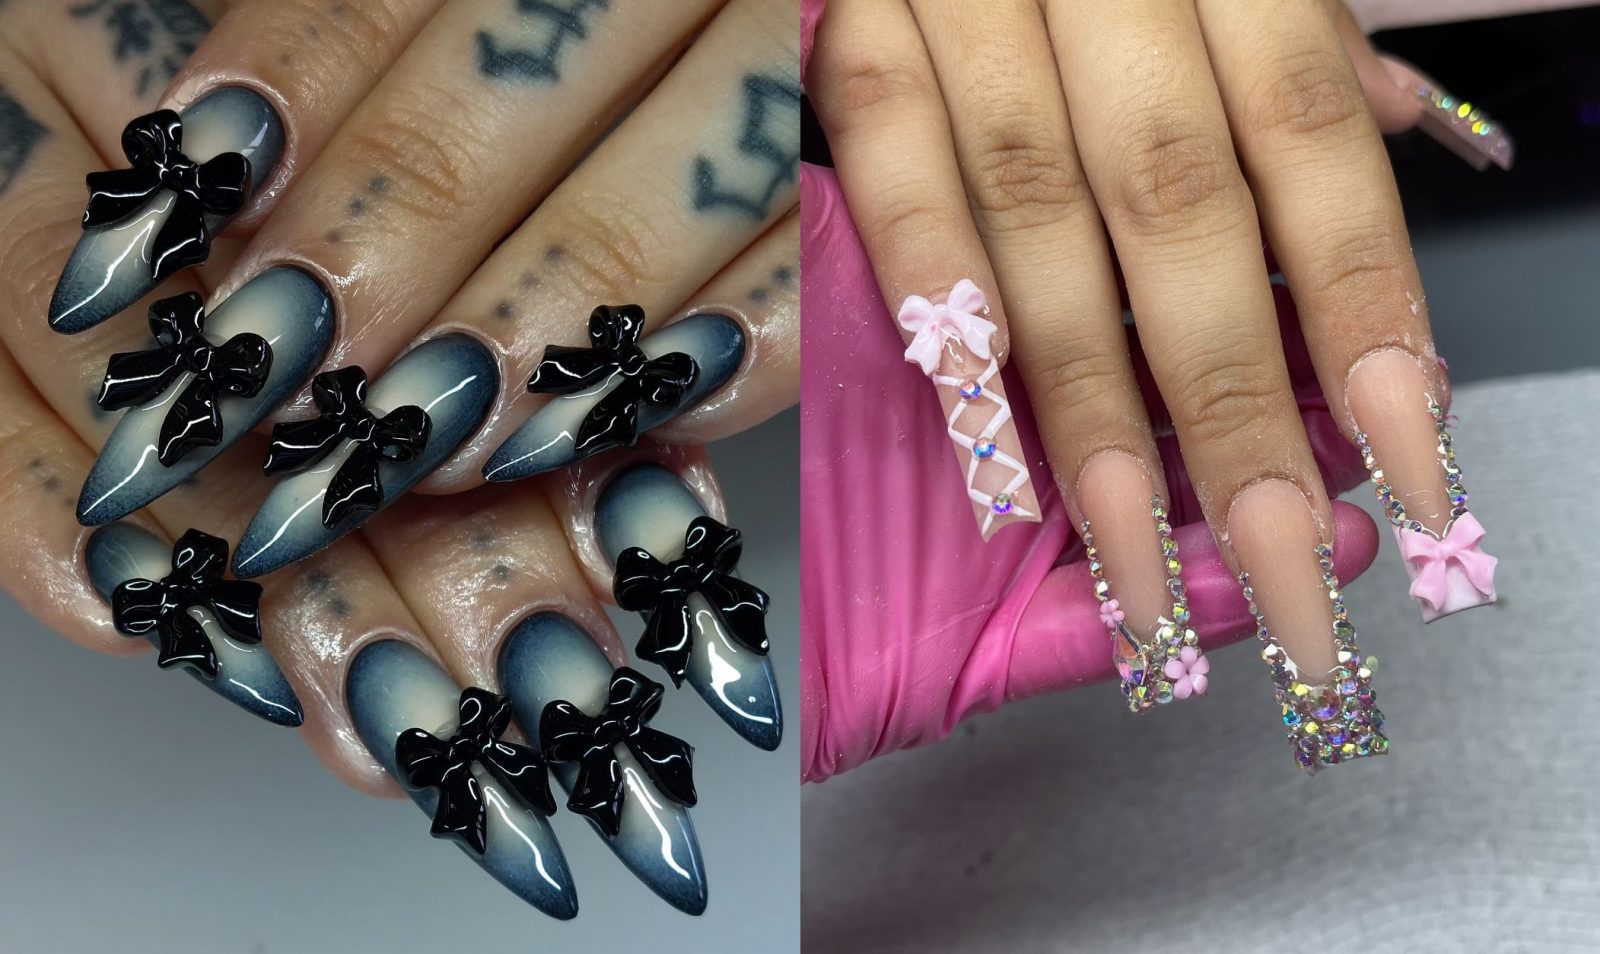
Stiletto Gray Aura Nails With Black 3D Bow
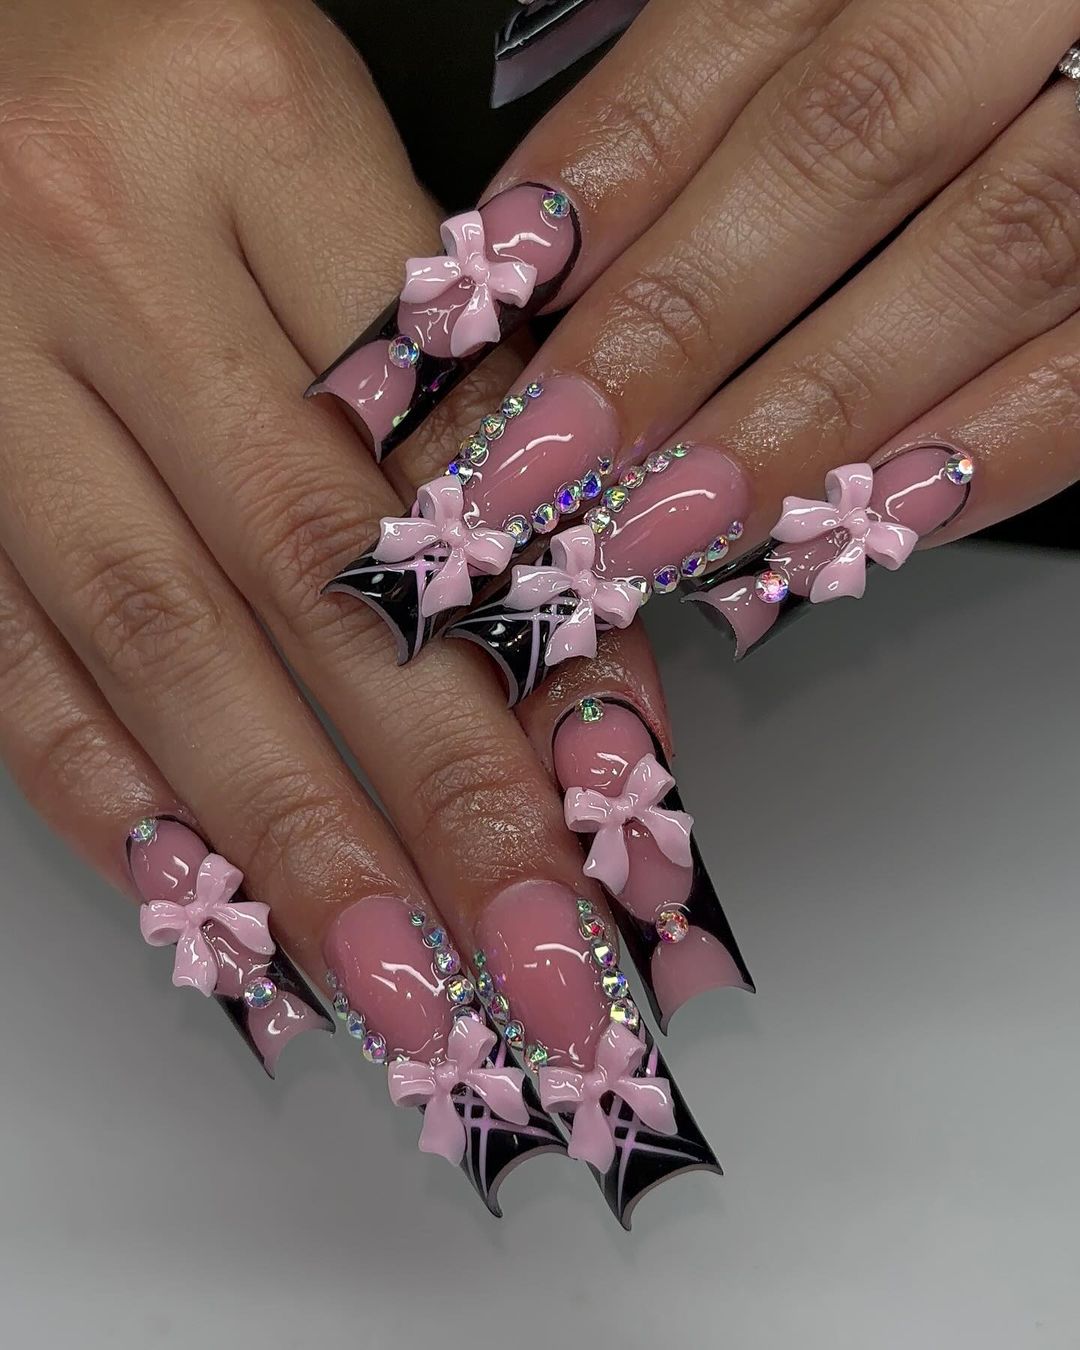
Square Nails With Black French Mani, 3D Pink Bow And Rhinestones
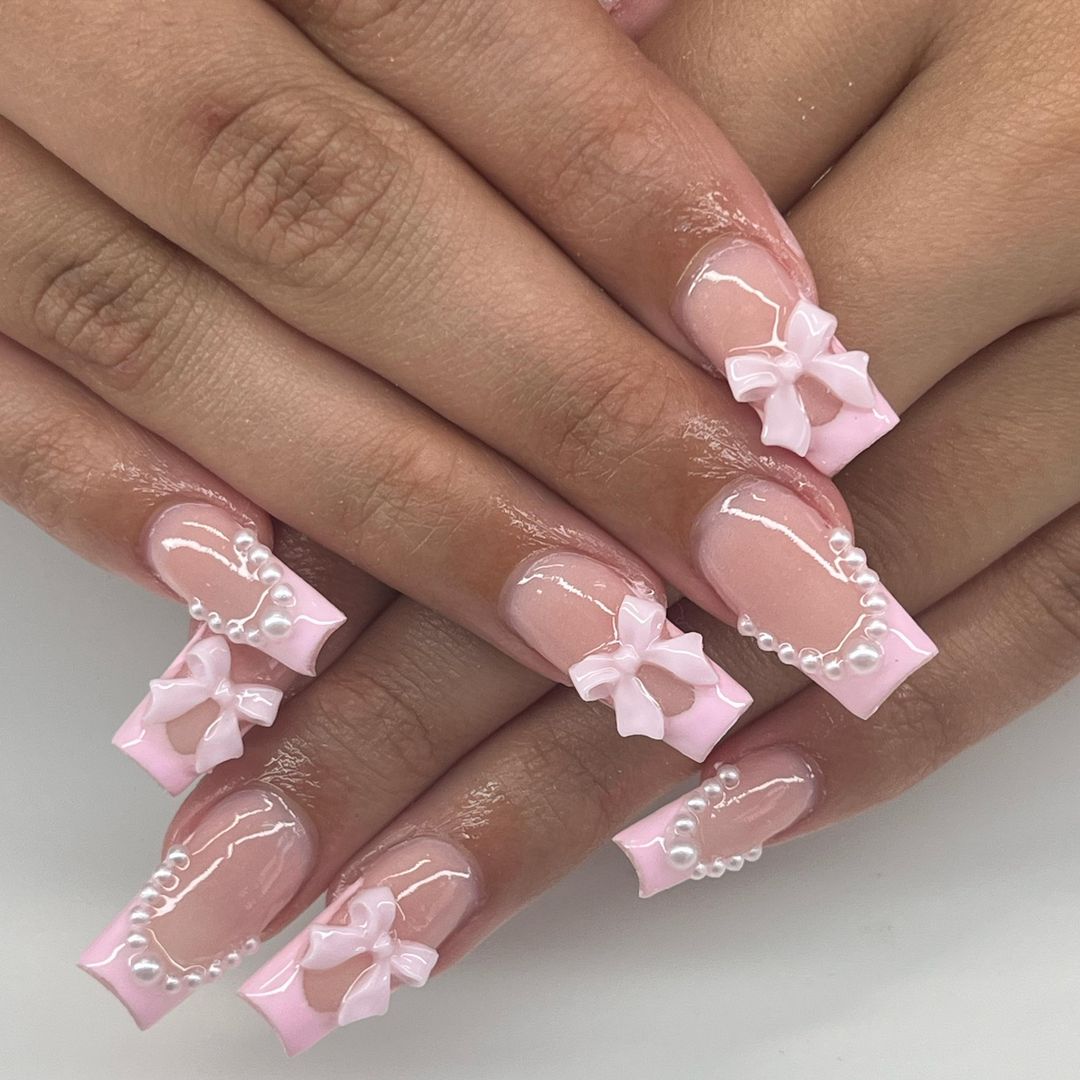
Soft Pink French Many With Bows And Pearls
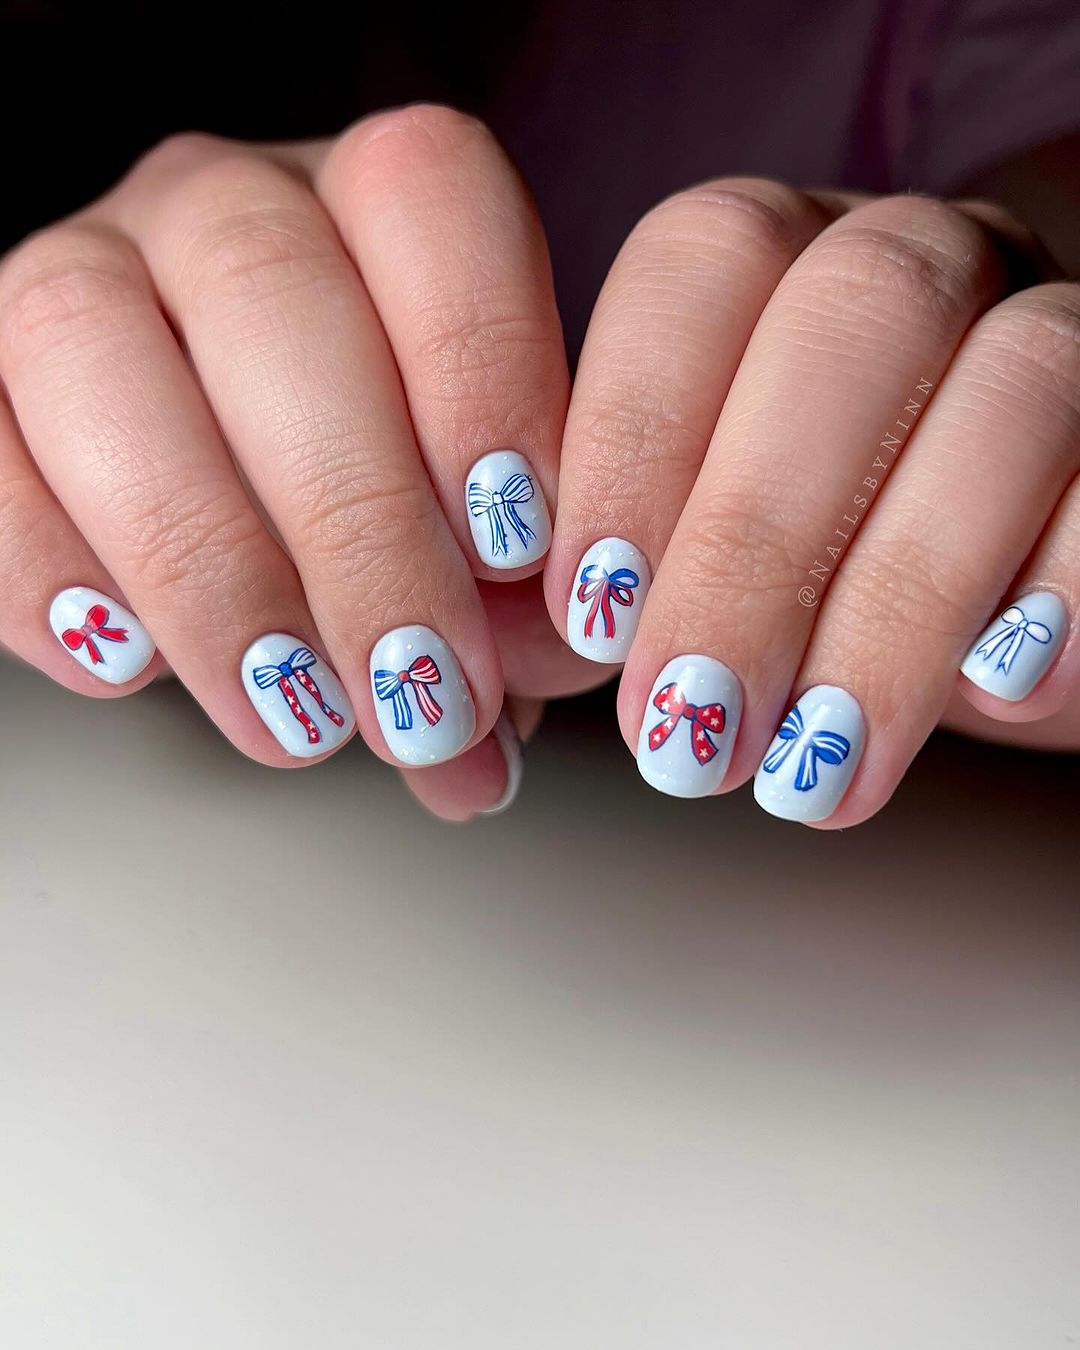
Short White Nails With Patriotic Bows
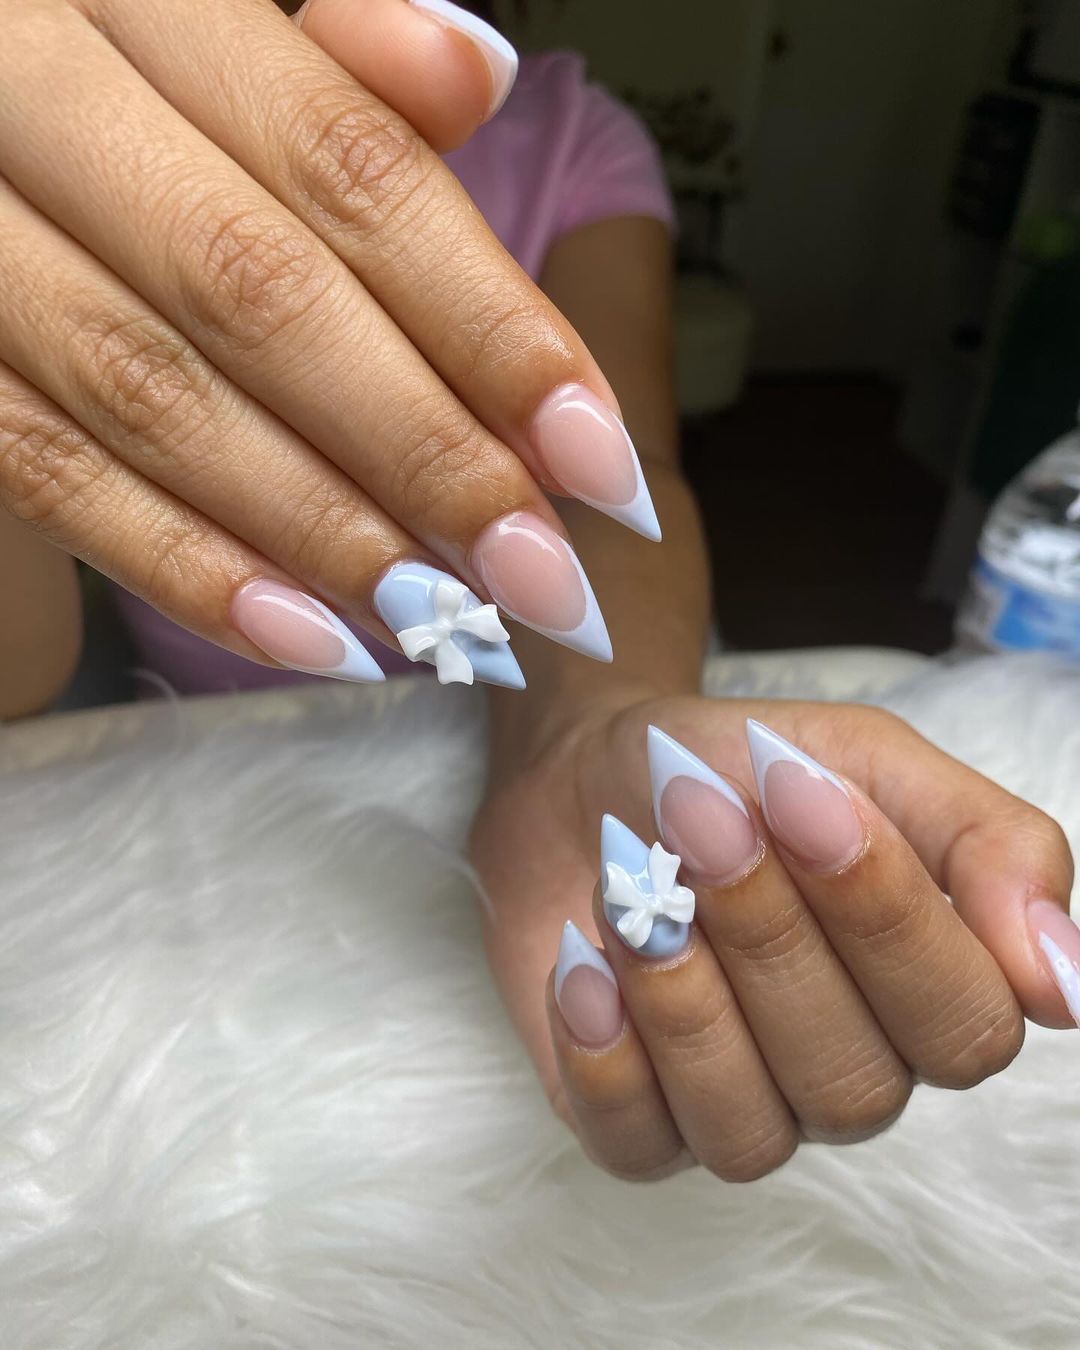
Short Stiletto Baby Blue Nails With 3D Bow
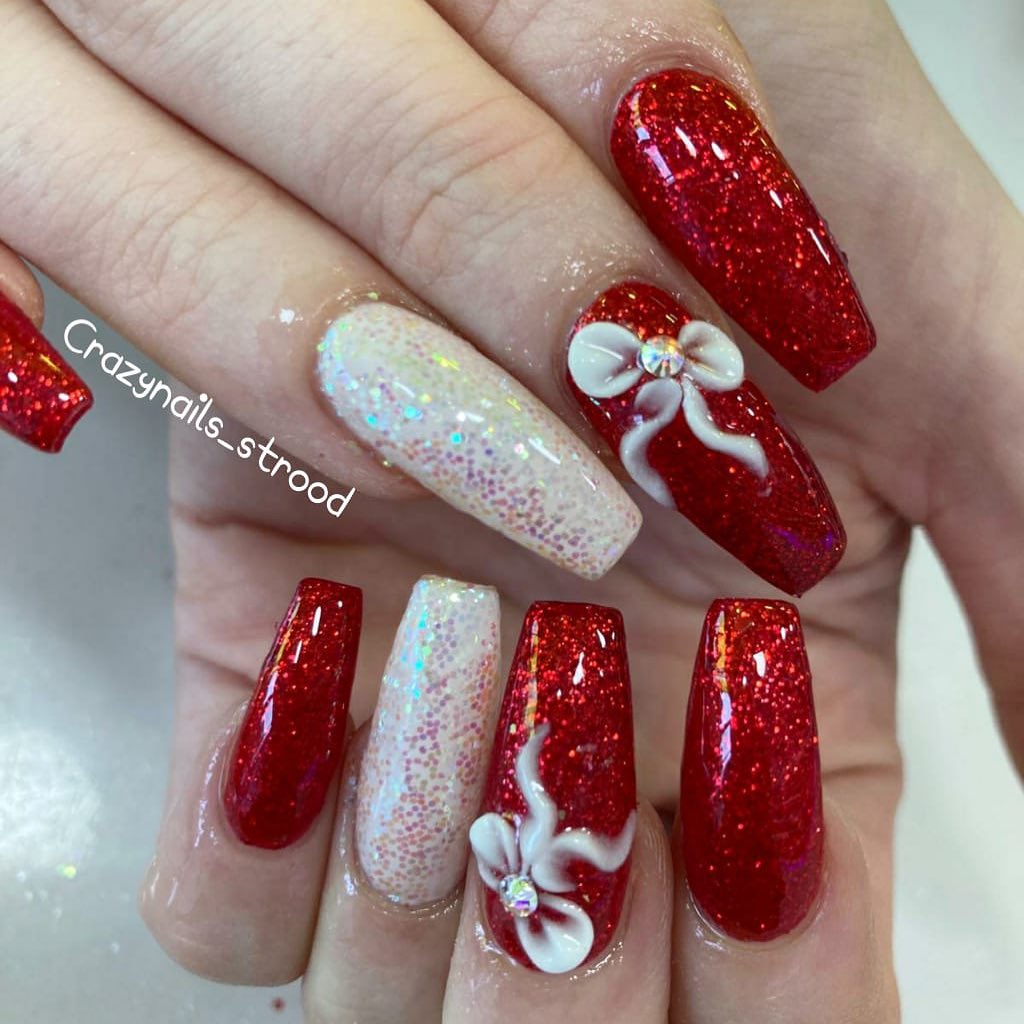
Red and White Glitter Nails With Bow Design
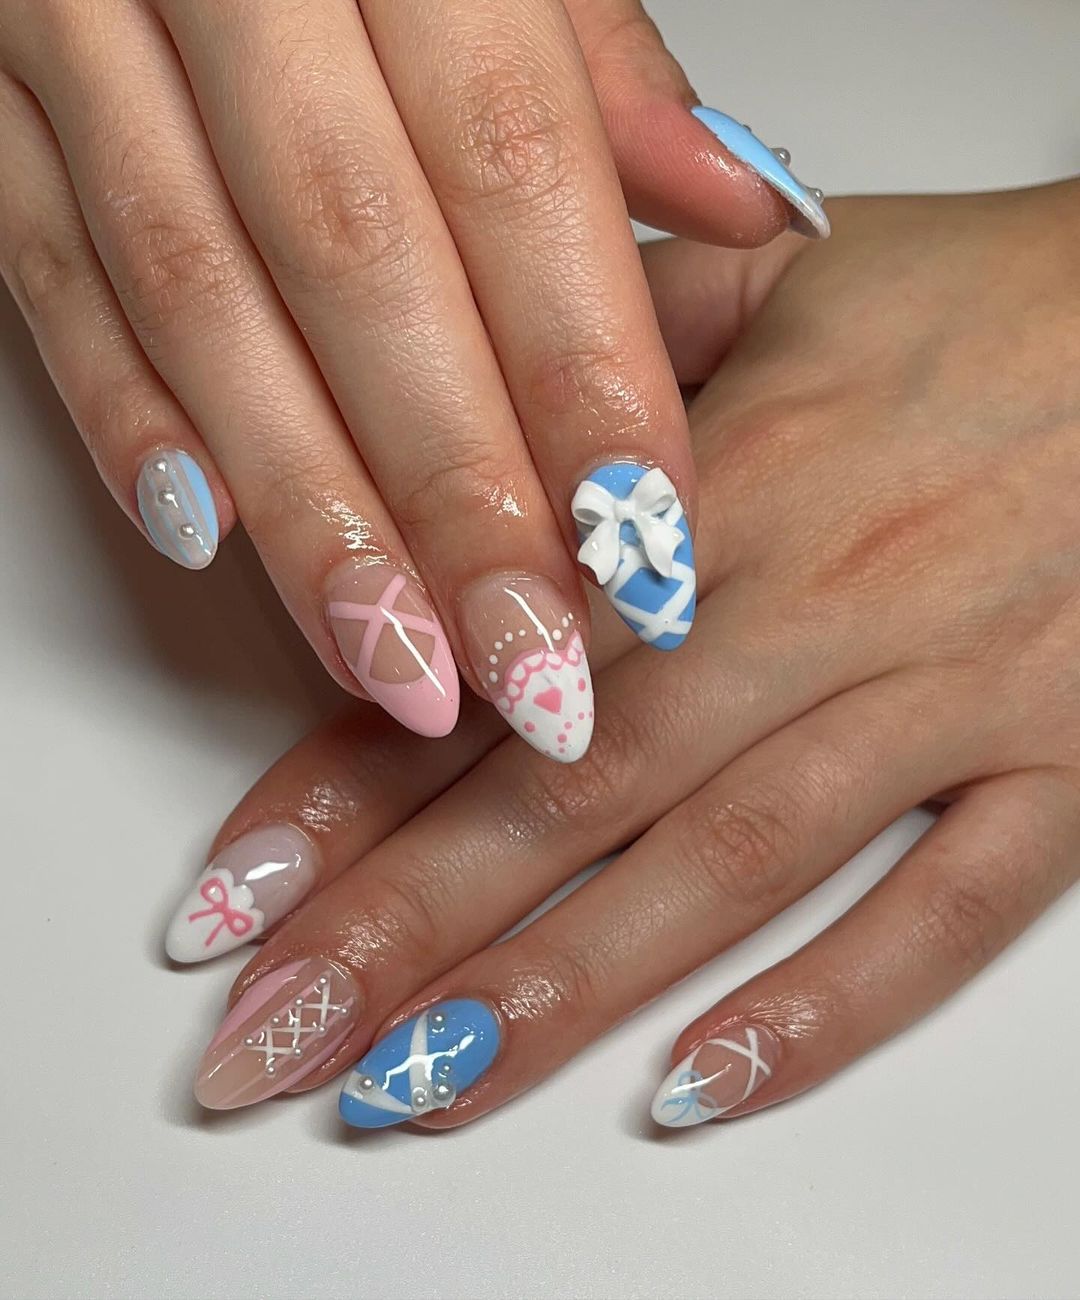
Pink, Blue and White Almond Nails With Bow And Lace Design
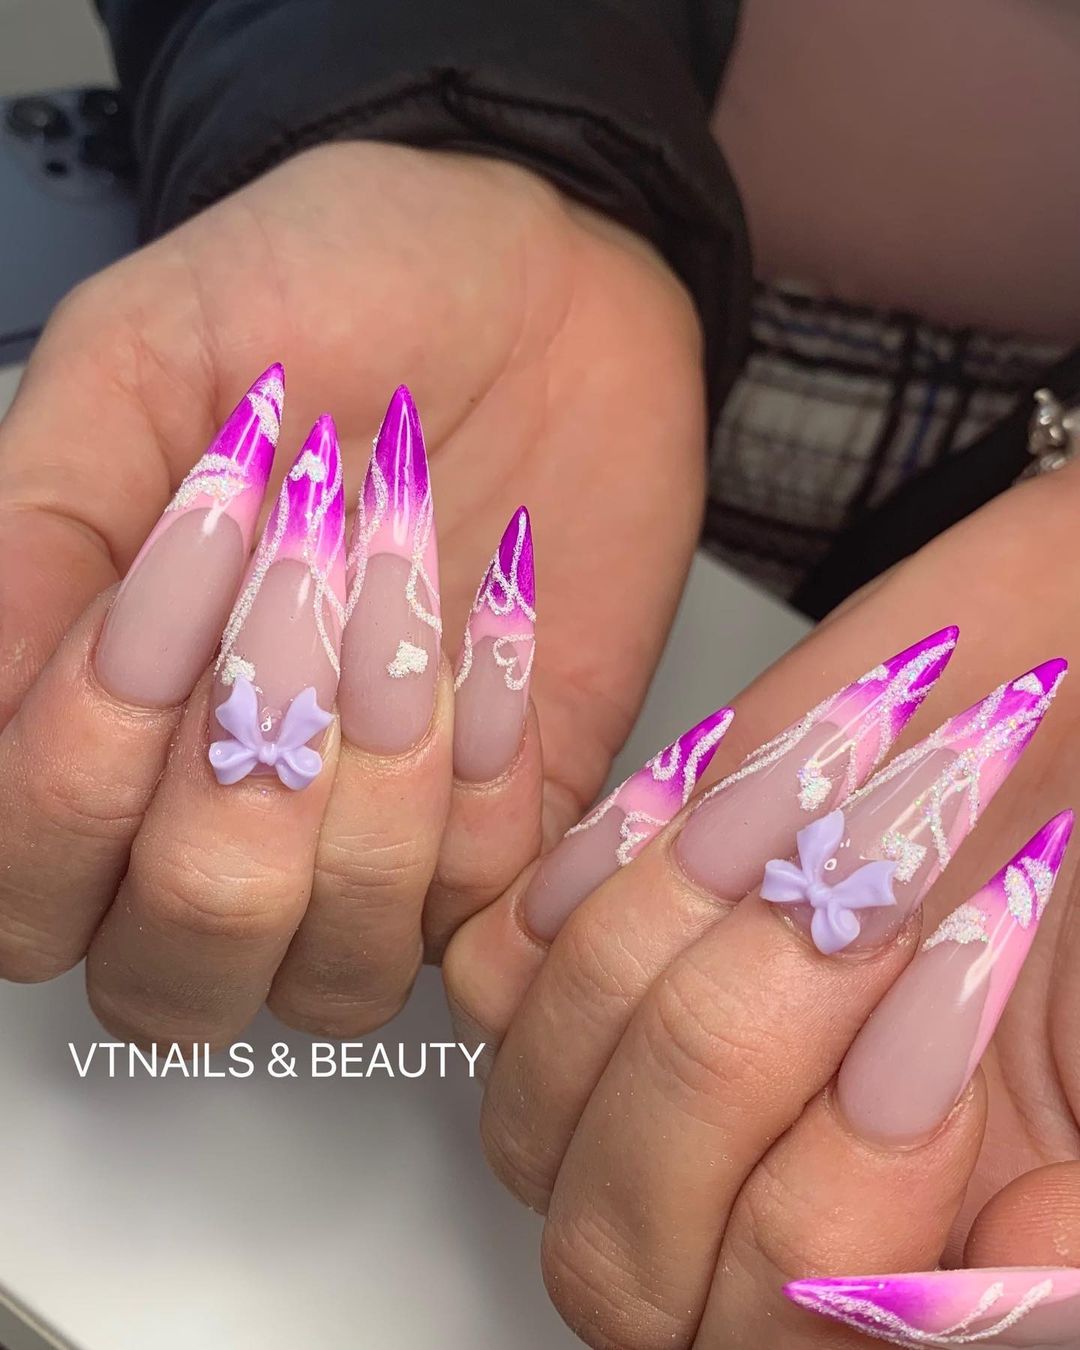
Pink and Purple Stiletto Nails With glitter Lines and 3D Bows
Pearl Oval Nails With Pink And Blue Nails
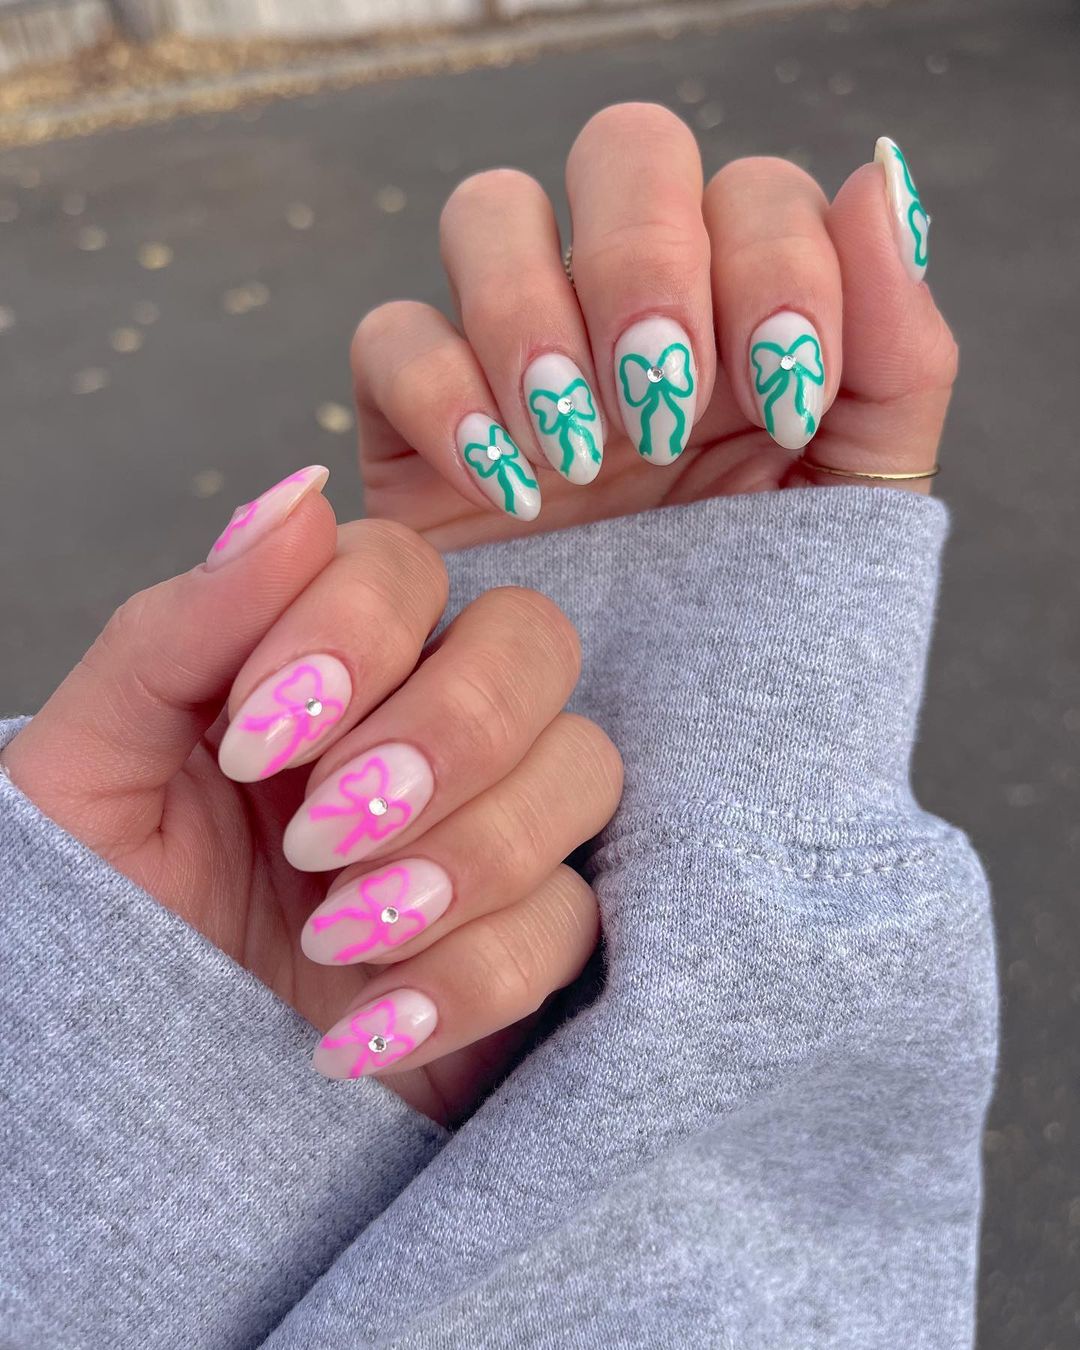
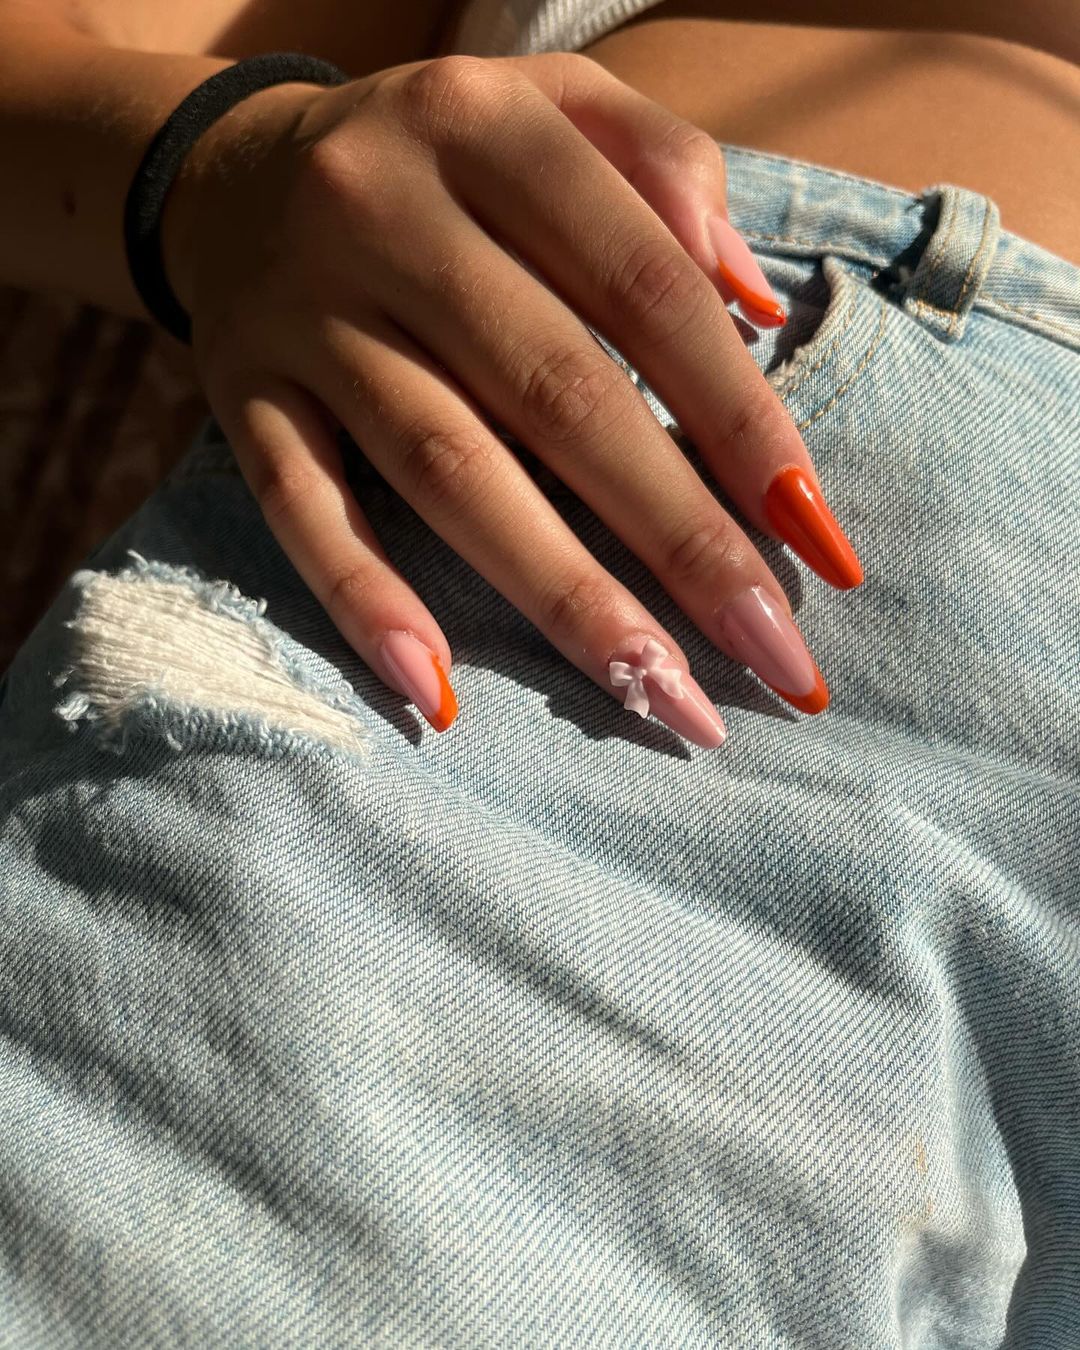
Orange And Nude Bow Nails
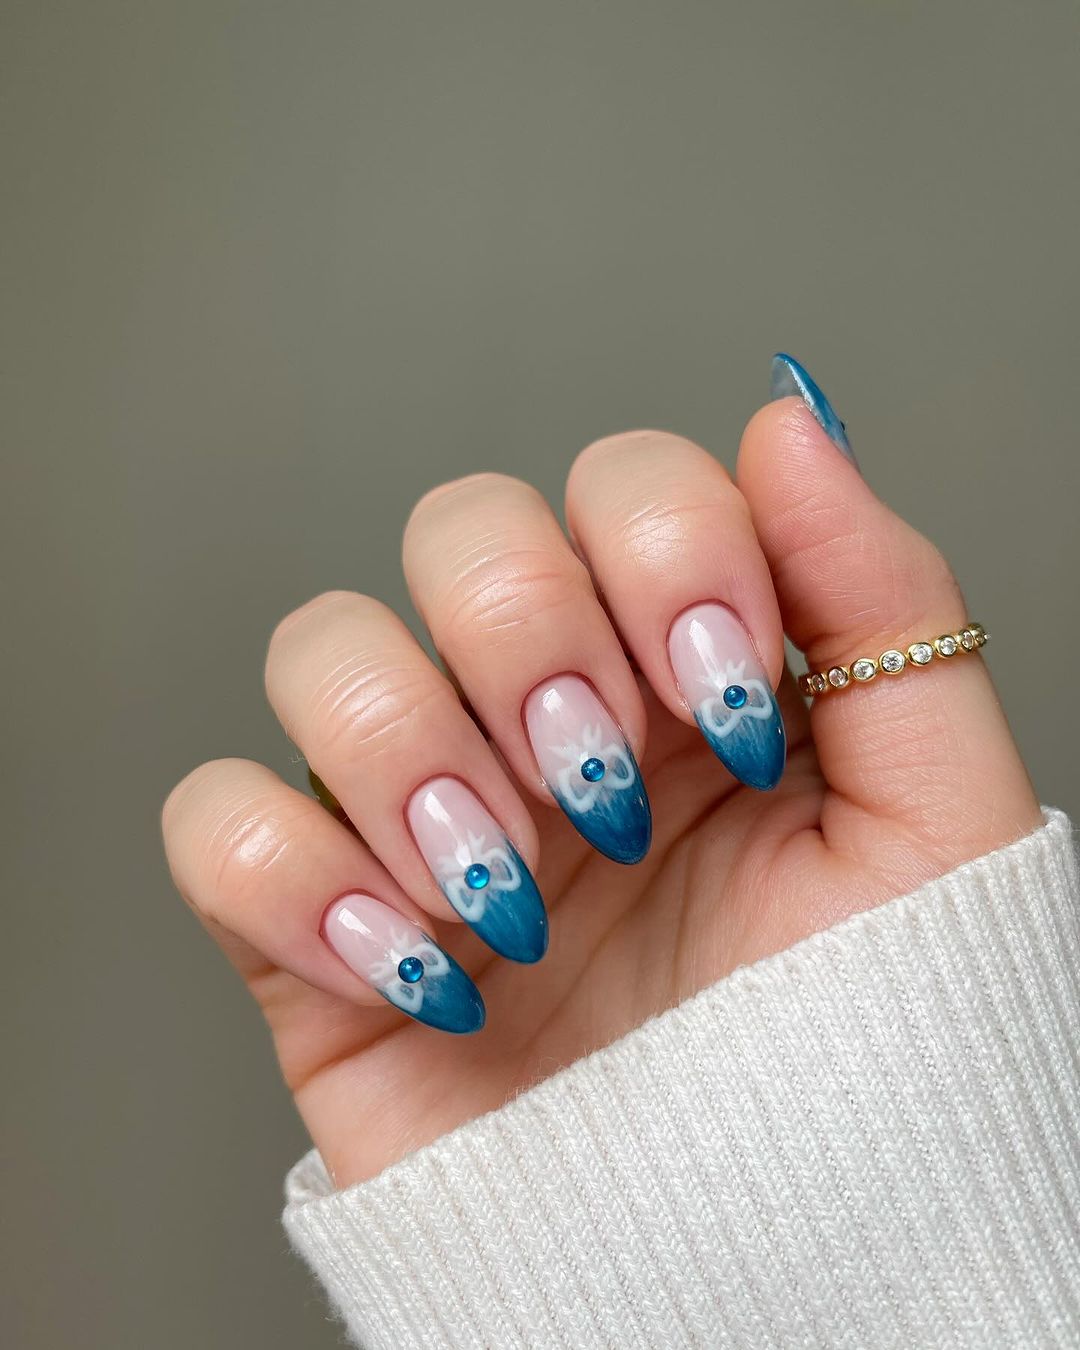
Ombre Blue Chrome Oval Nails With White Bows
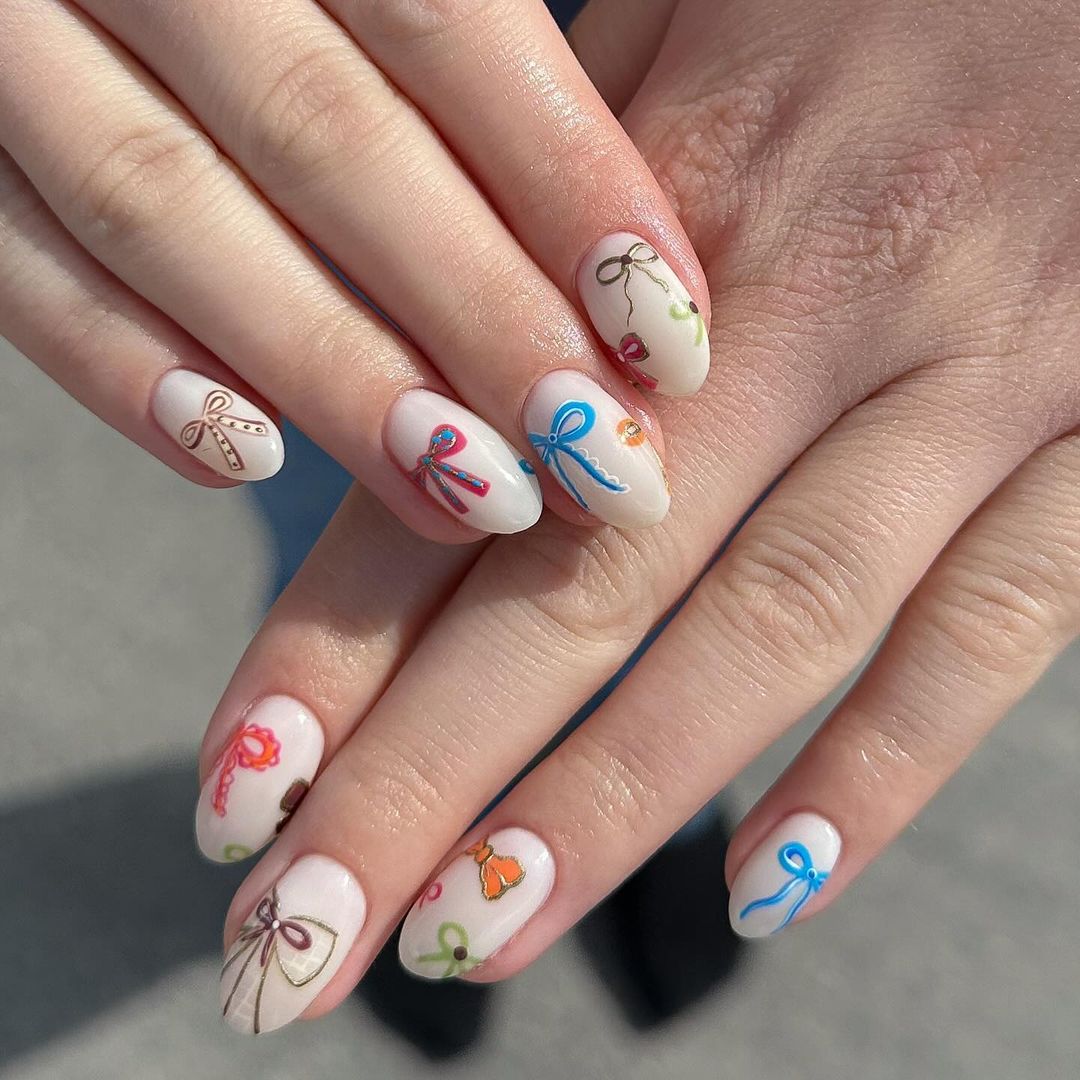
Nude Oval With Colorful Bow Designs
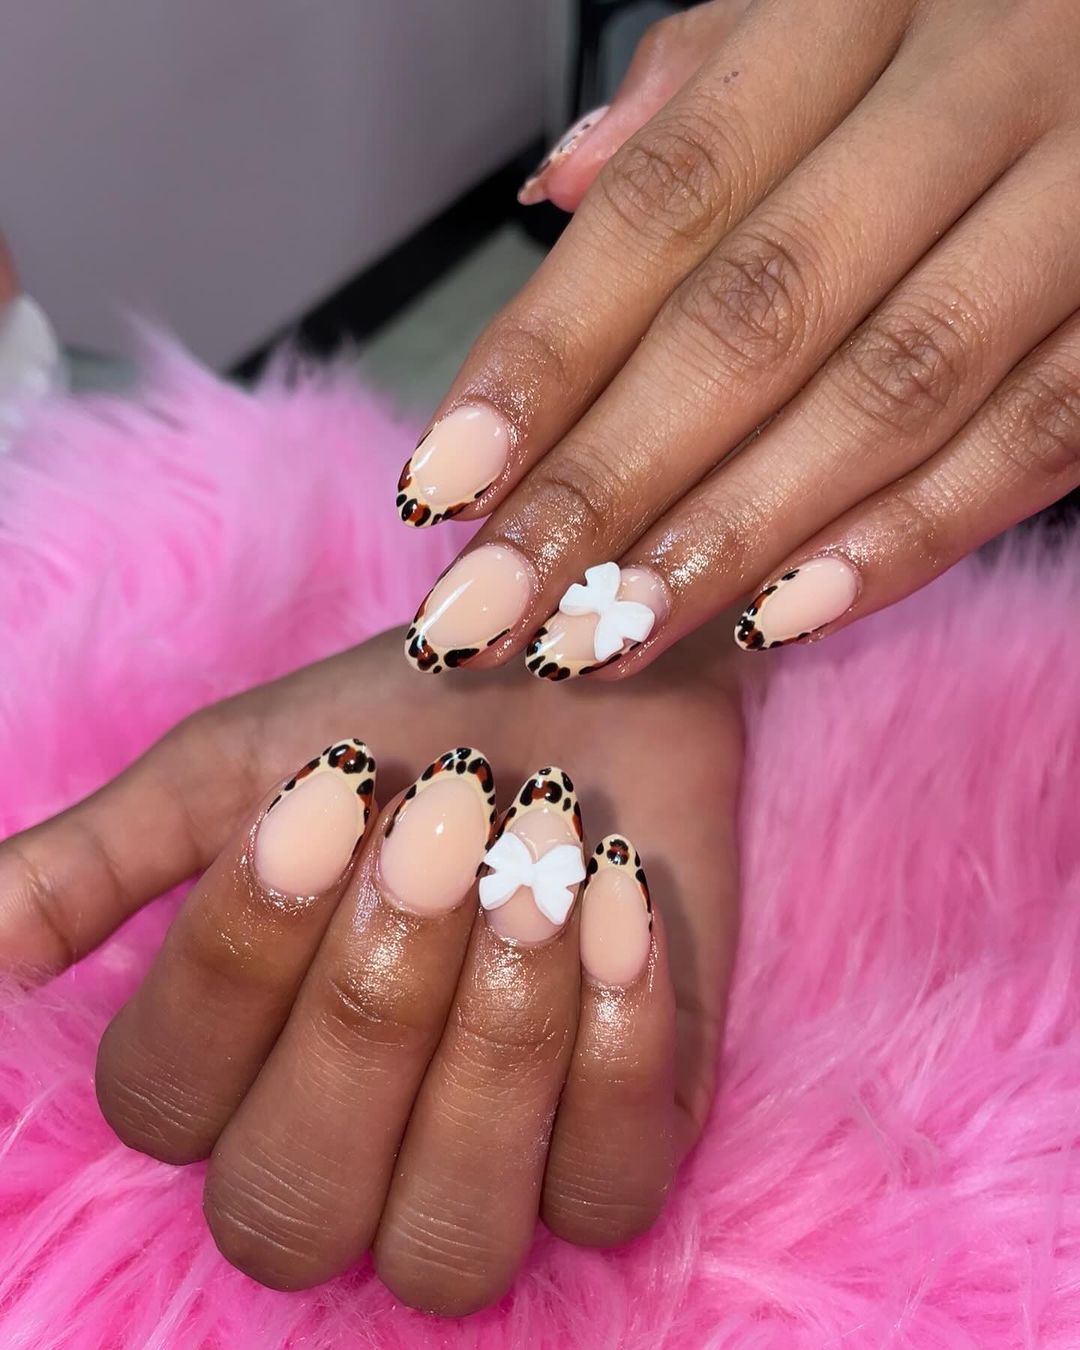
Nude Leopard Print French Mani With White 3D Bows
Metallic Silver Glitter Nails With Sparkles And Bows
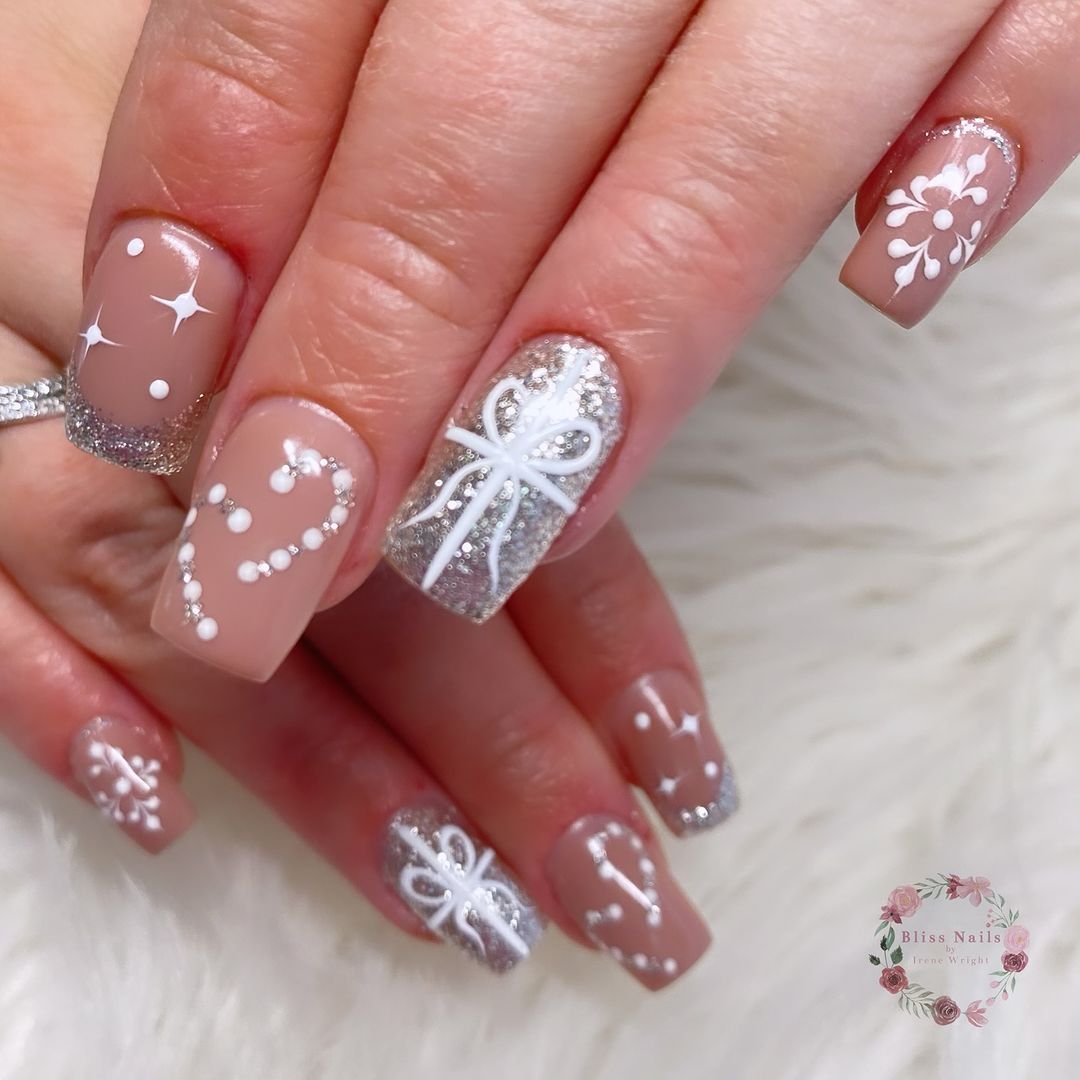
Long Square Red And Black French Mani With 3D Bows
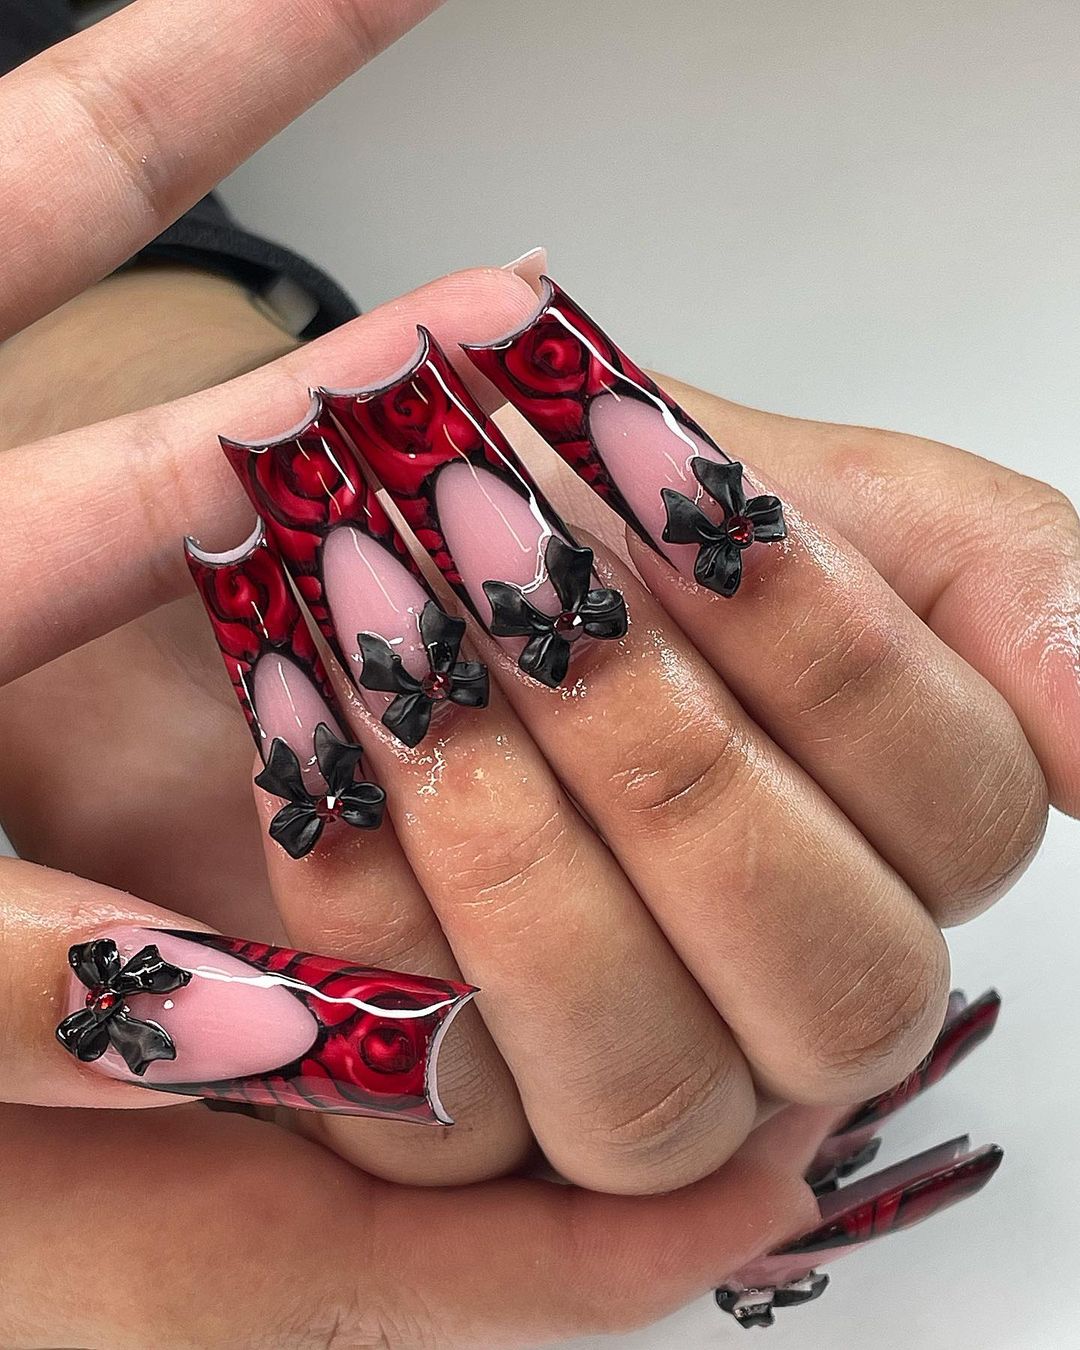
Long Square Bow and Lace Nails With Rhinestones
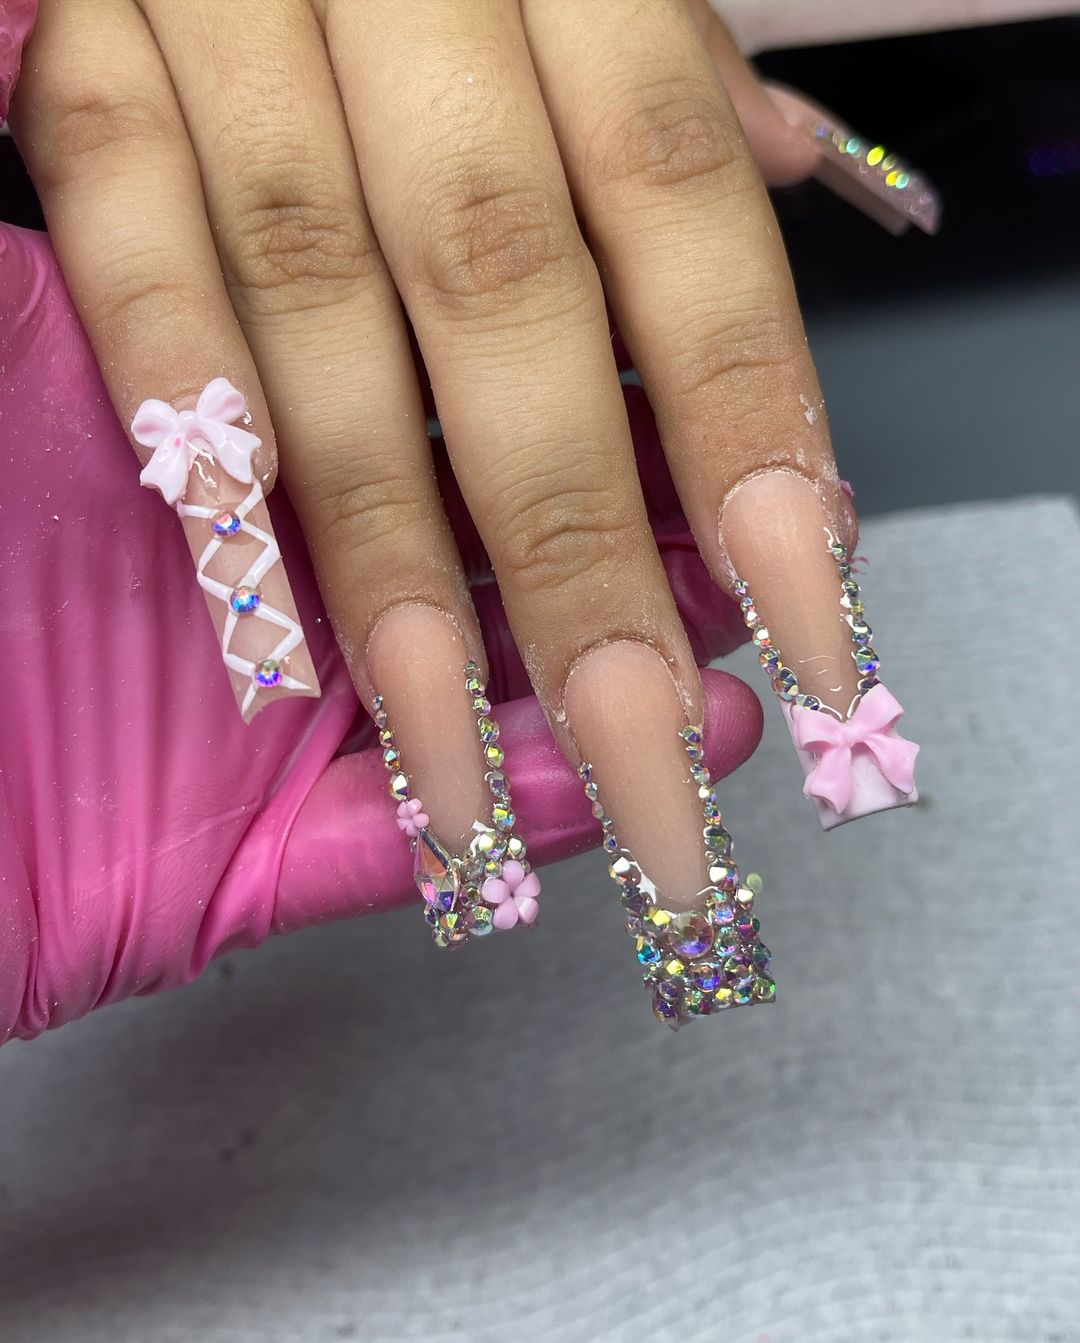
Colorful Bow Design On Oval Nails
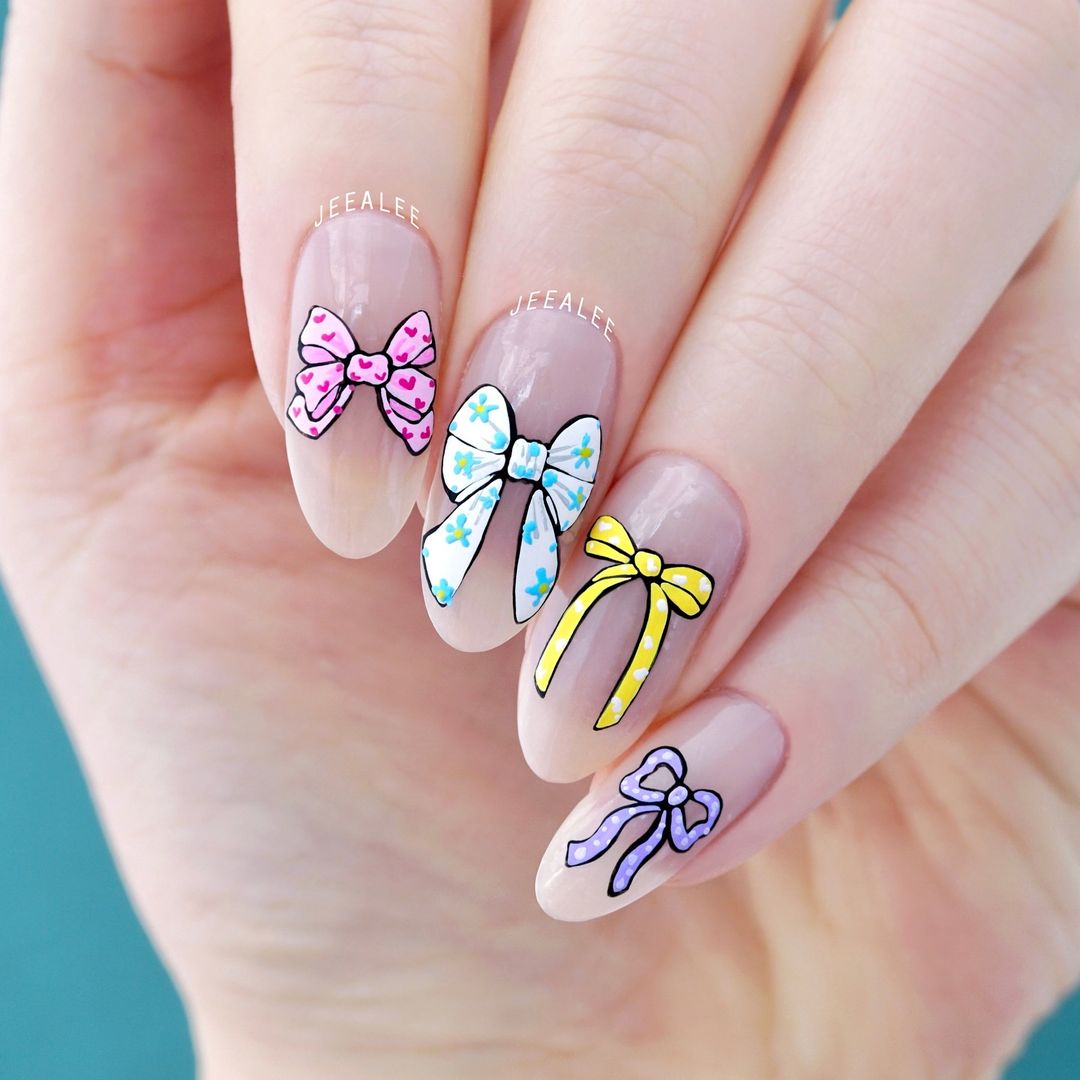
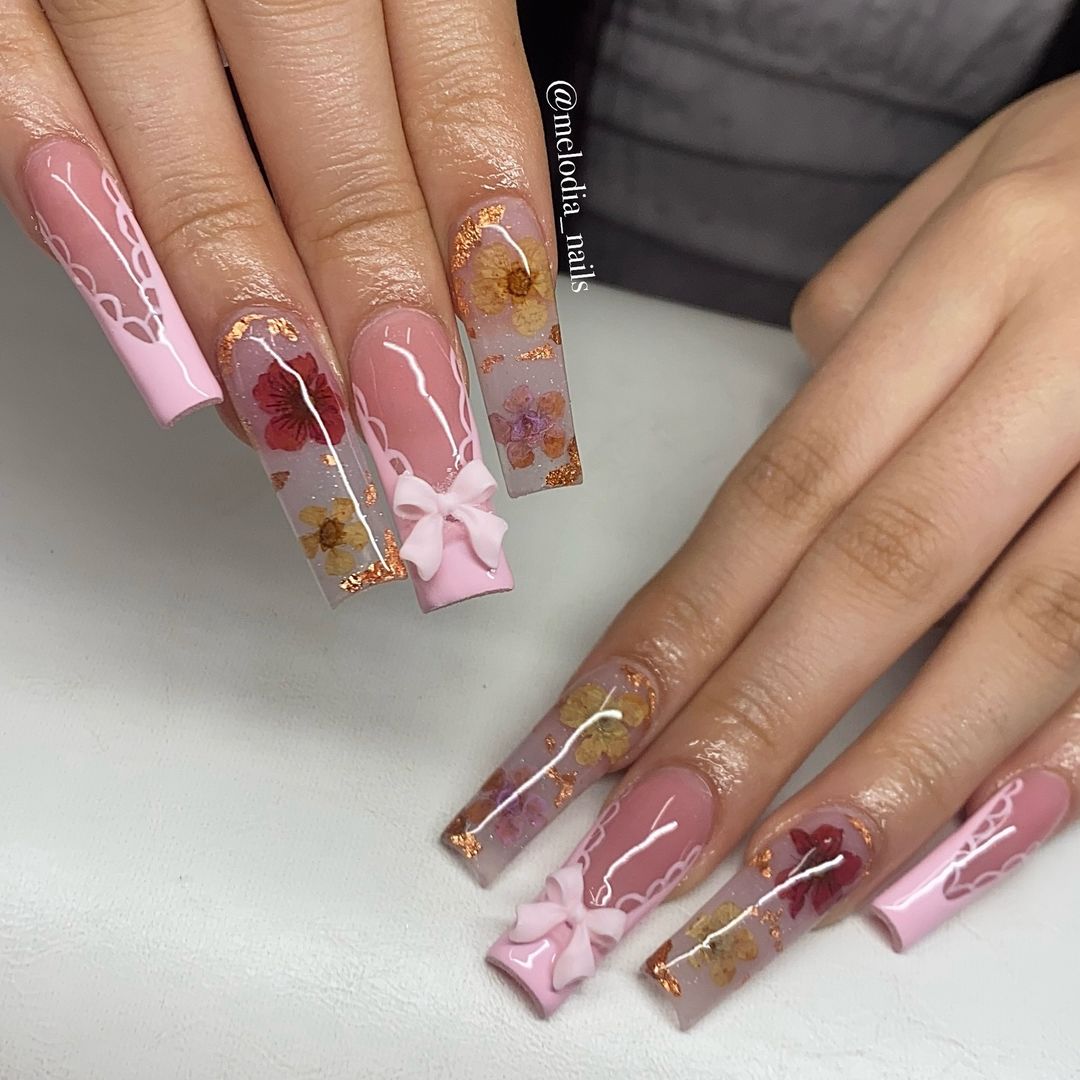
Clear Floral Square Acrylic Nails With 3D Bows
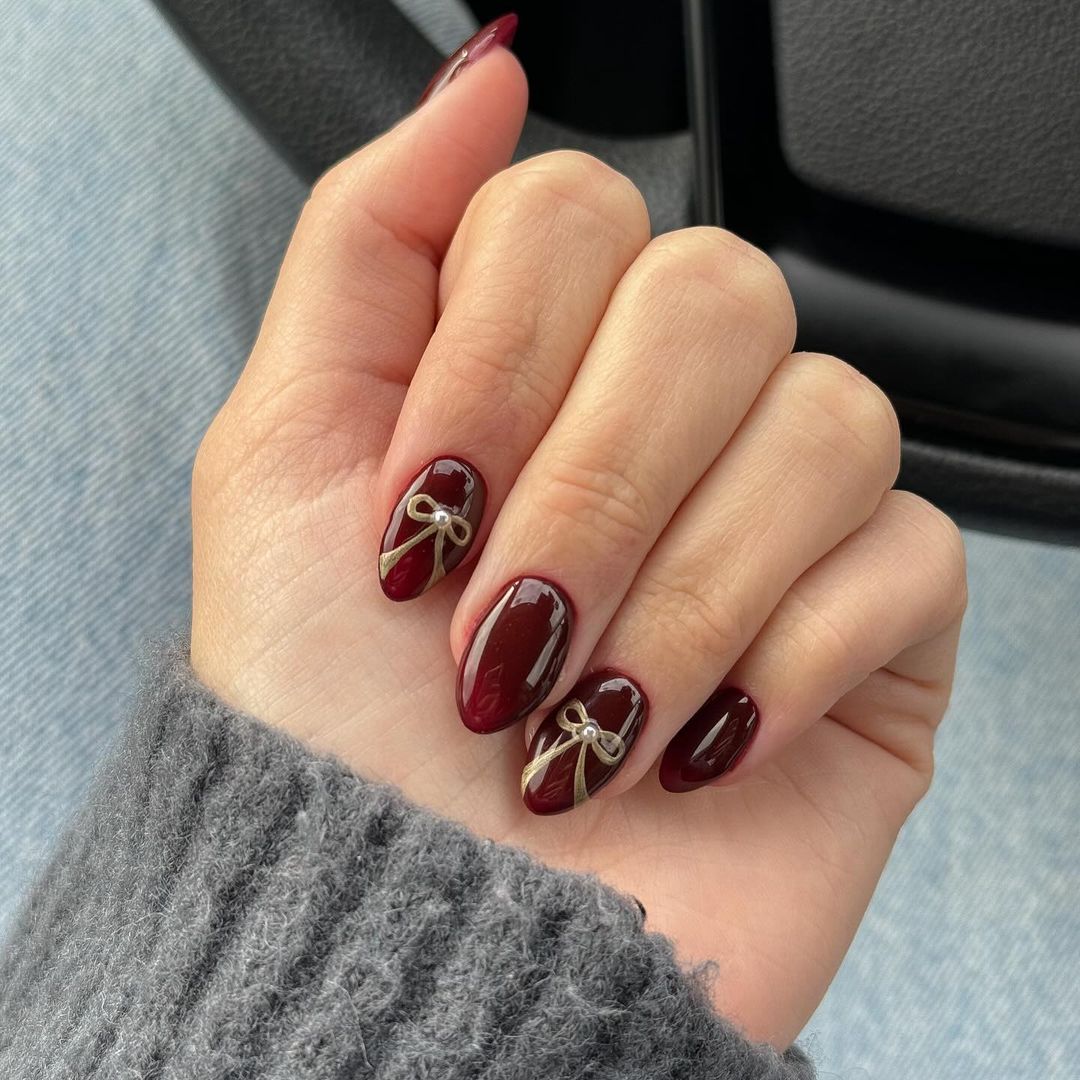
Burgundy Glitter Short Oval Nails With Gold Bows
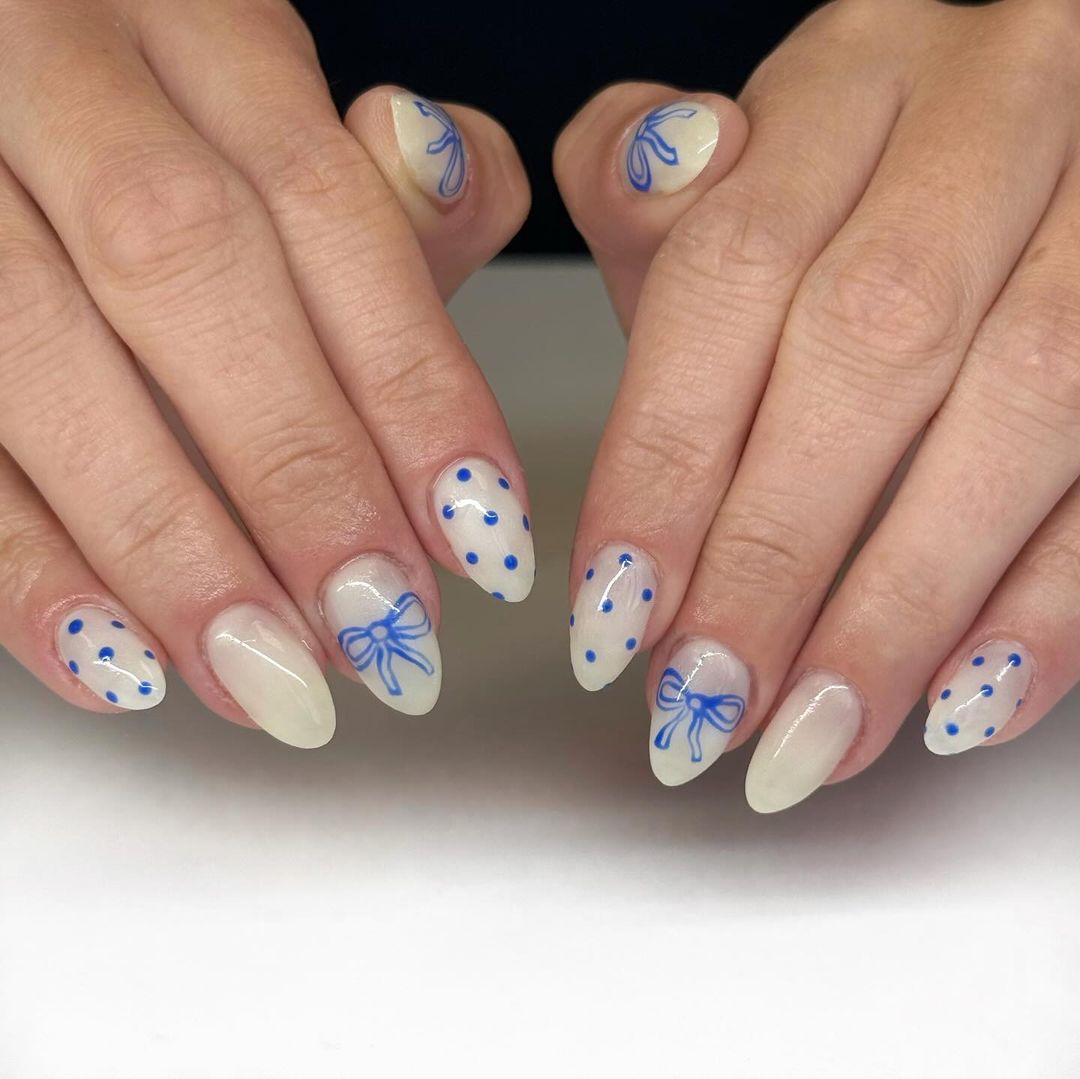
Blue Polka Dots and Bows On Nude Oval Nails
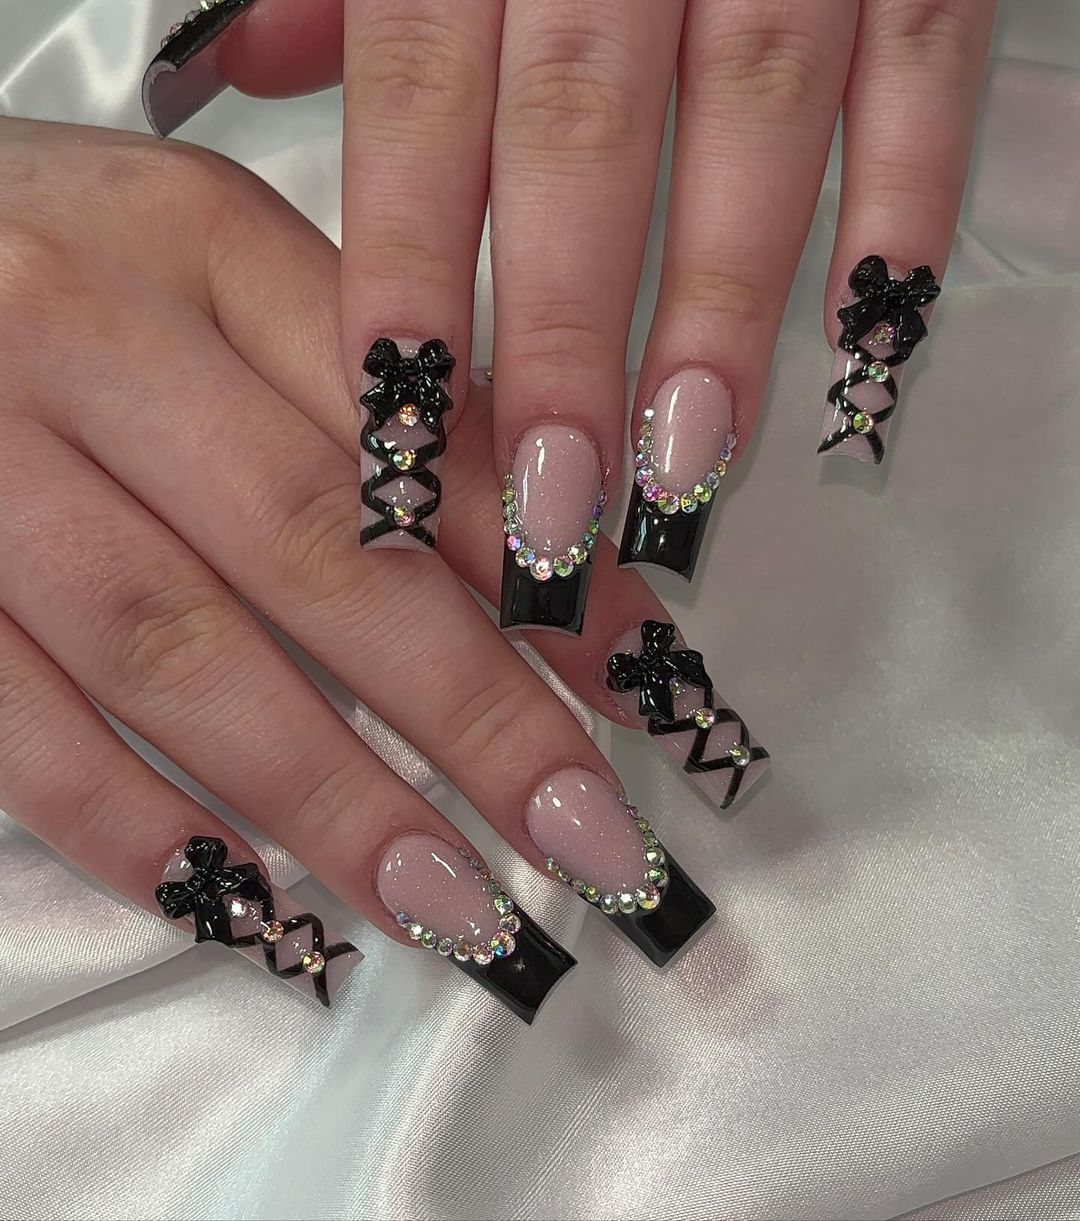
Black French Many With 3D Acrylic Bow And lace
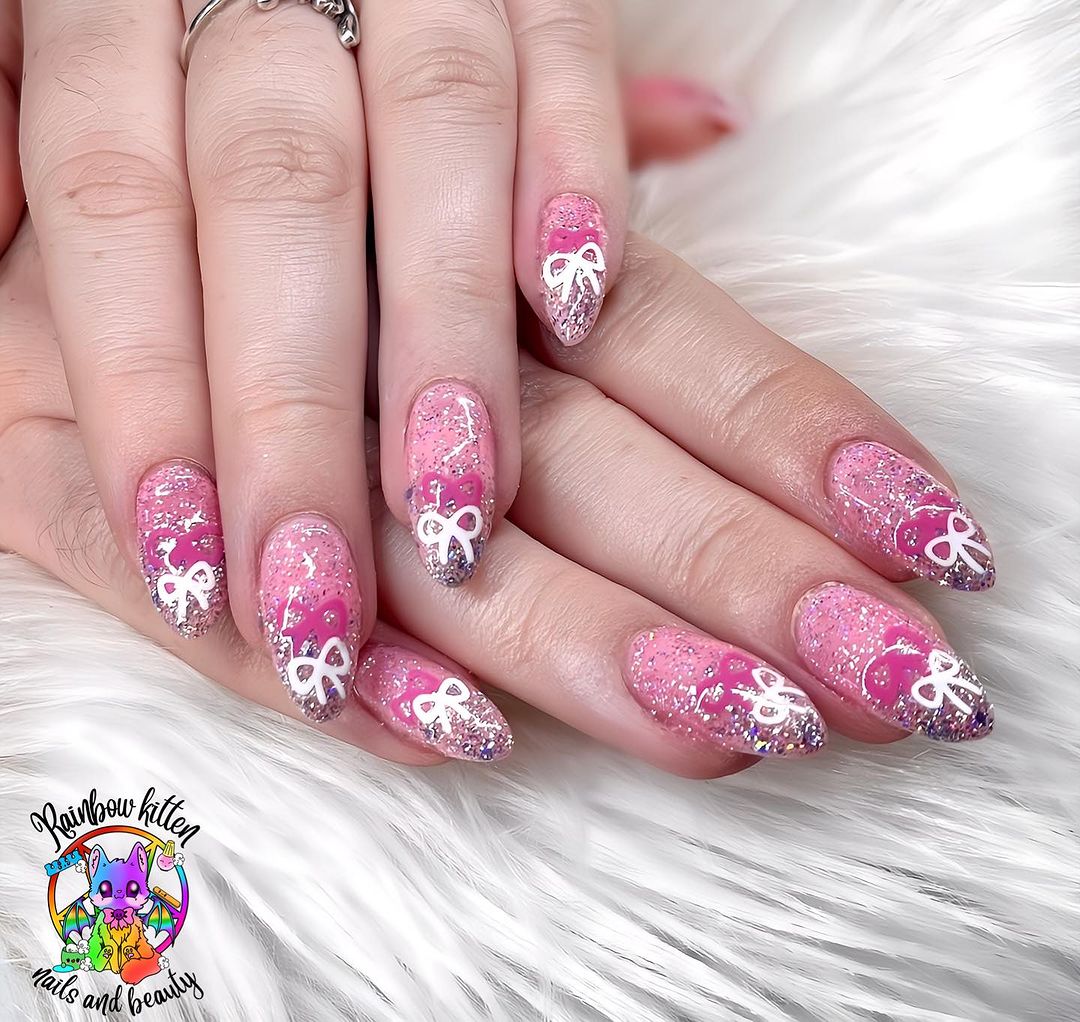
Almond Pink Glitter Nails With Bow Designs
Designing Your Bow Nail Art
Creating beautiful bow nail art is all about adding a touch of femininity and fun to your look. I’ll guide you through choosing adorable bows, applying them with care, sparkling them up, and picking the perfect theme to make sure your nails stand out in the most charming way.
Selecting the Right Bows
When I choose bows for my nail art, I look for tiny 3D bows for that extra ‘oomph’. Size matters; too large and they can overwhelm your nails, too small and they might go unnoticed. I aim for something dainty yet noticeable.
Materials can range from fabric to metal, but I find that plastic bows are lightweight and don’t drag on the nail. Pastel colors are my go-to as they’re soft and easy to work with, especially for spring designs.
- Materials: Fabric, Metal, Plastic
- Colors: Pastel Palette (Light Pink, Lavender, Baby Blue)
Applying Bows with Precision
Creating bow nail art is not only a fashion statement; it’s also a fun way to put my creativity to the test. I’ve found that it requires a steady hand and a flair for design to get the bows looking just right. Selecting the perfect polish to contrast or complement my outfit adds another layer of complexity and excitement to the process.
Placement is key. After your base coat and color, I wait for the polish to dry completely before I use a pinpoint dot of nail glue to set the bow.
Tweezers are my best friend for this; they let me position the bow just where I want it without any mishaps. If you’re opting for several bows, remember to mix and match their placement for a playful, asymmetrical look.
- Tools Needed: Tweezers, Nail Glue
- Tip: Wait for the polish to dry before applying bows
Incorporating Glitter and Sparkle
Glitter adds a twinkle to any bow nail art. I sometimes apply a glitter top coat over my base color before placing the bows.
Sparkly manicure with a sprinkle of glitter around the bows can make them pop. For a subtle shimmer, I might add a touch of glitter just under the bow or along the edges of the nail.
- Glitter Use:
- Over Base Color
- Around Bows
- Subtle Shimmer Placement
Choosing a Theme: Pink Bows and Beyond
A theme pulls the whole design together. Pink bow nail art is a classic, offering a sweet and girly vibe. But why stop there?
For me, choosing a theme is about expressing my mood or matching an outfit. I love exploring different combinations, like pastel blues for a day look or a bolder hue to match my evening attire.
Don’t hesitate to experiment with color themes that reflect your personality.
- Themes:
- Classic Pink
- Outfit-Matching
- Mood Expression
Perfecting Your Technique
When I’m working on a bow nail design, being meticulous with the manicure base and applying embellishments with precision is crucial. Then, making sure everything is sealed with a top coat keeps the nails looking great for longer.
Mastering the French Manicure Base
Getting the French manicure base right is the foundation of a standout bow nail design. I begin by applying a base coat to protect my nails and ensure a smooth canvas.
Once that’s dry, I carefully paint the French tips with a steady hand or use guiding strips for that crisp edge. Sometimes, I opt for an airbrush effect on the tips for a softer look.
Adding 3D Embellishments Carefully
Now, for the fun part: 3D embellishments! Nail charms and pearl accents can transform a classic French manicure into a unique masterpiece.
I pick up each charm with a tweezer and place it on the wet polish or a dab of clear polish. Less is more, so I often just add one bow charm as a feature on each hand.
Sealing the Design with Top Coat
The last step is crucial—sealing the design with a top coat.
This not only keeps my nail charms and 3D elements in place but also gives my nails that gorgeous glossy finish.
I make sure to cover the edges of the french tips and the base of any embellishments to lock everything in.

Leave a Reply
View Comments