Acrylic nails have taken the fashion world by storm, but when it comes to standing out, nothing does it quite like bling acrylic nails. They’re not just nails; they’re statement pieces, twinkling with every flick and gesture.
As someone who loves a bit of sparkle, I can attest to the allure of glimmering gems and shining designs that transform a simple manicure into a work of art.
It’s about adding that extra touch of elegance to your hands that makes you feel beautiful and confident.
Choosing the right design for your bling acrylic nails feels like picking the perfect accessory for your outfit.
I’ve learned that it’s all about complementing your personal style while also considering the event or your daily activities.
That way, your nails don’t just look gorgeous—they’re also practical.
They have to be durable enough to handle your lifestyle while keeping that sparkle.
Trust me, nothing beats the feeling of typing an email and catching a glimpse of that shimmer on your nails—it just makes my day!
Maintaining bling acrylic nails requires a certain level of care to ensure they keep their sparkle and stay intact.
I’ve found that regular touch-ups and being mindful of how I use my hands go a long way in keeping my nails looking fresh.
It’s like nurturing a little bit of glamour that’s uniquely yours, always accompanying you wherever you go.
Reader's Roadmap
Key Takeaways
- Bling acrylic nails are a way to add sparkle and make a fashion statement.
- Selecting a design involves matching personal style with practicality.
- Regular maintenance is key to preserving the appearance and durability of the nails.
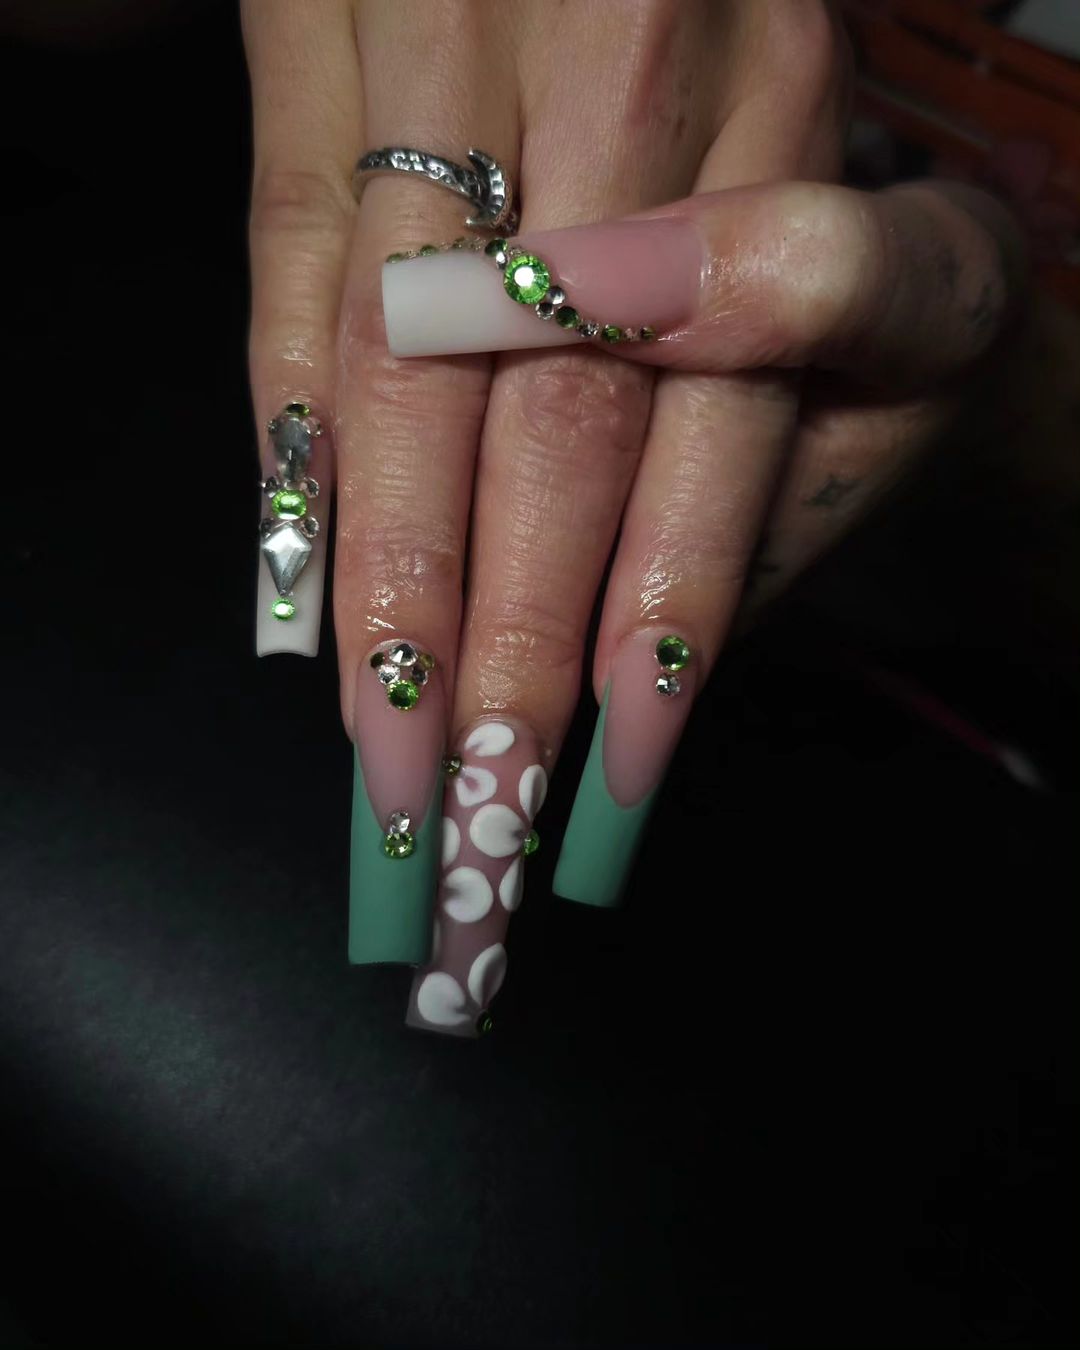
Square Green Sage French Nail With Rhinestones and White Acrylic Flower Petals
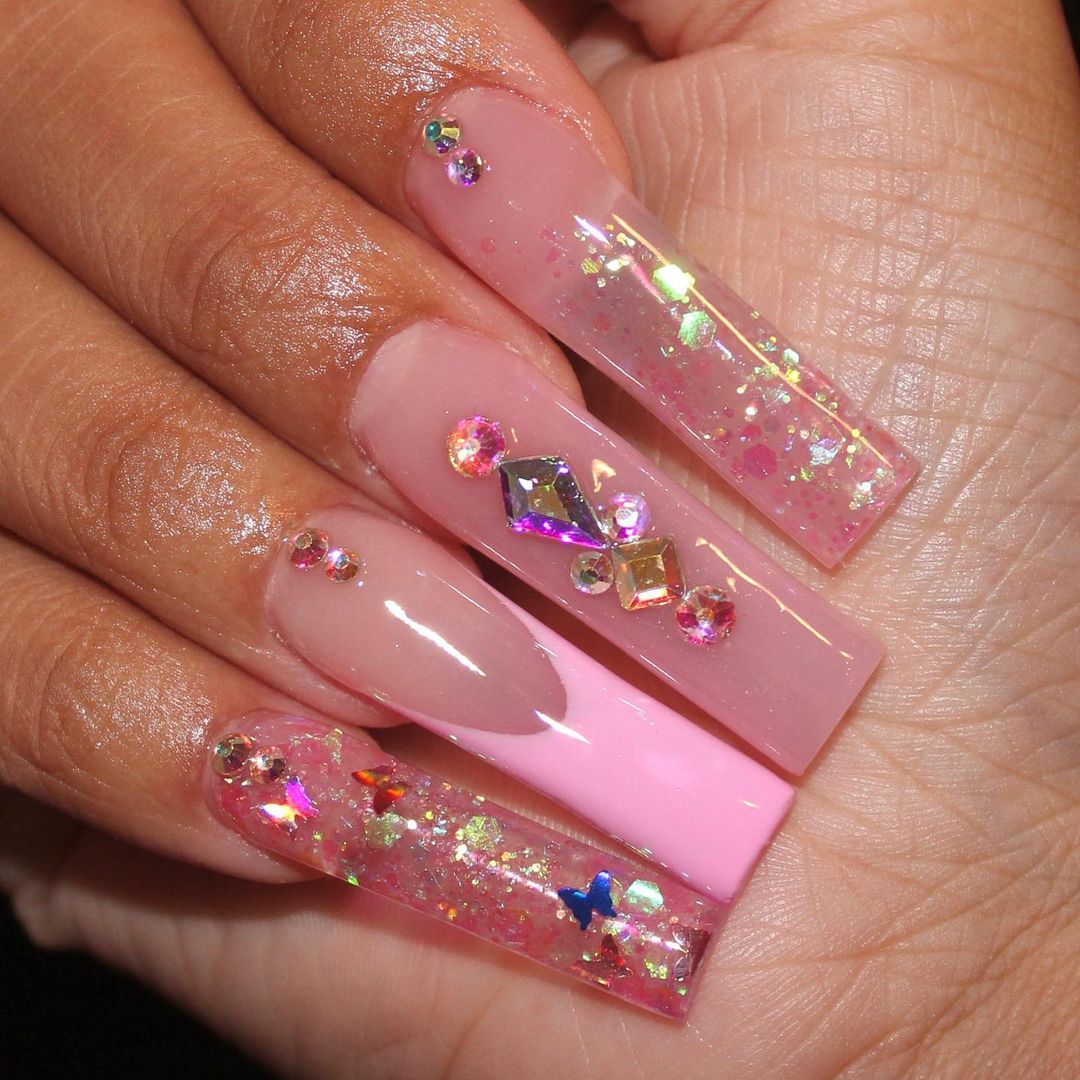
Square Soft Pink Rhinestone and Confetti Glitter Nails
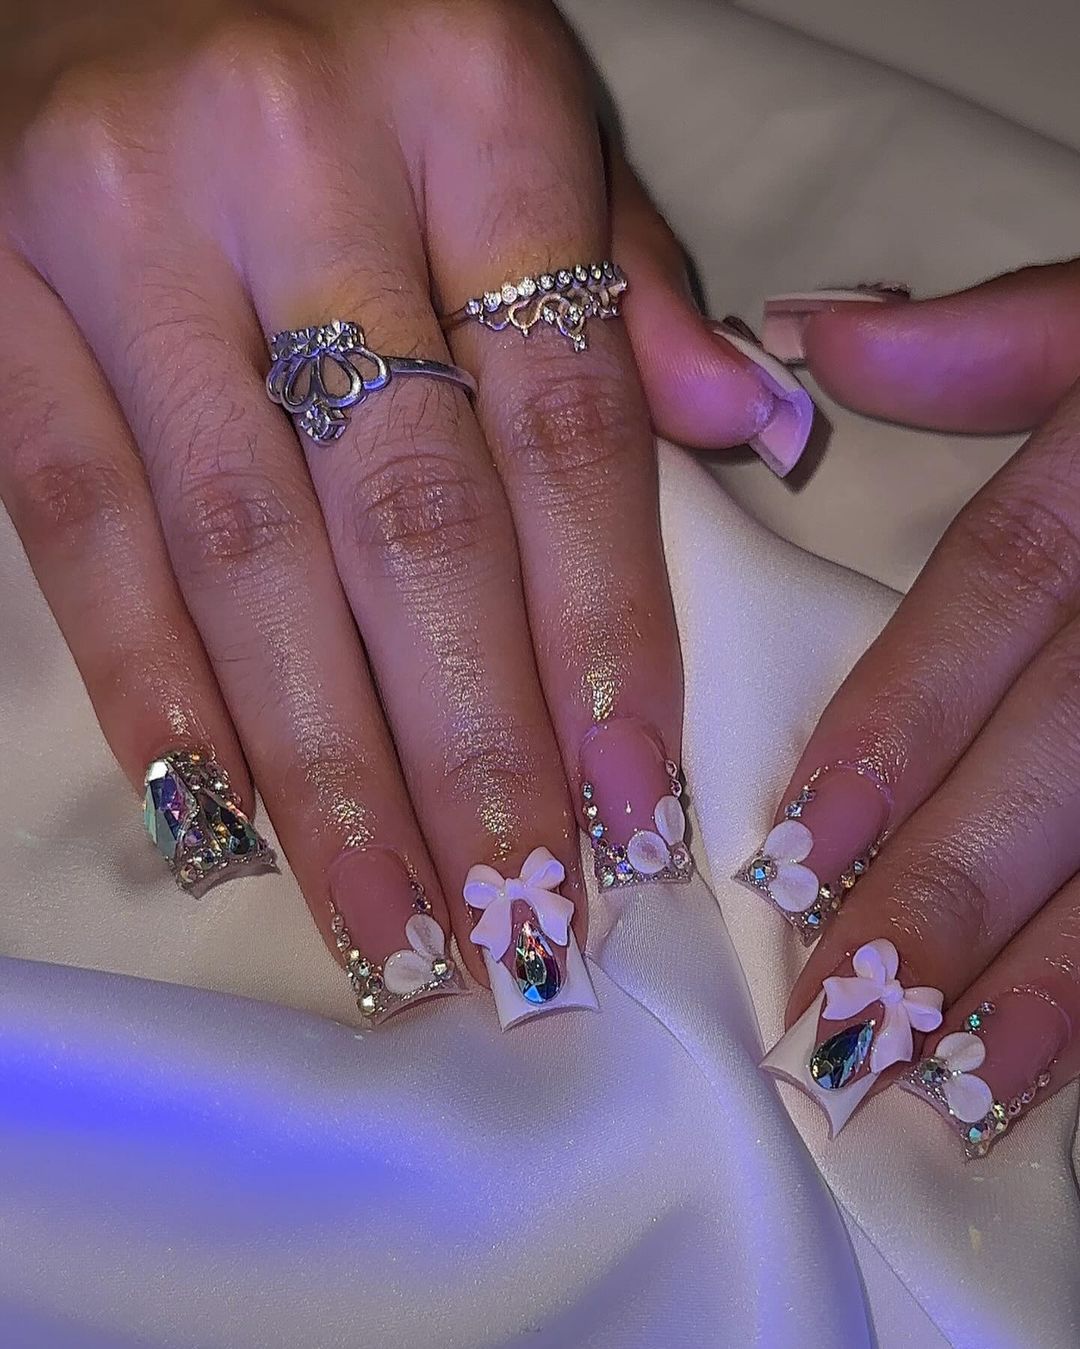
Square V-tip Clear And White Nails With Rhinestones and Bows
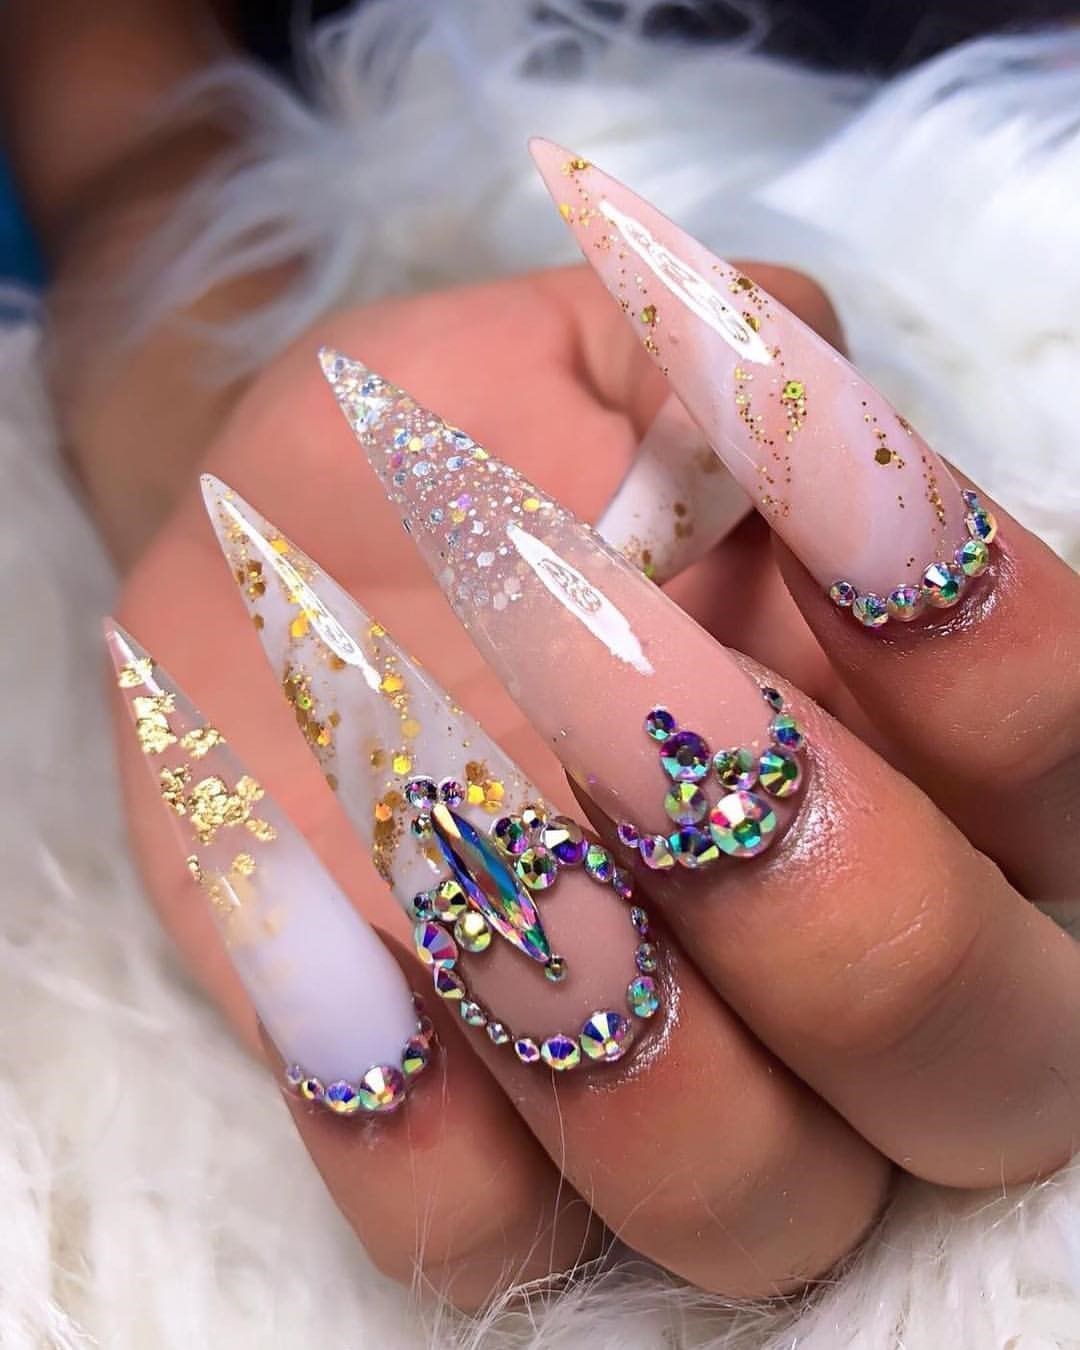
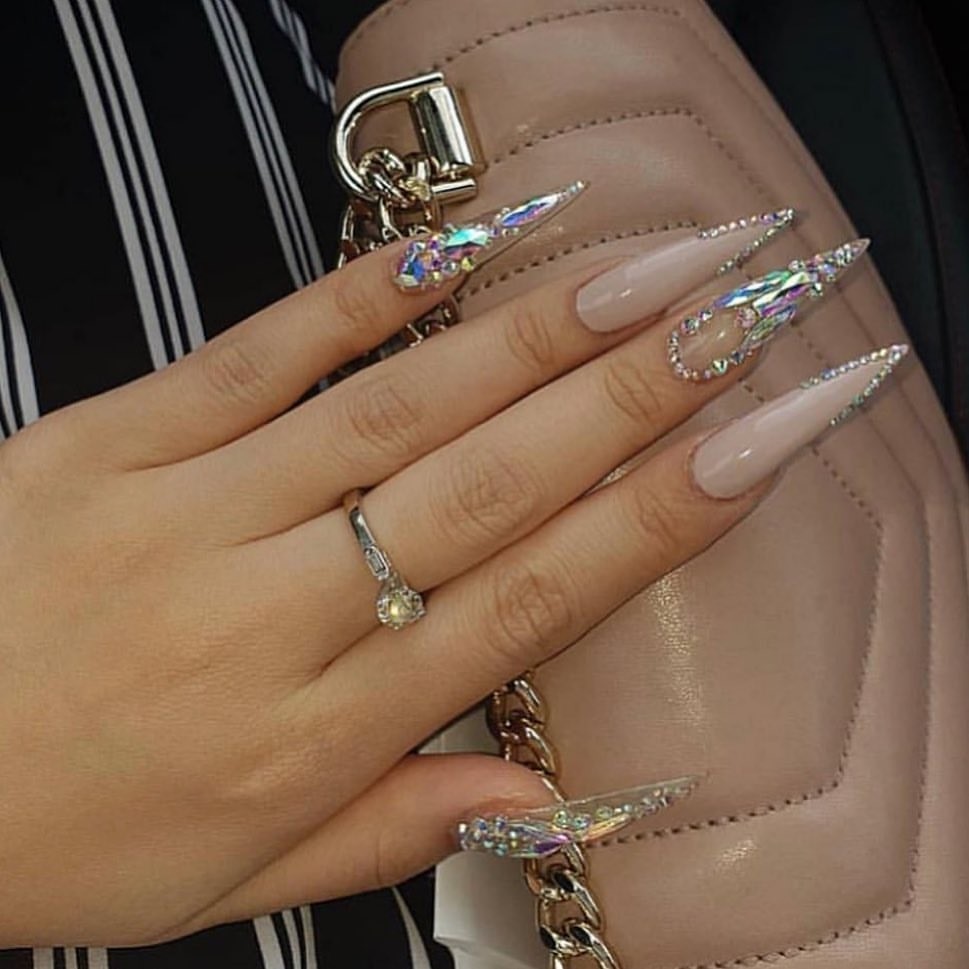
Stiletto Marbled Rhinestone Nails
White Tip Clear Nails With Rhinestones
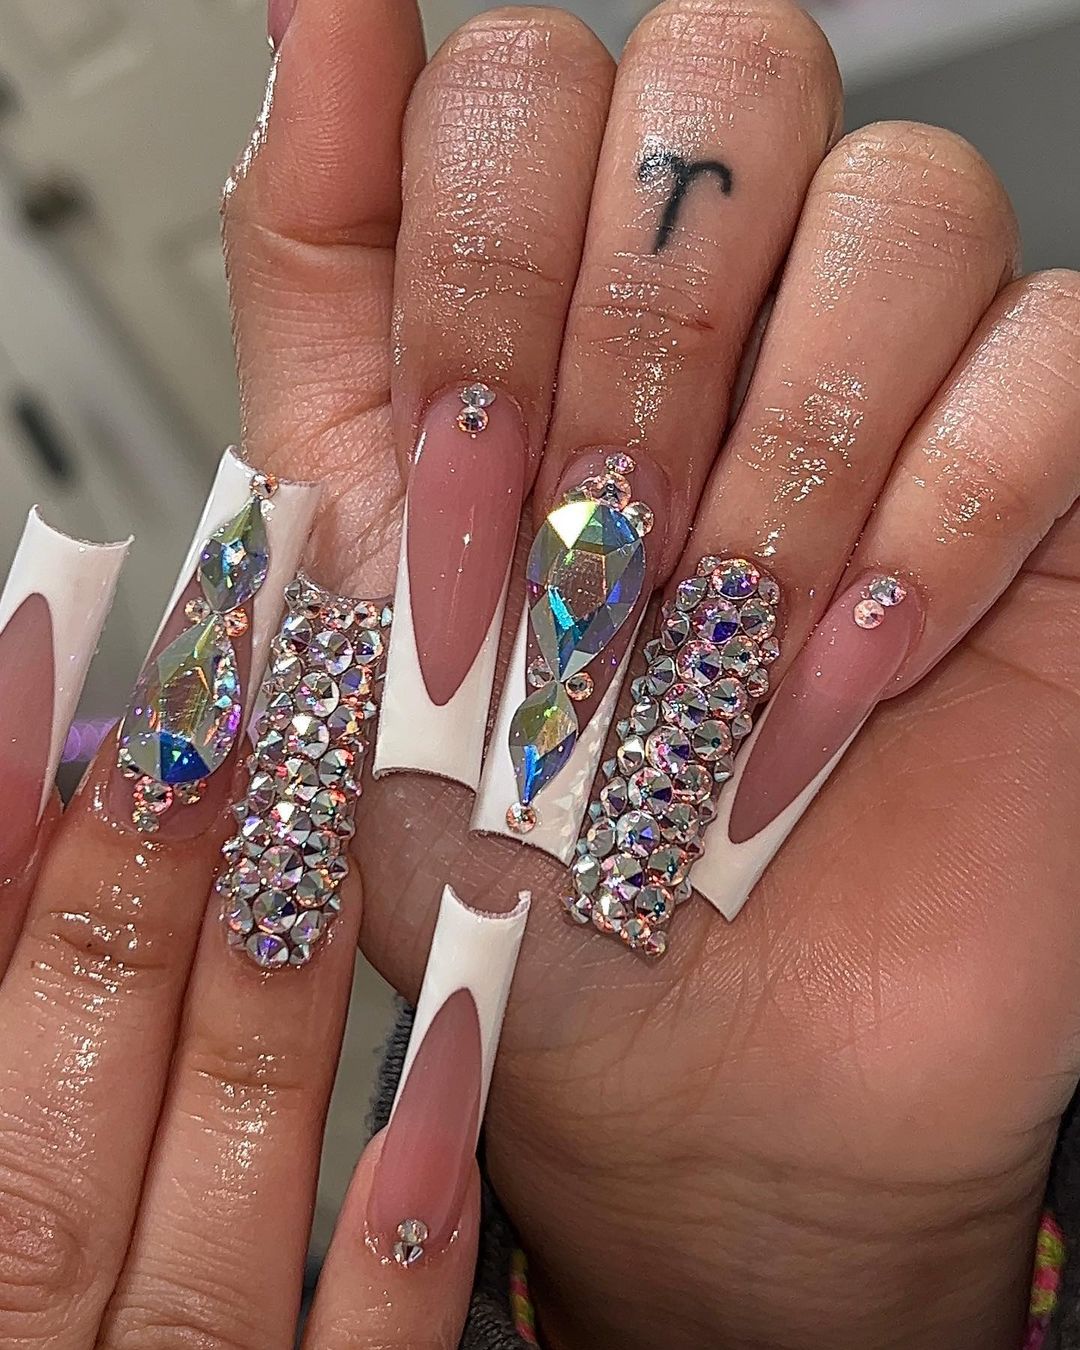
Yellow Ombre Acrylic Nails With Accent Rhinestone Nail
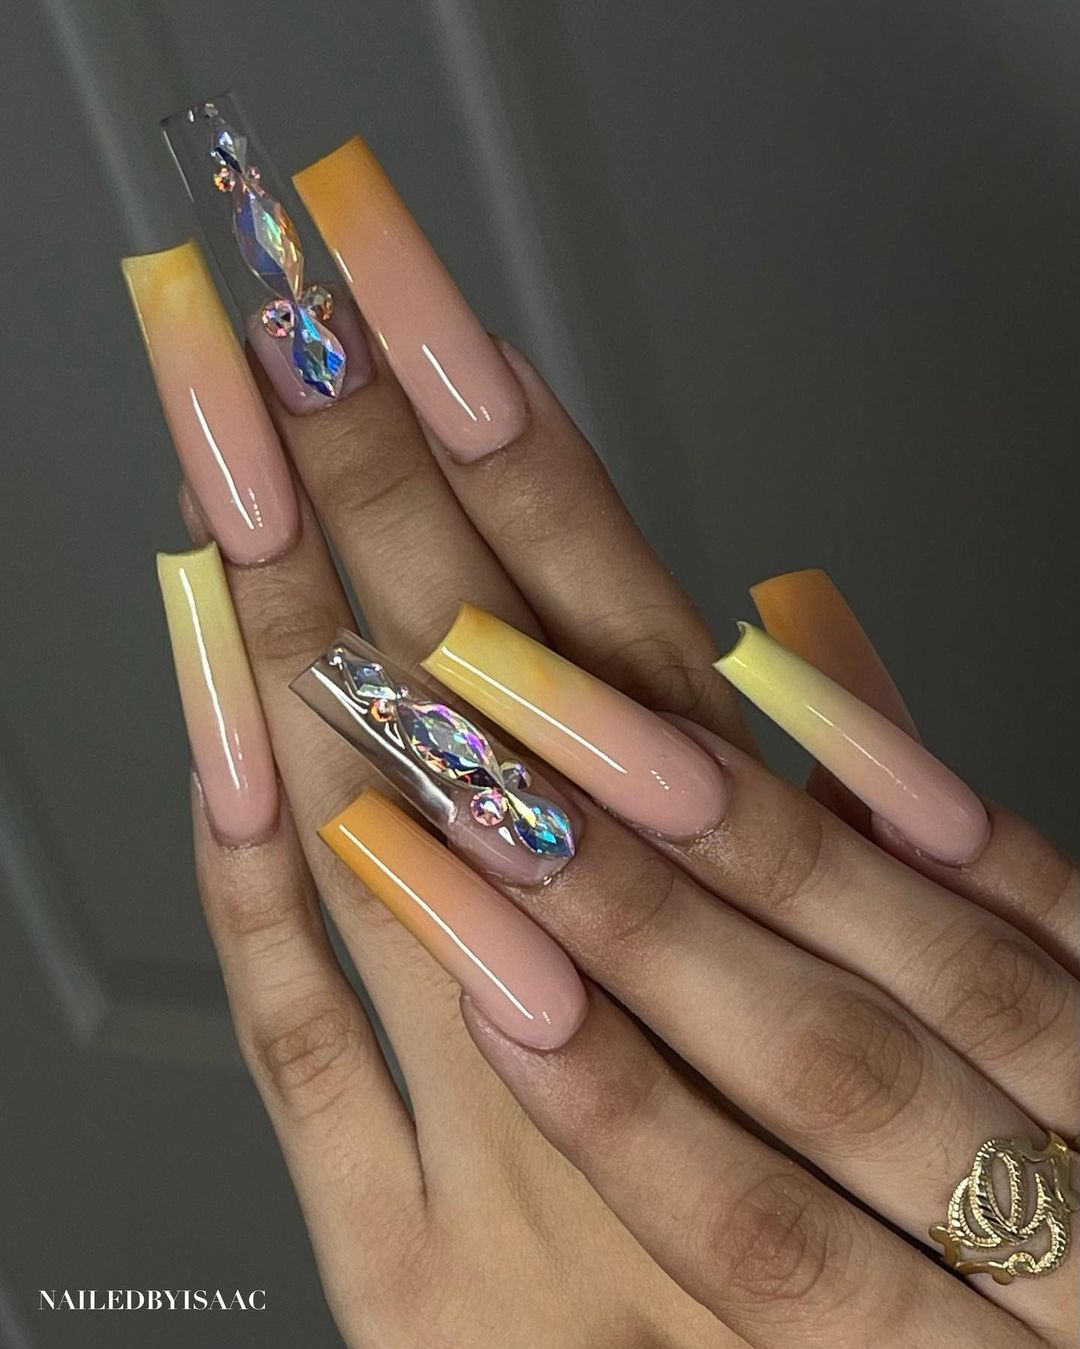
Square Blue French Tip With Butterfly Rhinestones
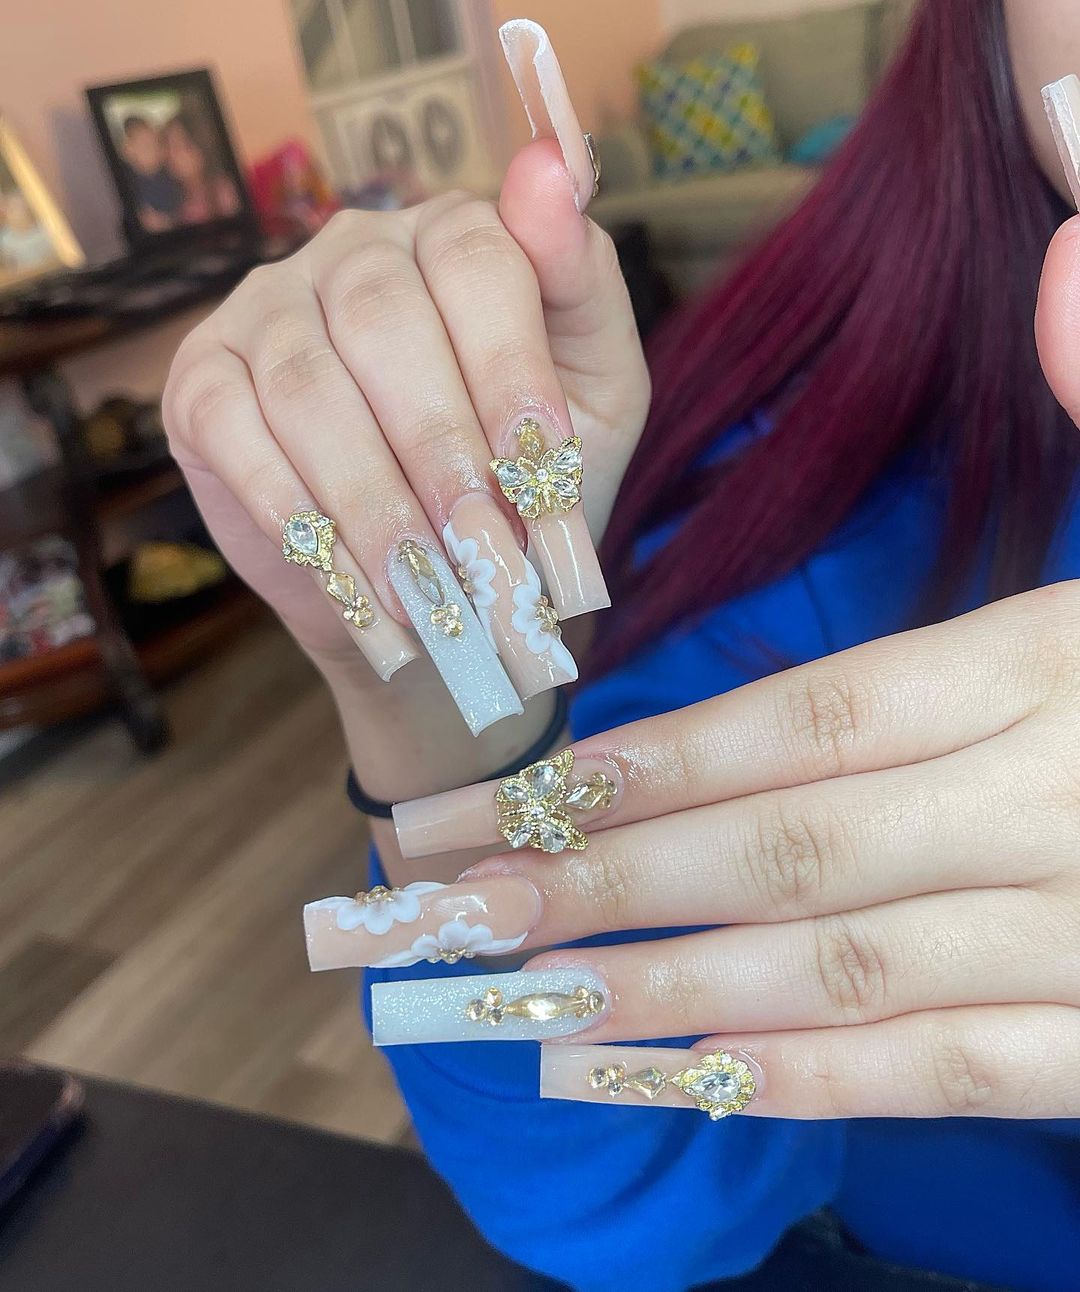
Square Orange Ombre Rhinestones And Gold Glitter Nails
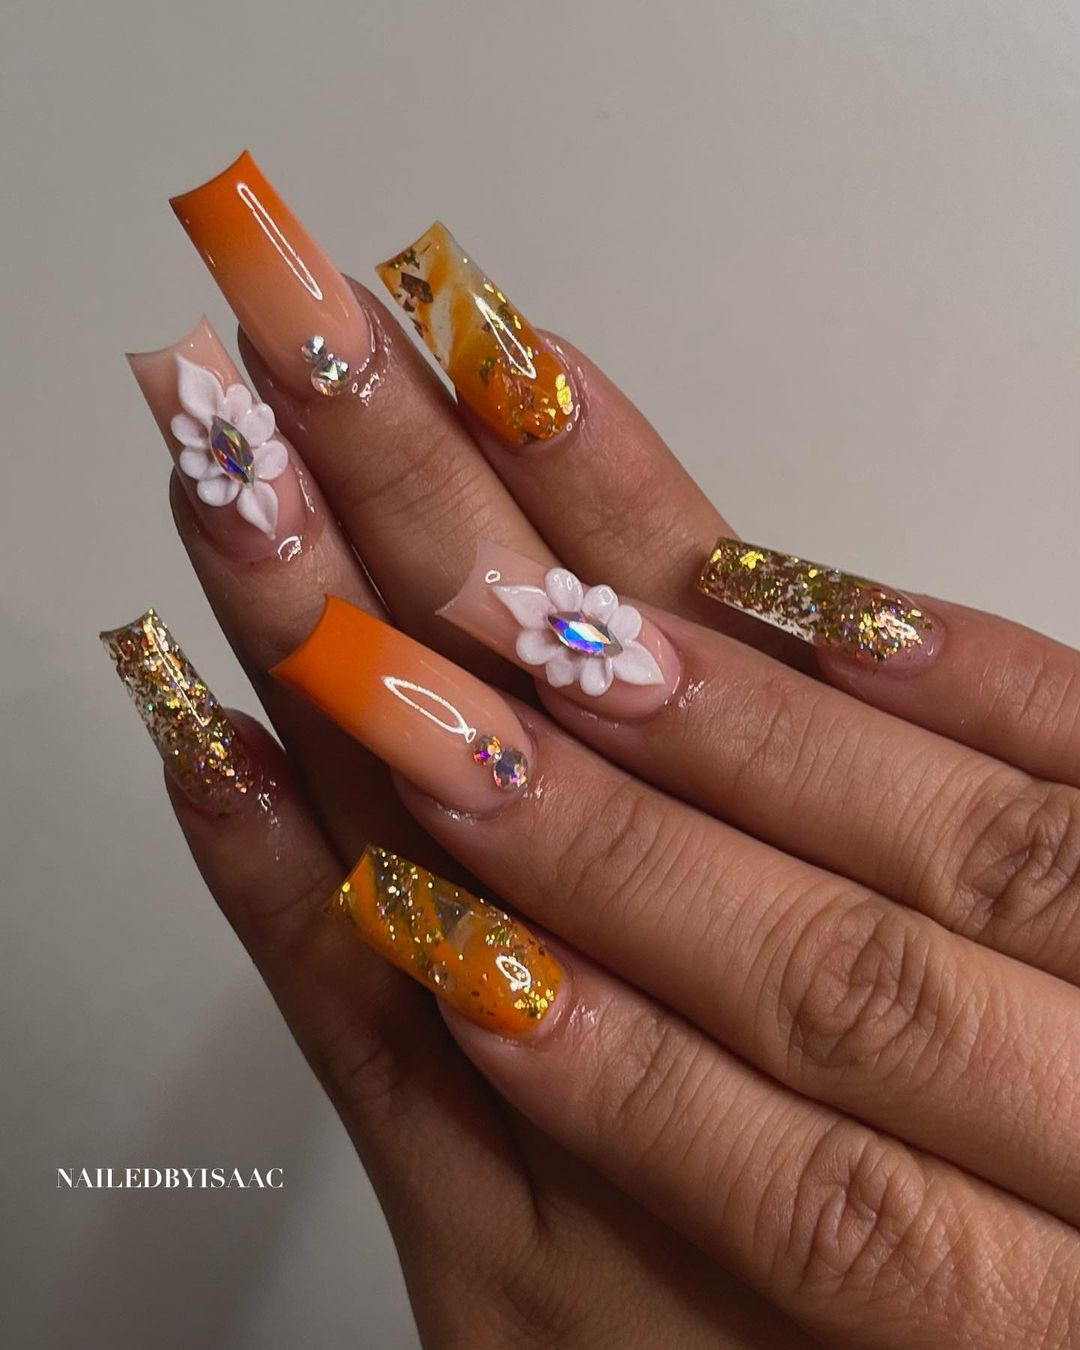
Red And Gold Square Acrylic Nails
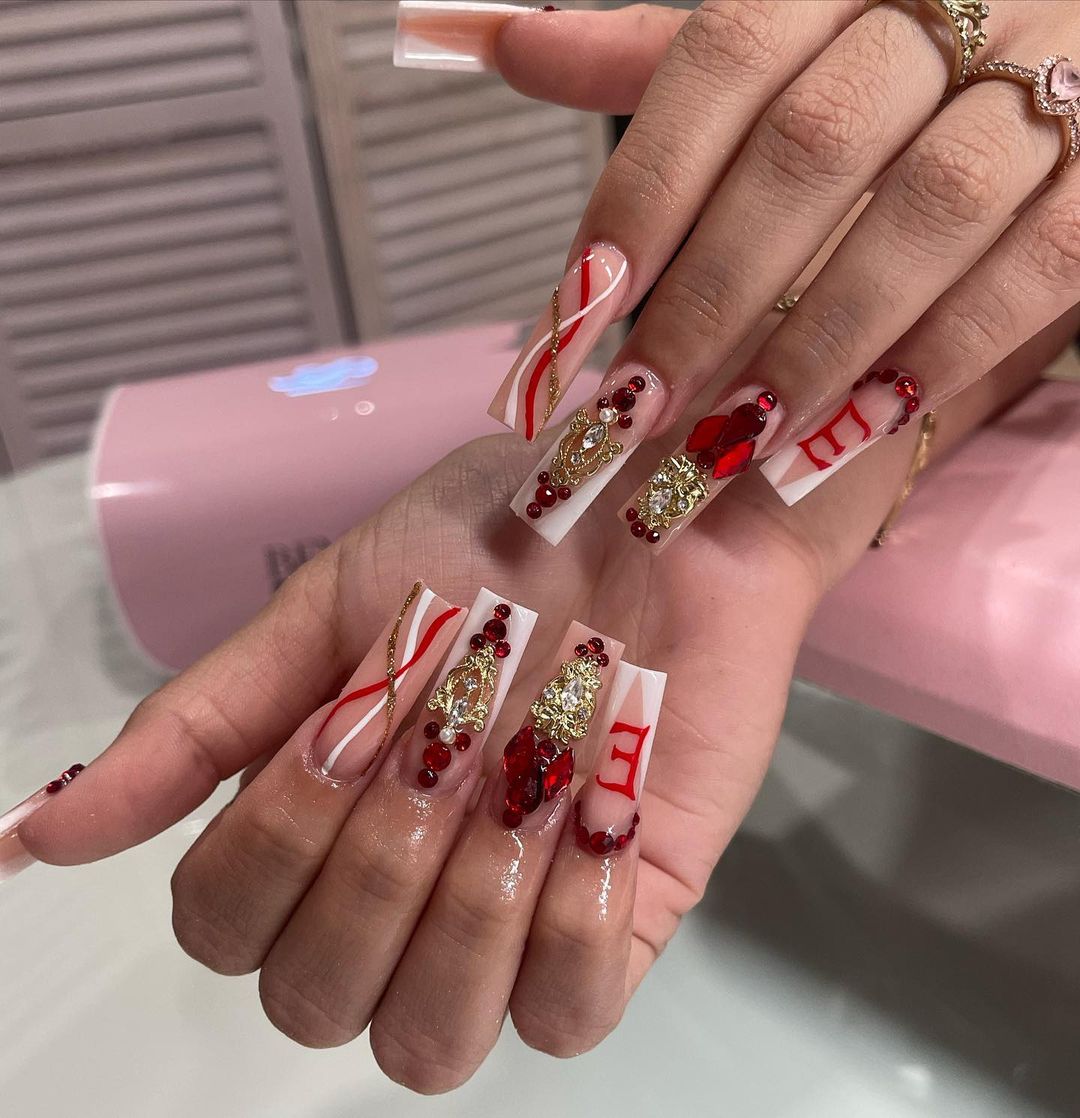
Pink Rhinestone Acrylic Nails
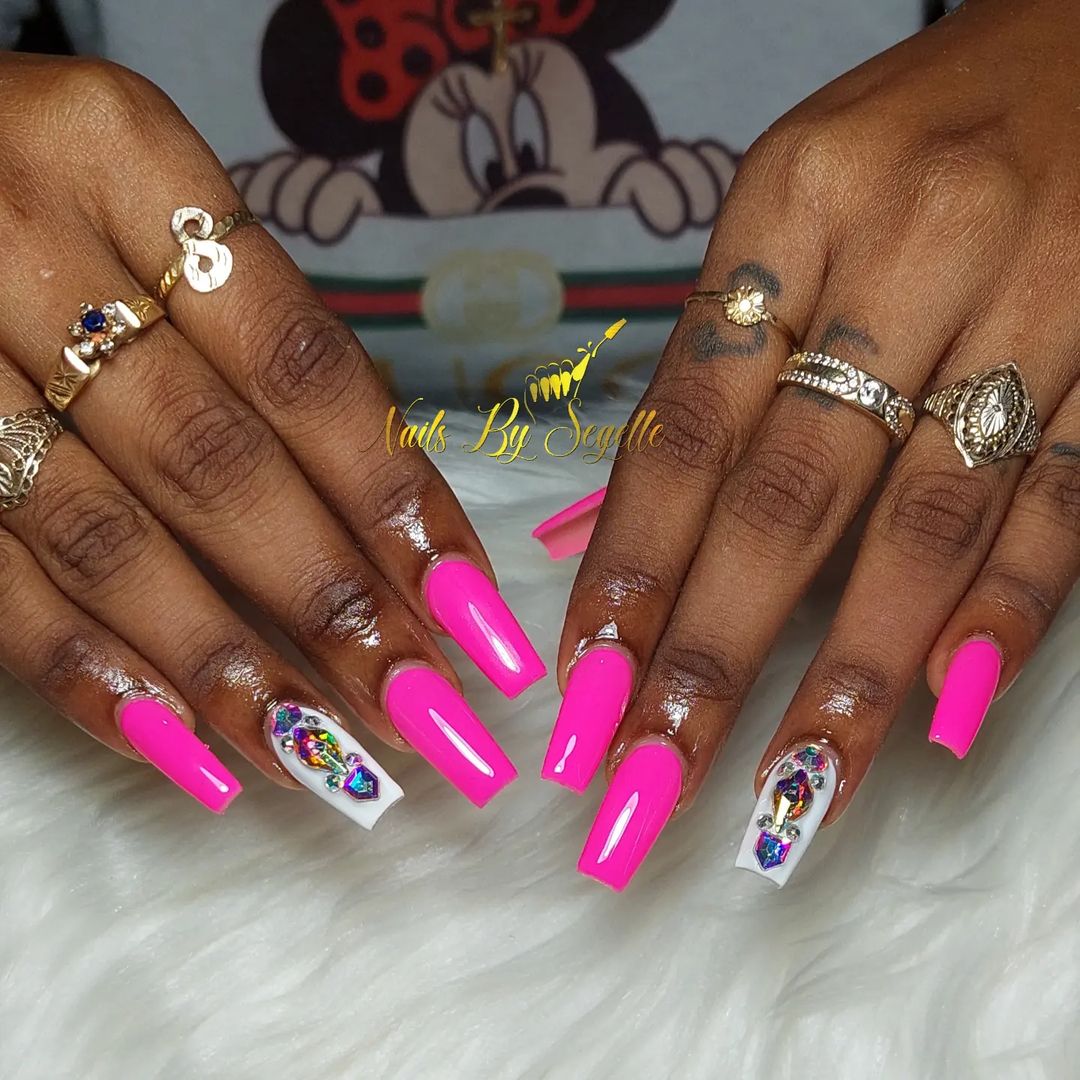
Pink Glitter Nails With Butterfly Ornament
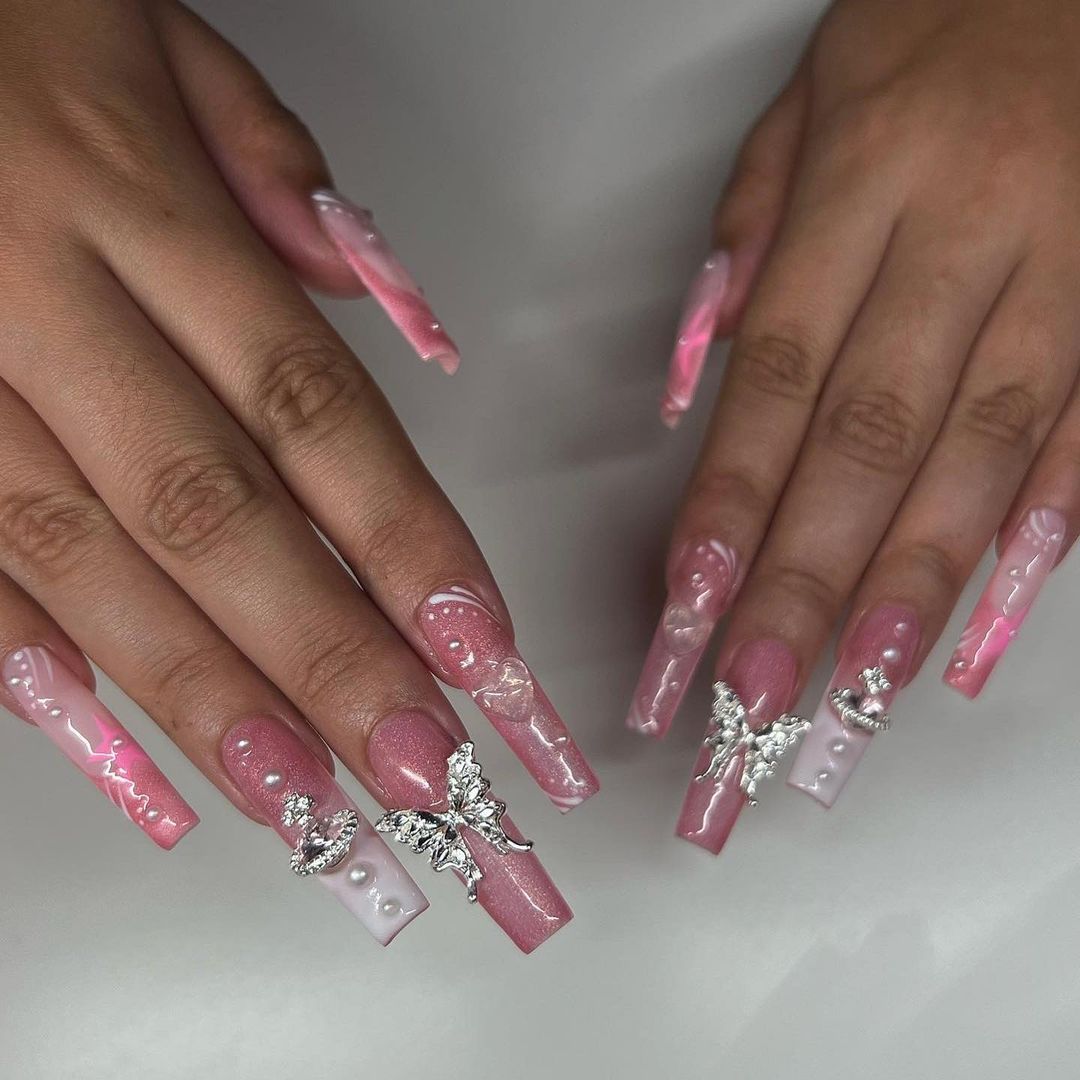
Oval Glitter And Rhinestone Nails
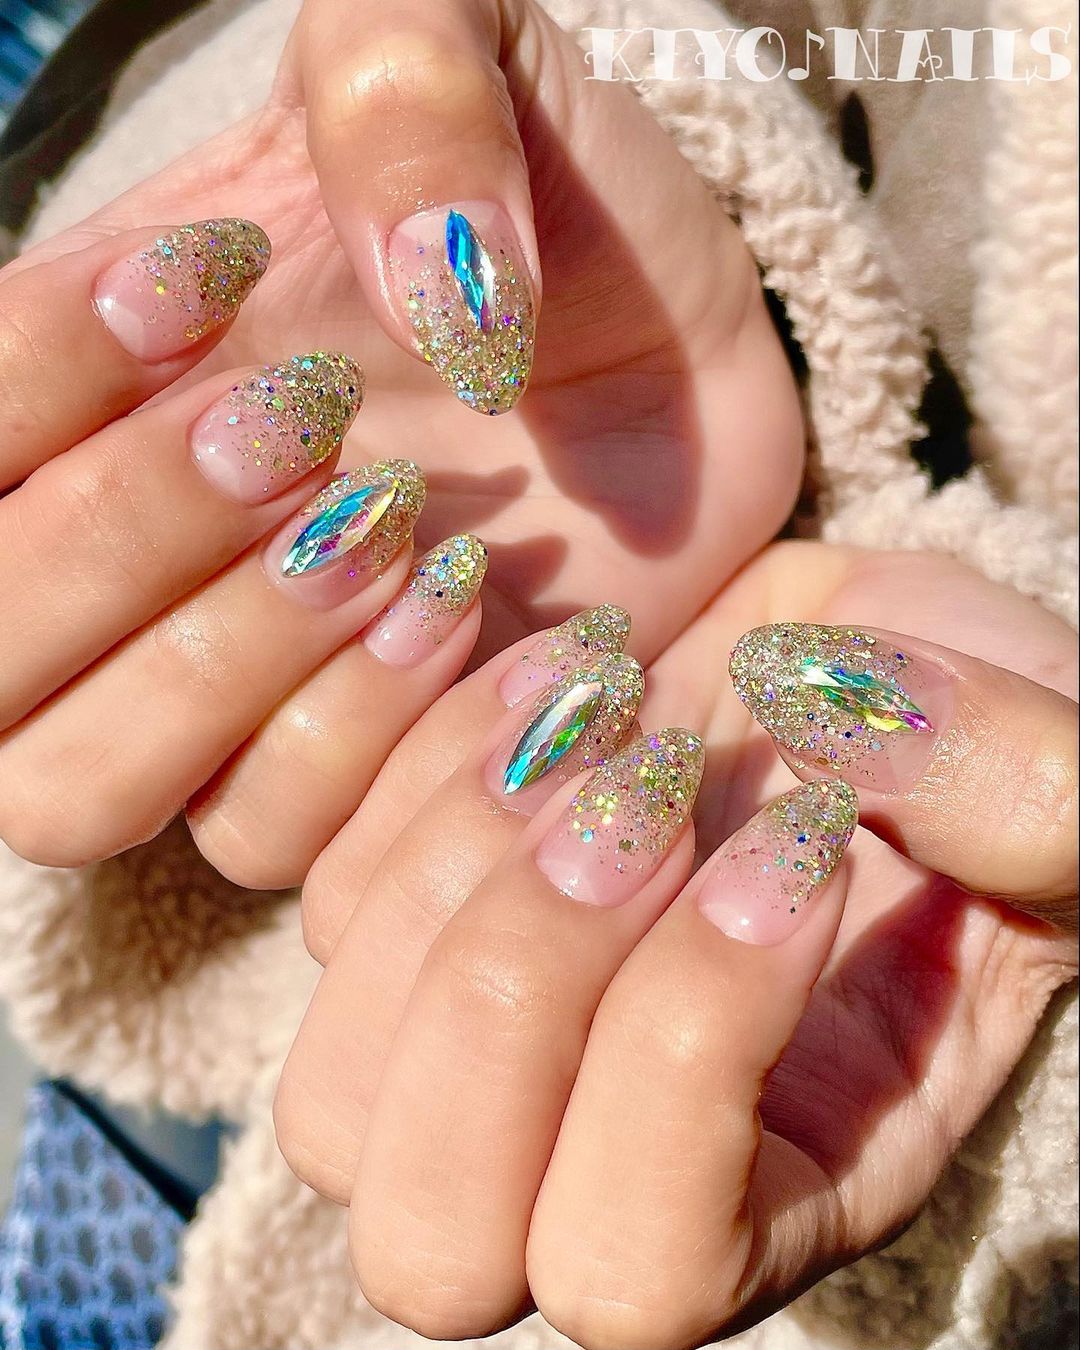
Nude Square Nails With Emerald Rhinestones
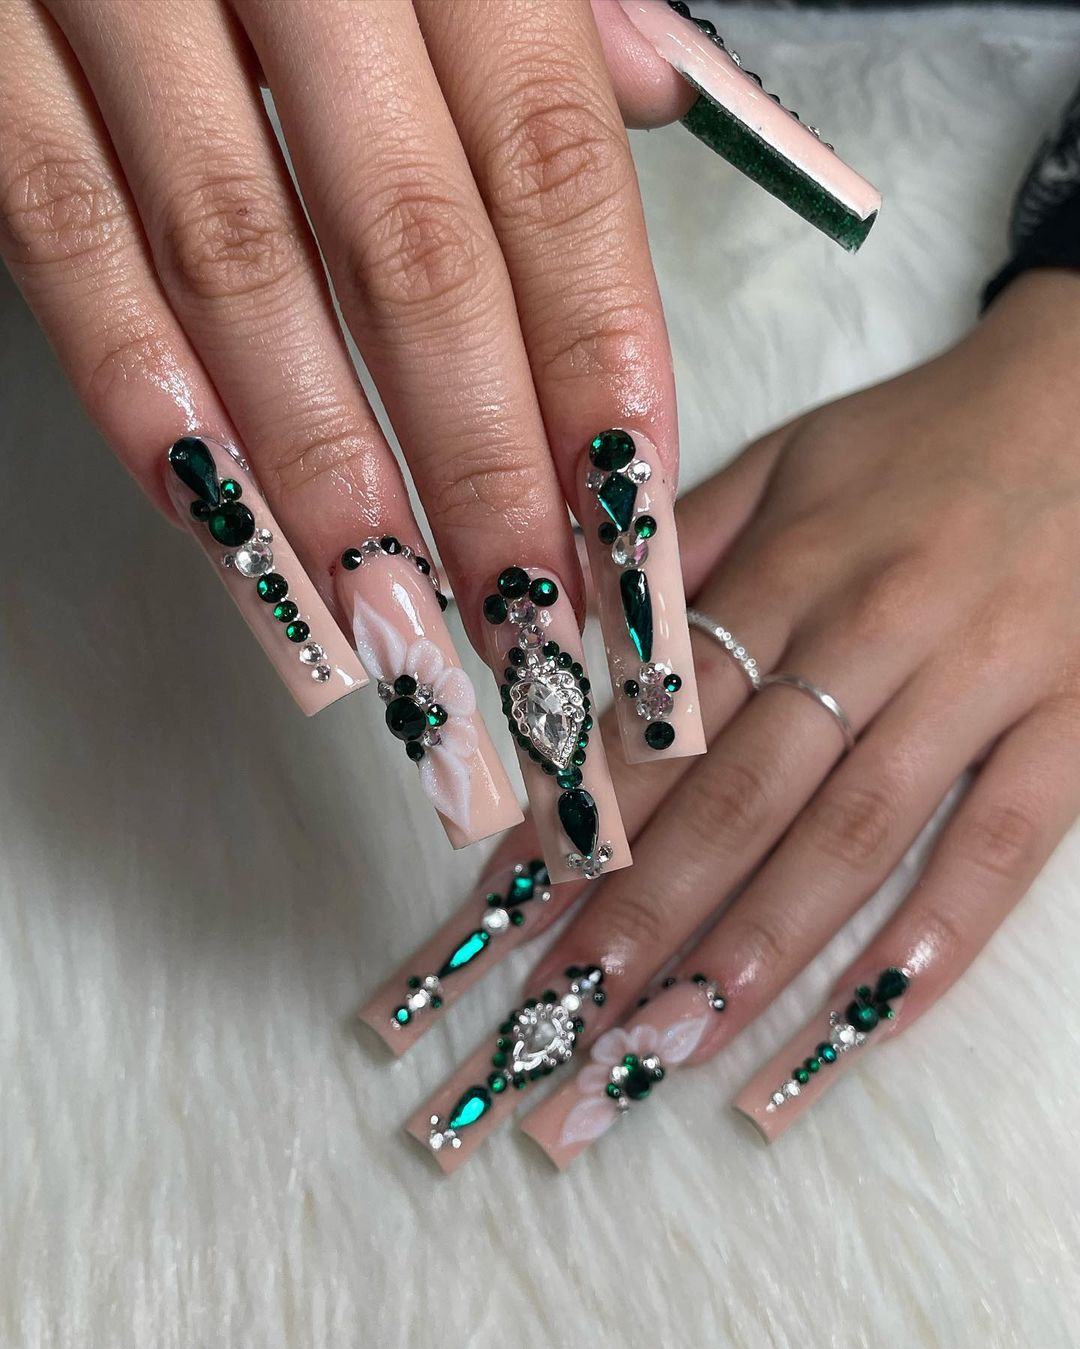
Long Clear Strip And Rhinestone Covered Nails
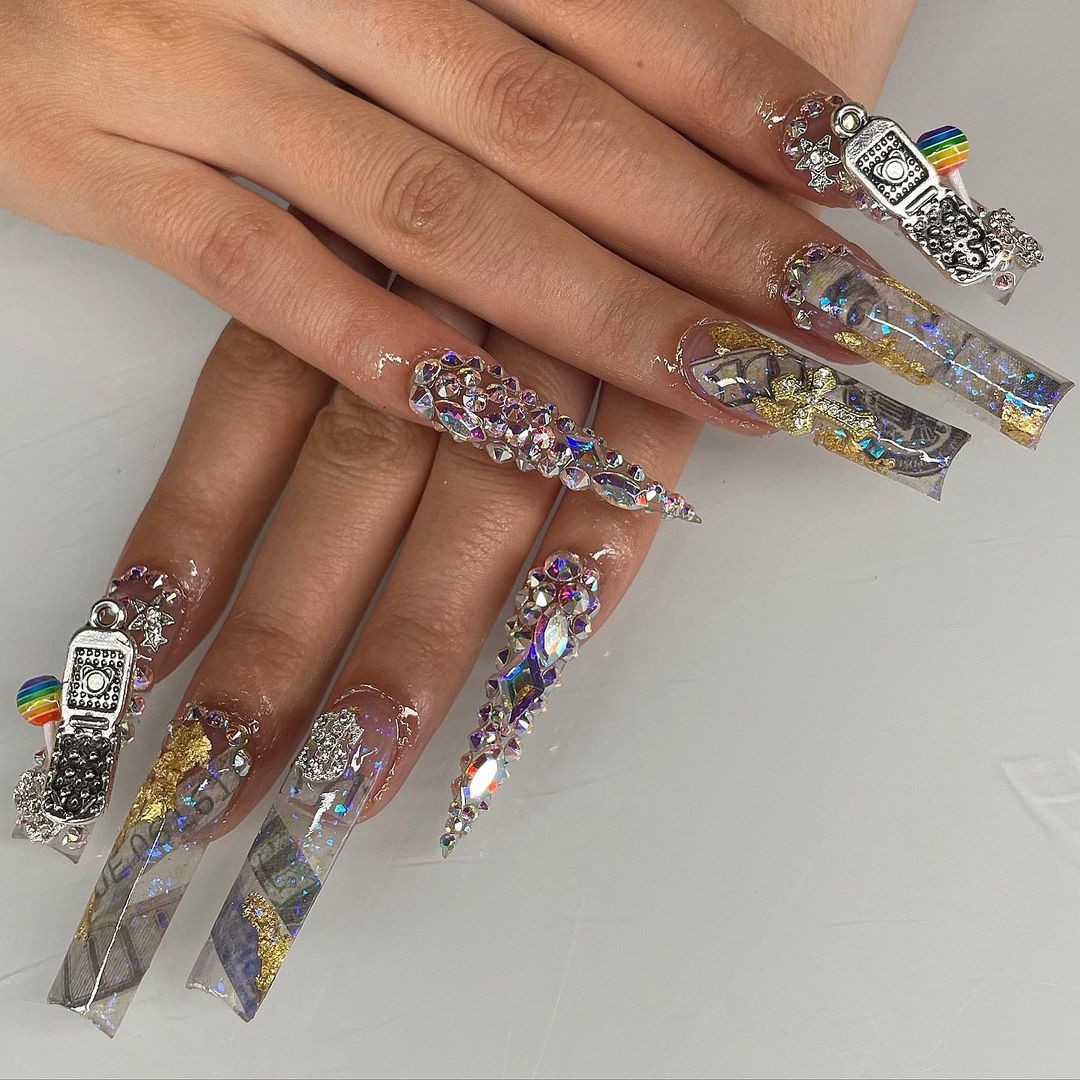
Gold and Silver Zodiac Rhinestones
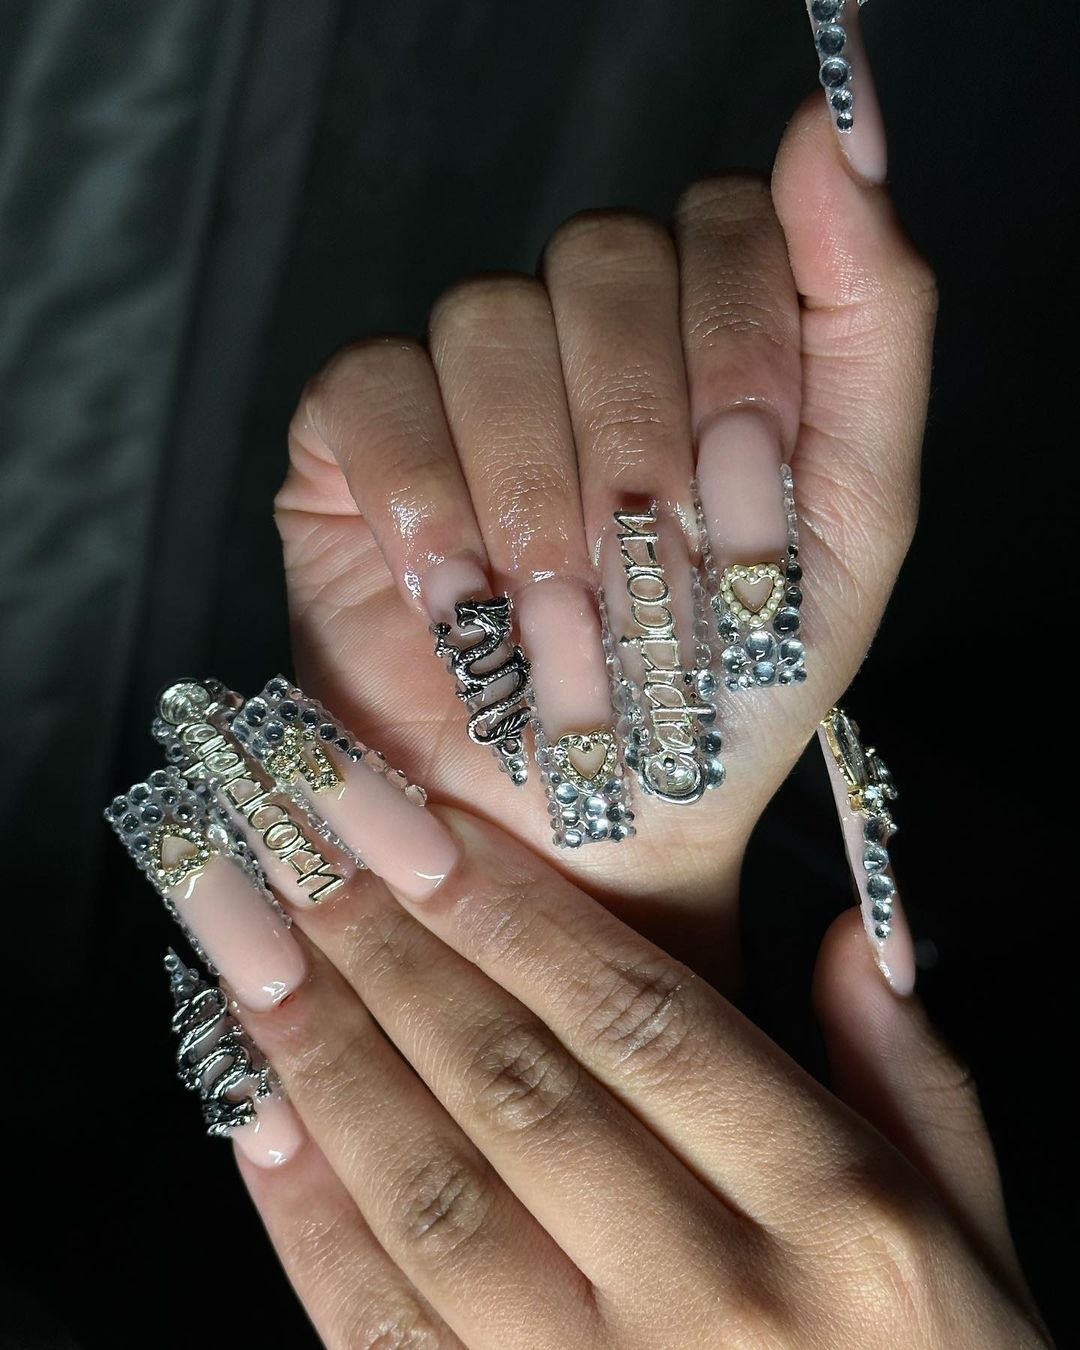
Gilded And Bejeweled Nails
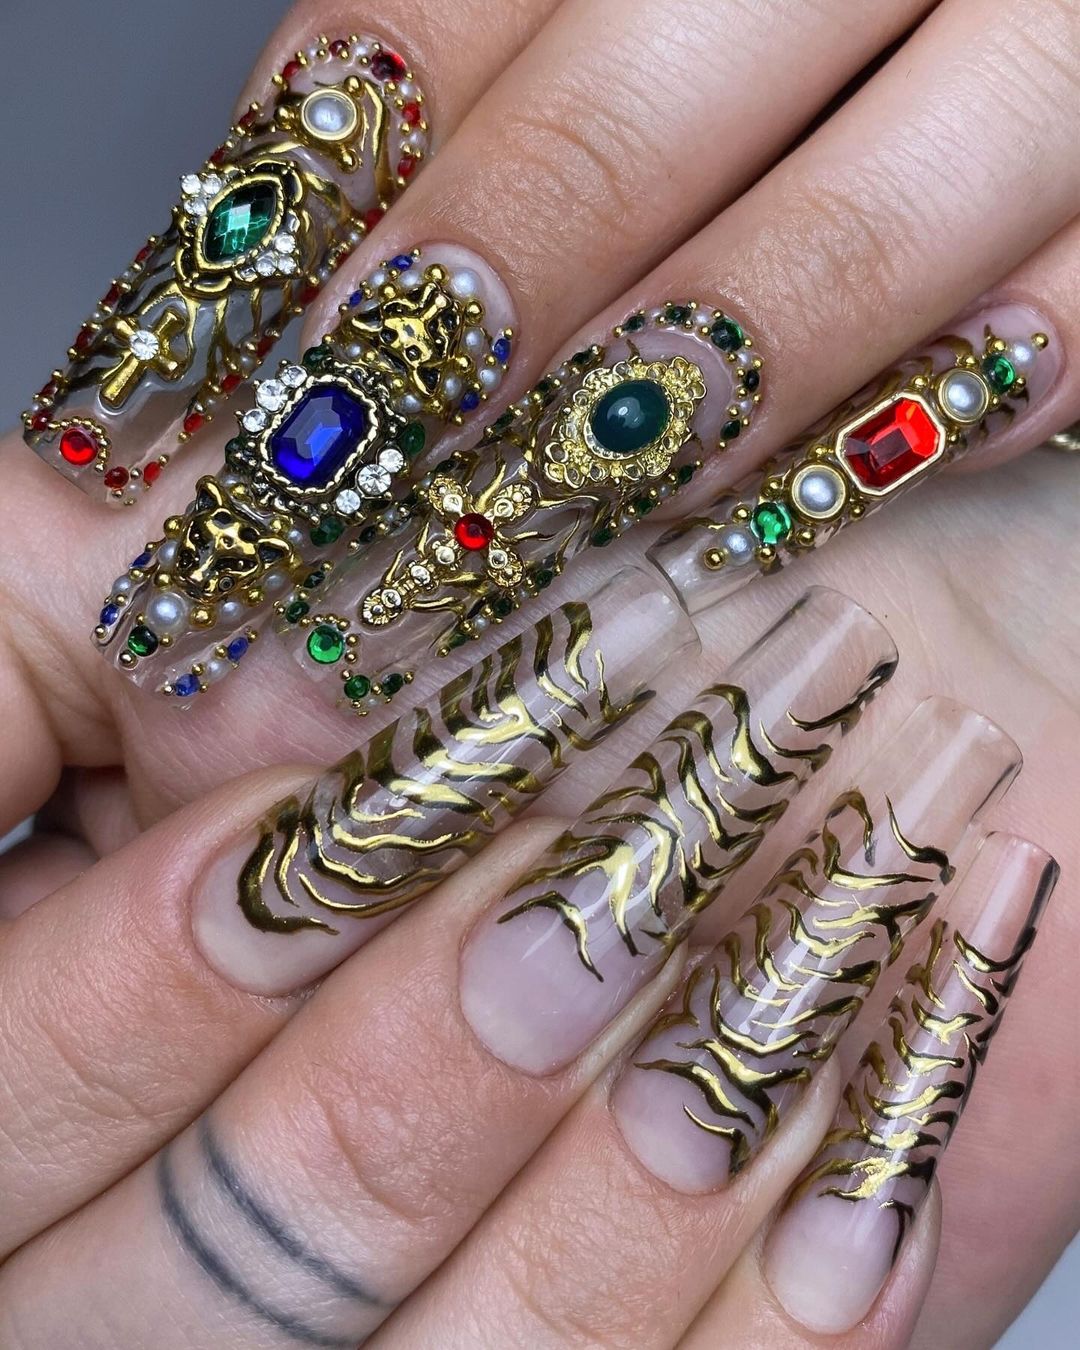
Frosty Glitter and Rhinestone Nails
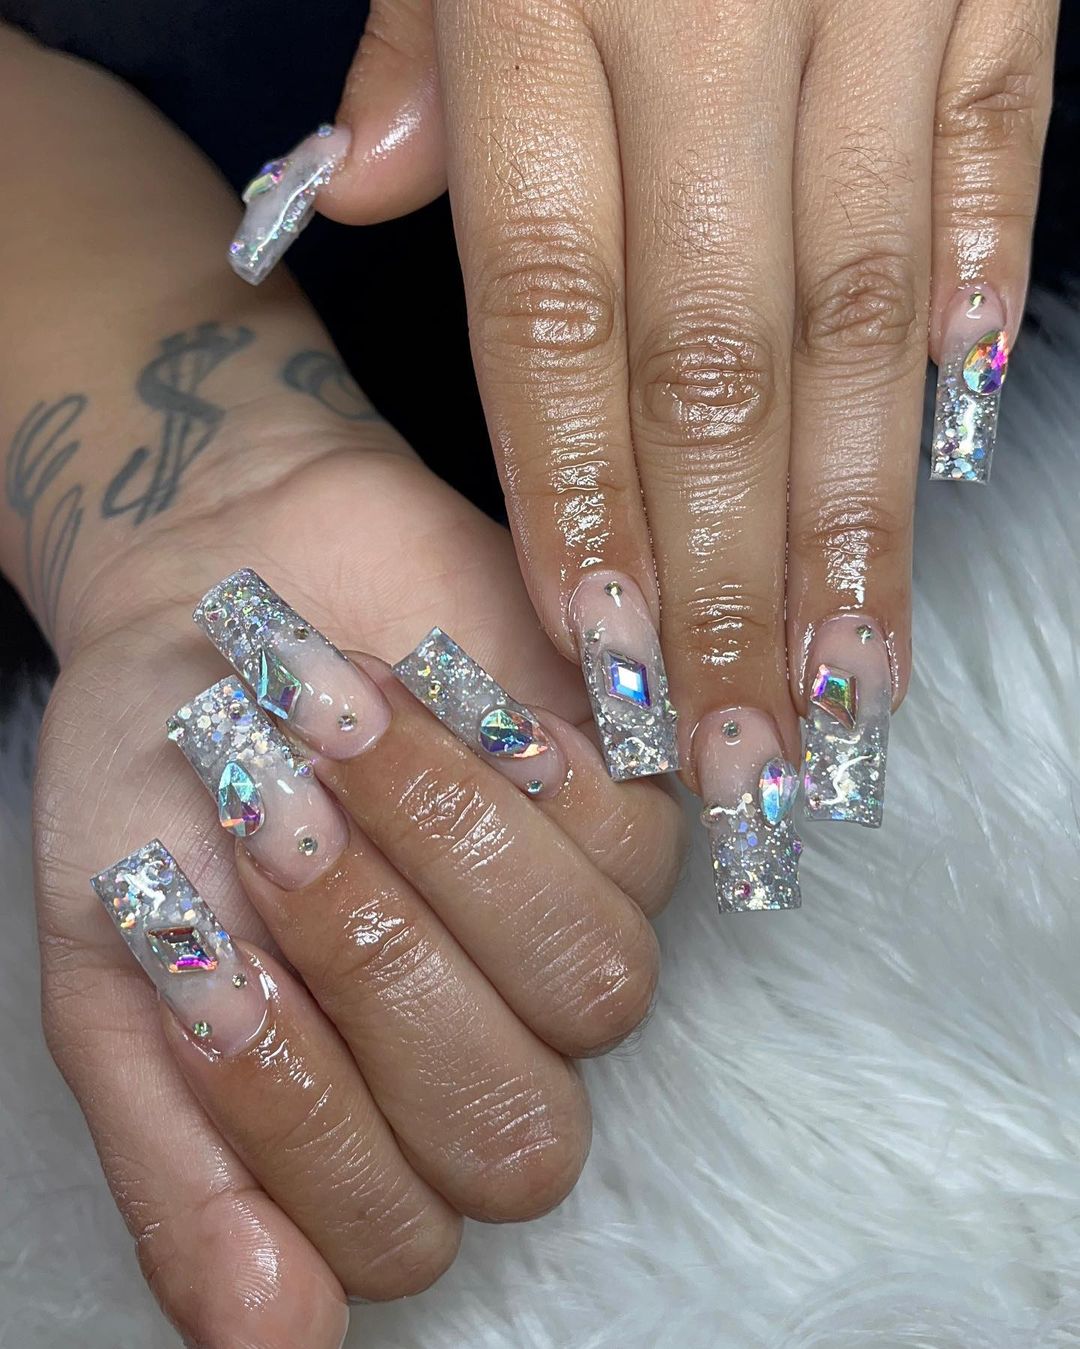
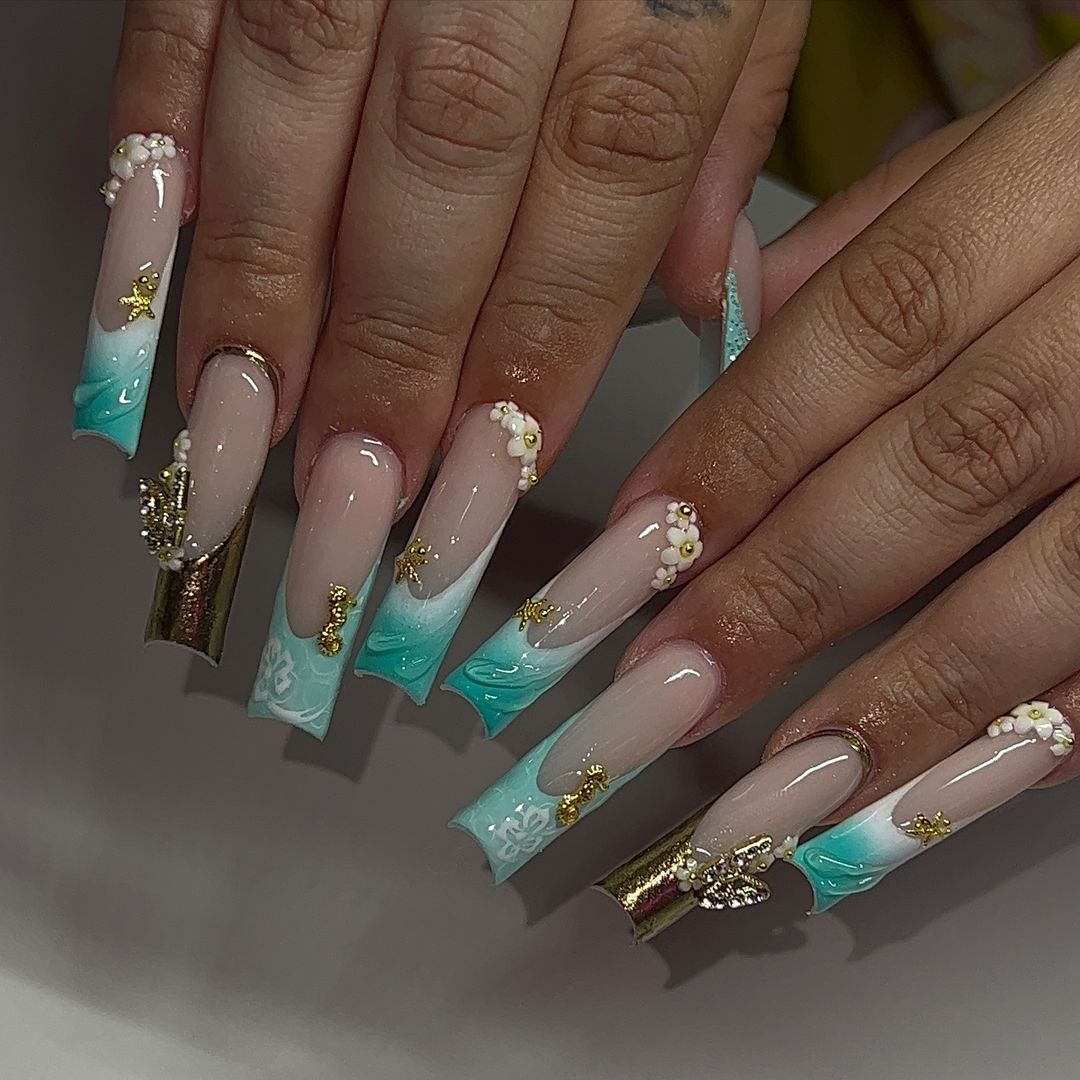
Foamy Waves Tips With Gilded Rhinestones
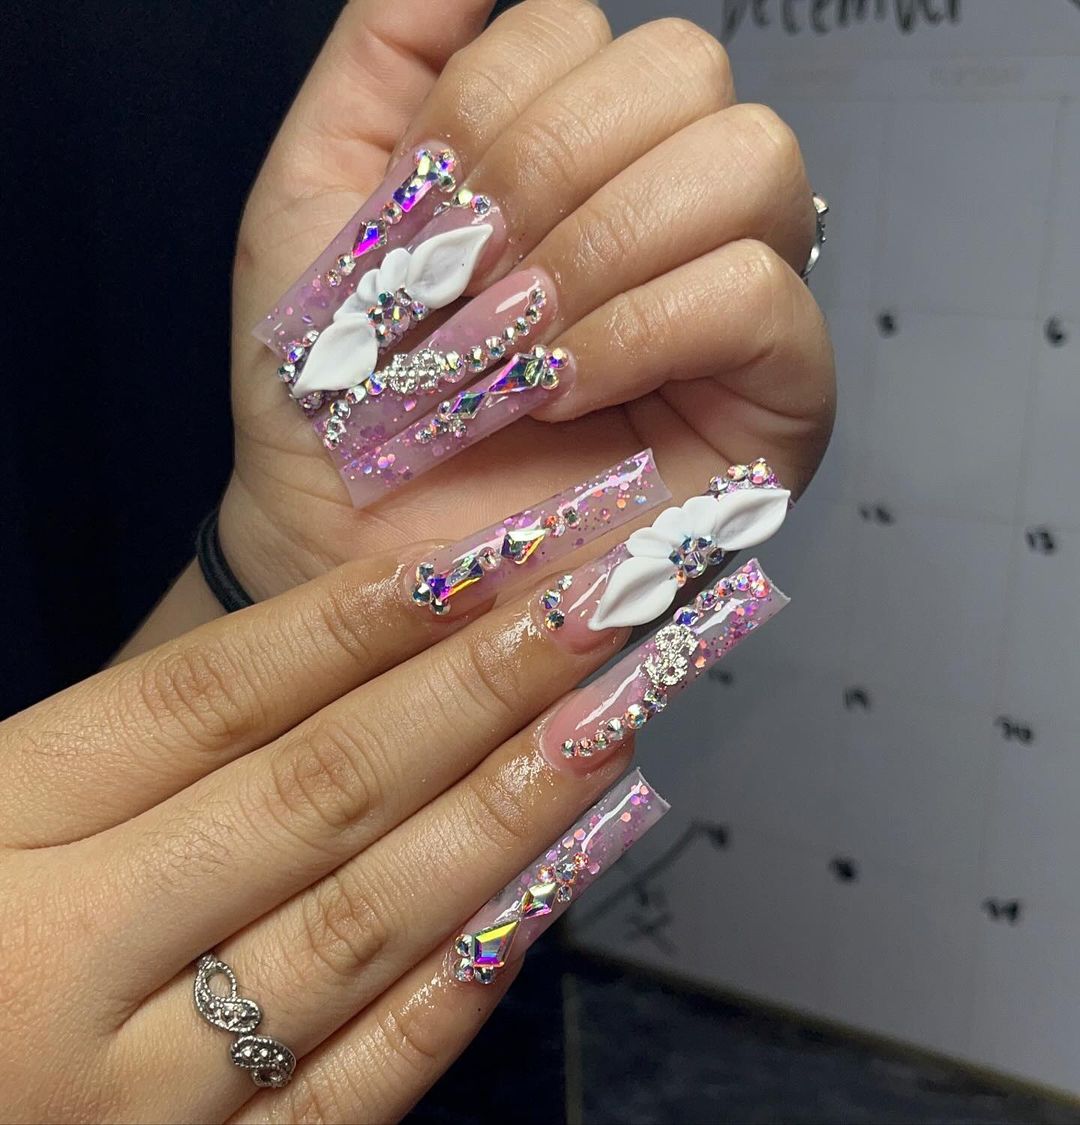
Clear Purple And Pink Glitter And Holographic Rhinestones
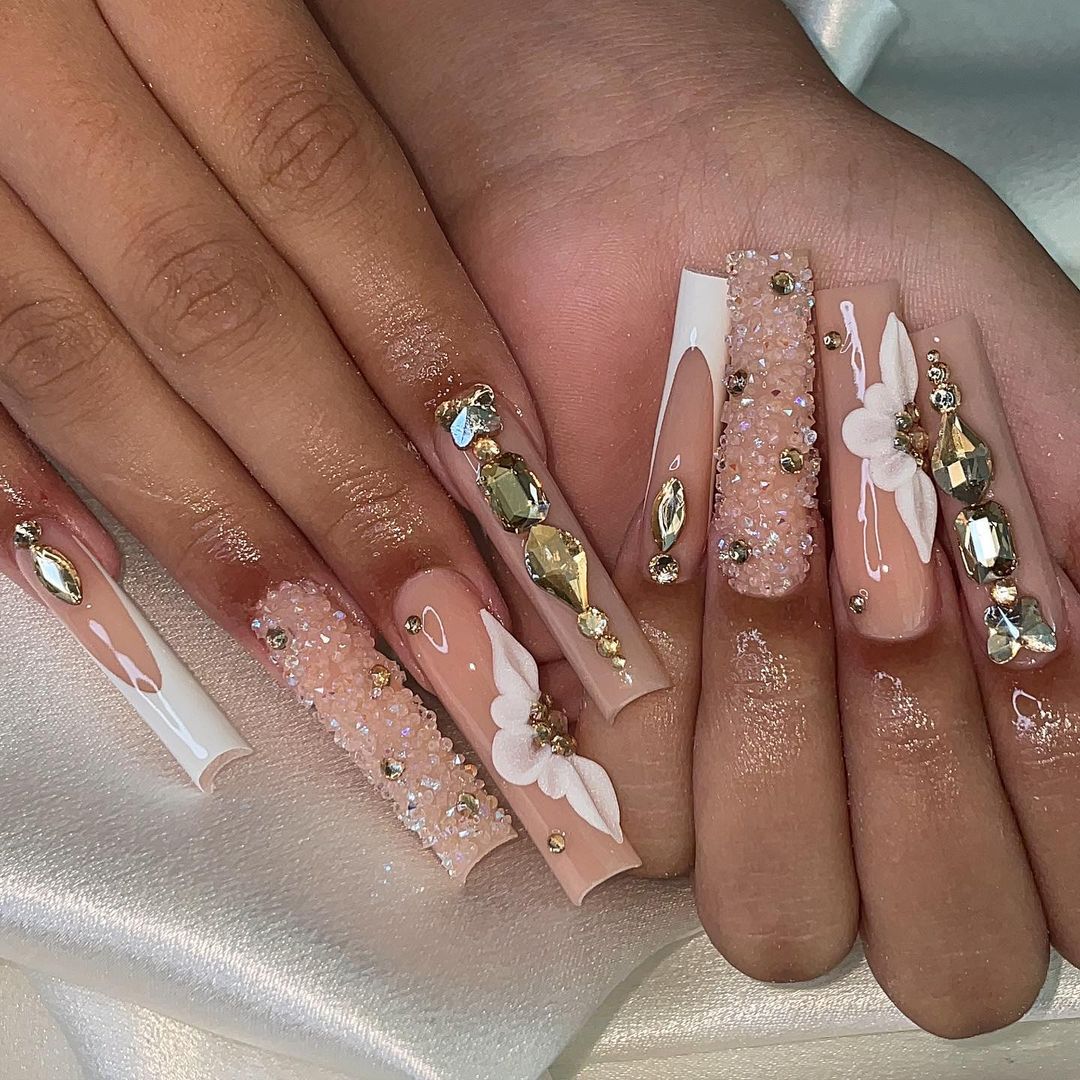
Clear And Gold Rhinestones With White Acrylic Flowers
Clear and Beige Stiletto Nails With Holographic Rhinestones
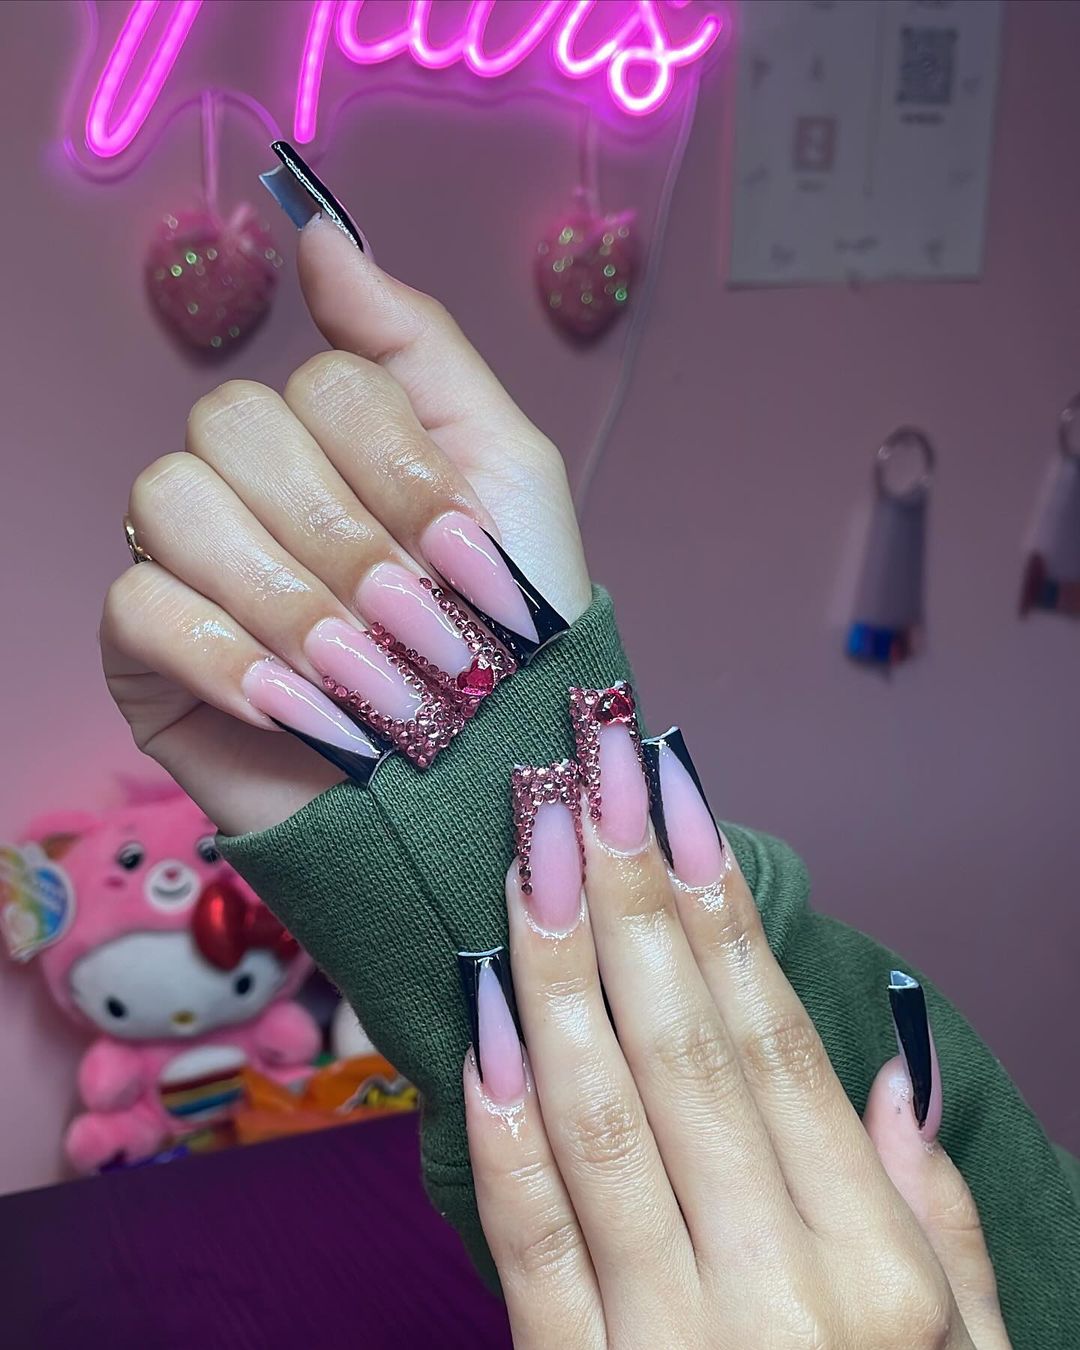
Black And Rhinestone V-tip Nails
Designing Your Bling Acrylic Nails
Creating bling acrylic nails is like crafting little pieces of art for your fingertips—it’s all about expressing your style through shapes, vibrant colors, captivating sparkles, and glistening gems.
Choosing Shapes and Sizes
I always begin with the canvas—selecting the shape and size of the nails.
Long, coffin-shaped nails scream drama and are perfect for showcasing intricate designs, while shorter oval shapes offer a cute and practical option. Here’s a little guide to help you:
- Coffin/Ballerina: Great for a bold statement
- Stiletto: For those who love sharp, edgy styles
- Square: A classic look that works for most designs
- Oval: Subtle and suitable for everyday bling
- Round: Timeless and perfect for minimal bling
Selecting Colors and Textures
The colors and textures give life to the nails.
Turquoise and blues add a calming, yet sophisticated touch, while a matte nail design is perfect for someone looking for understated elegance.
My personal favorites? Black and white for a touch of sophistication, or sparkling silver glitter for that eye-catching shine.
- Bold Colors: Turquoise, blues, and neon hues for a statement
- Glitter Polish: For that extra sparkle
- Matte Texture: Offers a modern, chic look
Incorporating Glitter and Accents
Glitter isn’t just about adding sparkle; it’s the essence of bling.
I love using silver glitter for an icy effect or holographic polish for a whimsical touch.
Remember, the key to perfect glitter nail designs is balance—mix in some negative space or subtle french tips to let the sparkle stand out.
- Glitter Tips: Just the right amount of shine
- Accent Nails: Choose one nail to be the star with extra sparkle
- Negative Space Designs: Keeps things interesting and unique
Applying Rhinestones and Gems
This is where the “bling” really comes to life.
Applying rhinestones and gems can transform nails from pretty to absolutely gorgeous.
I’ll place a tiny drop of nail glue and then carefully set each rhinestone with a nail art brush.
Sometimes, I’ll go for a cute heart or butterfly design if I’m feeling playful. But whether it’s a single gem on an accent nail or a full-out cheetah or leopard print, this step is where my creativity truly shines.
- Rhinestone Placement: Strategically place for the most impact
- Gem Selection: Choose sizes and colors that complement the overall design
- Patterns: Heart, butterfly, flower-based designs for a thematic touch
Maintaining Your Bling Acrylics
I understand the excitement those bling acrylics bring to your fingertips! Whether rocking coffin-shaped nails adorned with pearls for New Year’s or summer-ready almond-shaped nails with a pink and white ombre, keeping them in pristine condition is key. Allow me to share some personal tips that I swear by.
Daily Care and Upkeep
It’s all about the daily rituals.
I make sure to gently clean my nails with soap and water, drying them thoroughly to prevent any moisture from loosening the gems or Swarovski crystals.
Moisture is an enemy we don’t want! And oh, I don’t forget to apply a top coat every two days to keep that glitter polish on my accent nail shining like it’s brand new.
It’s a simple step, but trust me, it does wonders to keep the bling going strong.
- Morning Routine: Wash hands, dry nails thoroughly, check for loose stones.
- Nightly: Inspect for chips, gently file edges if necessary.
- Bi-daily: Apply clear top coat to protect the bling and the base color.
Nail Health and Repair
My natural nails beg for some TLC under all that glitz.
I nourish them with cuticle oil nightly to keep them strong beneath the gel nails.
This is me taking care of my future self, so my nails are ready for the next design without any fuss.
Plus, should any of the bling come loose, I keep nail glue on hand for a quick fix until my next appointment.
Remember that a stitch in time saves nine—a little touch-up can extend your nail life significantly.
- Cuticle Care: Apply oil daily to nail beds.
- Bling Repair Kit: Nail glue, extra rhinestones, mini file, and your trusty top coat.
Professional Touch-ups
I’ve got to hand it to the pros—pun intended!
Professional touch-ups make a difference for those long-lasting designs.
I book an appointment every two weeks to keep my fake nails looking impeccable.
Especially when flaunting eye-catching designs like gold nails with glitter silver accents.
It’s not just about the looks, though; they check for any lifting and ensure everything is sealed correctly.
- Two-Week Rule: Schedule in for maintenance of shapes like stiletto or square nails.
- Seasonal Trends: Consult your technician about the latest in nail trends – like white designs or gold polish – for occasional indulgence.

Leave a Reply
View Comments