Aura nail designs have quickly become a favorite in beauty circles, offering a mesmerizing twist on the classic manicure. Sporting an ethereal blend of colors that seem to shift as they catch the light, these designs echo the mystical concept of an ‘aura’—the invisible energy field that many believe surrounds each of us.
With the sheer number of hues and patterns available, there’s a certain personal touch to selecting an aura nail design that feels uniquely ‘me’.
The beauty of aura nails lies not just in their visual appeal, but also in the opportunity they present for self-expression.
Trending in the fashion world as a refreshing departure from monochromatic polishes, these nail art creations are like wearing your own personal mood ring.
From soft pastels to vibrant neons, the colors and techniques used in aura nail designs provide a playful yet chic way to add a splash of personality to any look.
Reader's Roadmap
Key Takeaways
- Aura nail designs are a popular, colorful twist on the classic manicure, reflecting personal energy.
- These designs offer a playful way to express individuality through a variety of colors and patterns.
- Aura nails are part of a trending manicure trend that blends beauty with a touch of personal mystique.
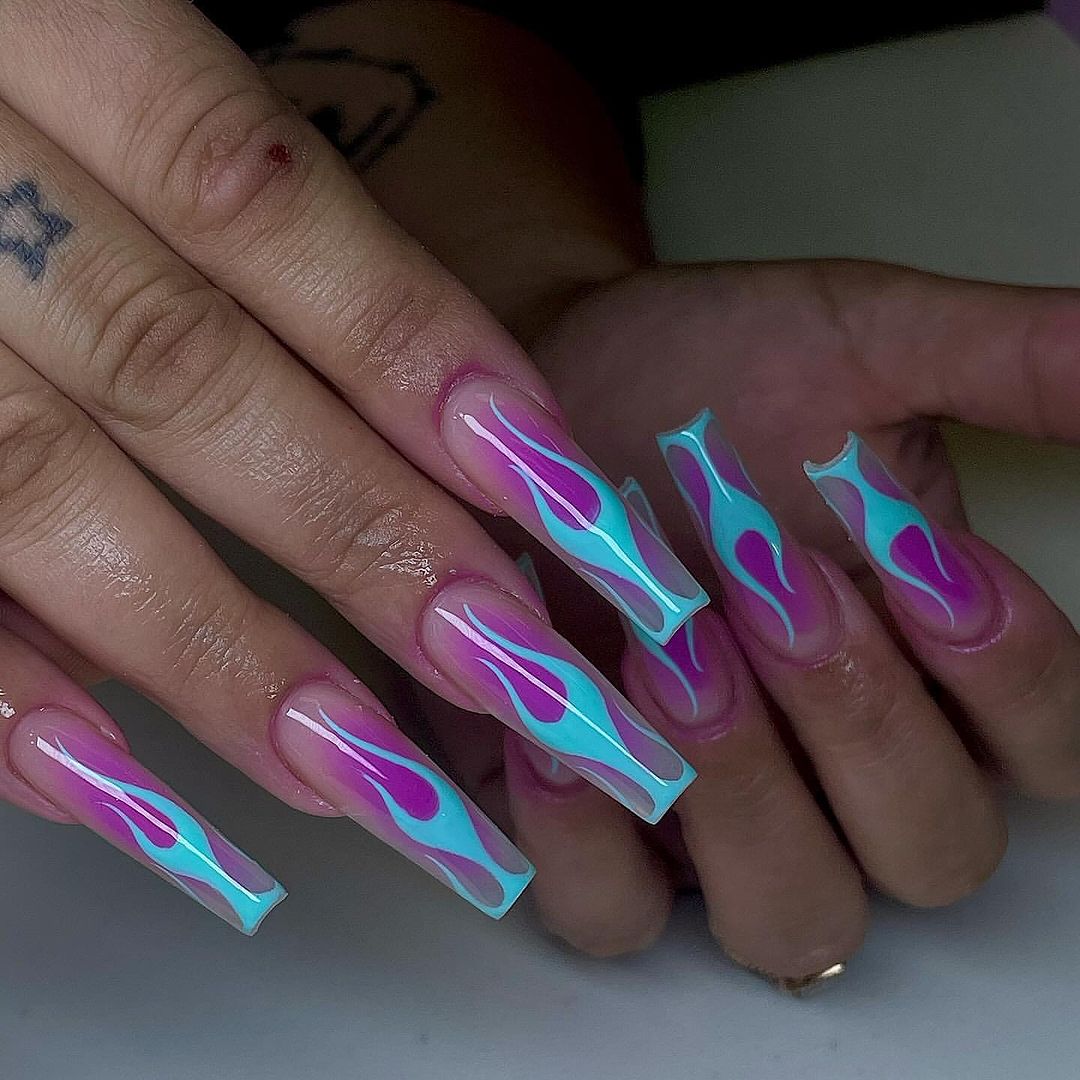
Purple Aura With Neon Blue Flames
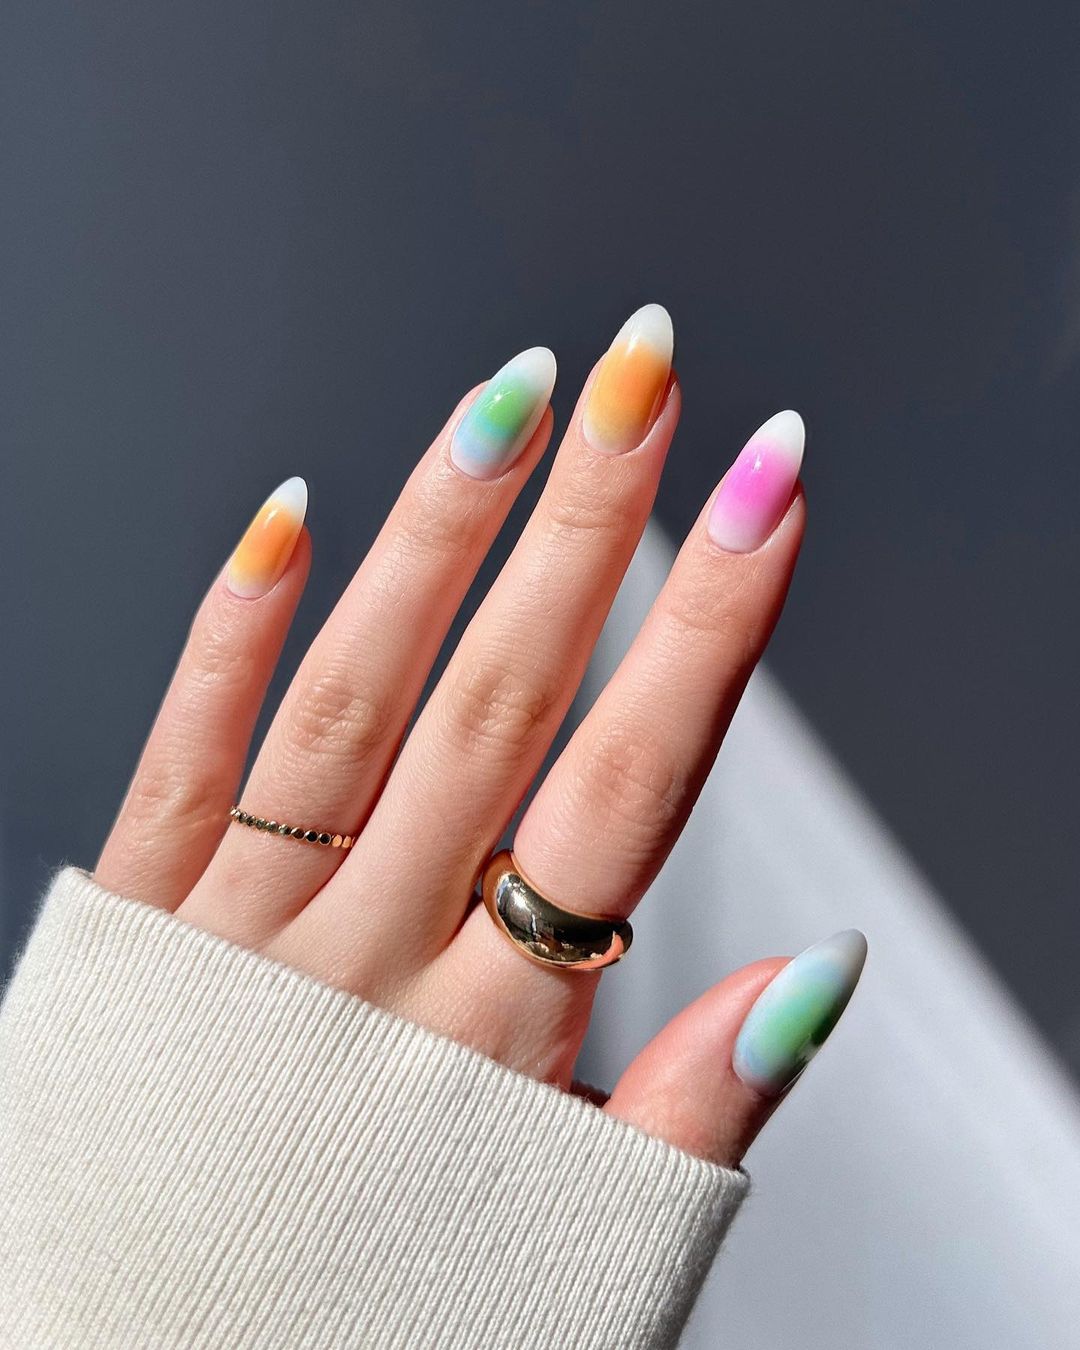
Rainbow Pastel Aura Nails
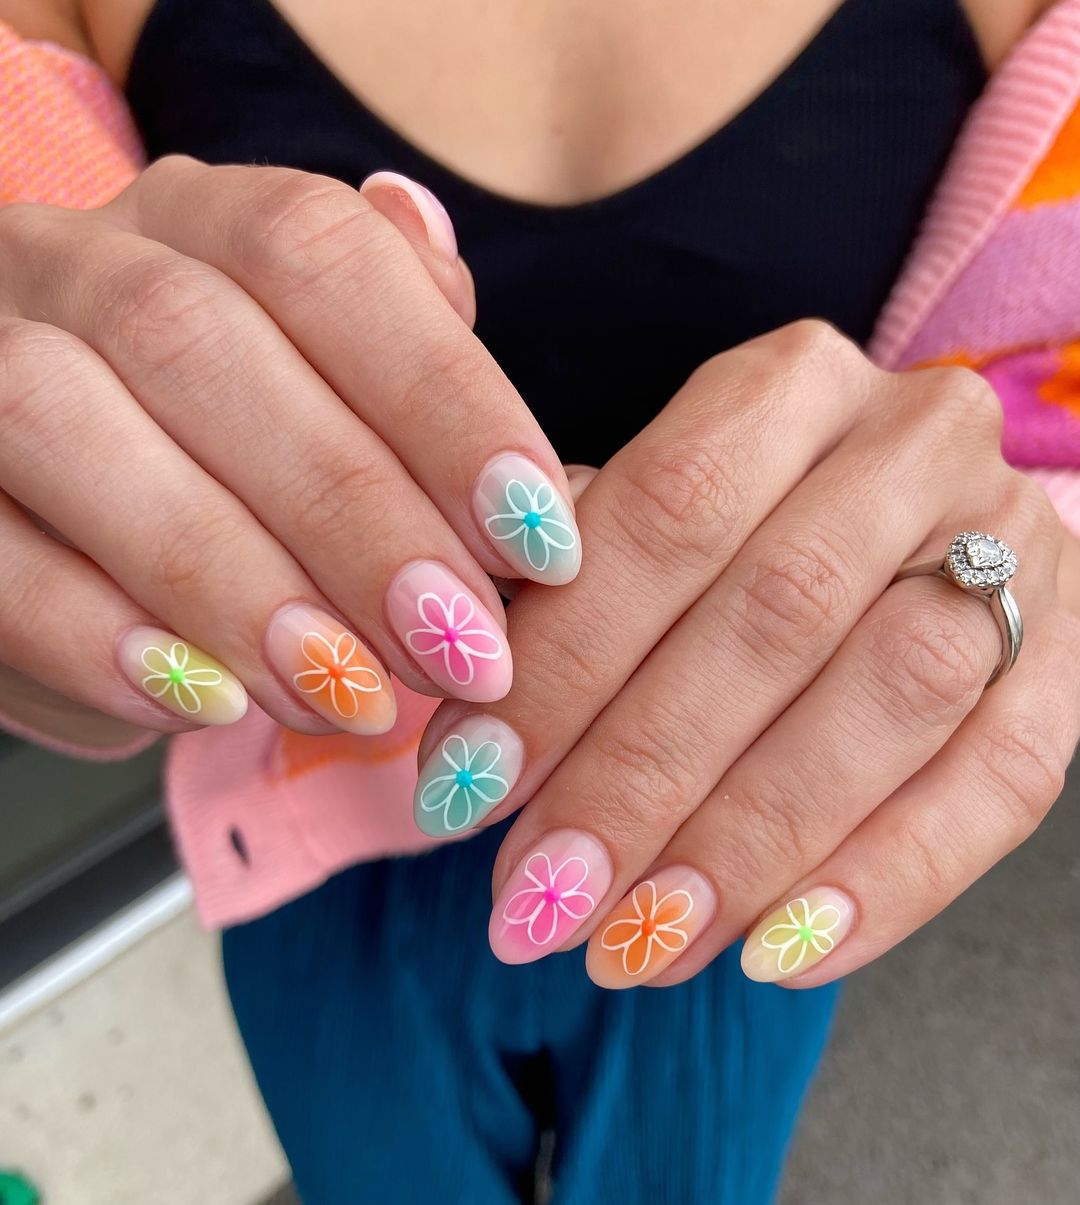
Rainbow Aura Nails With Flower Outlines
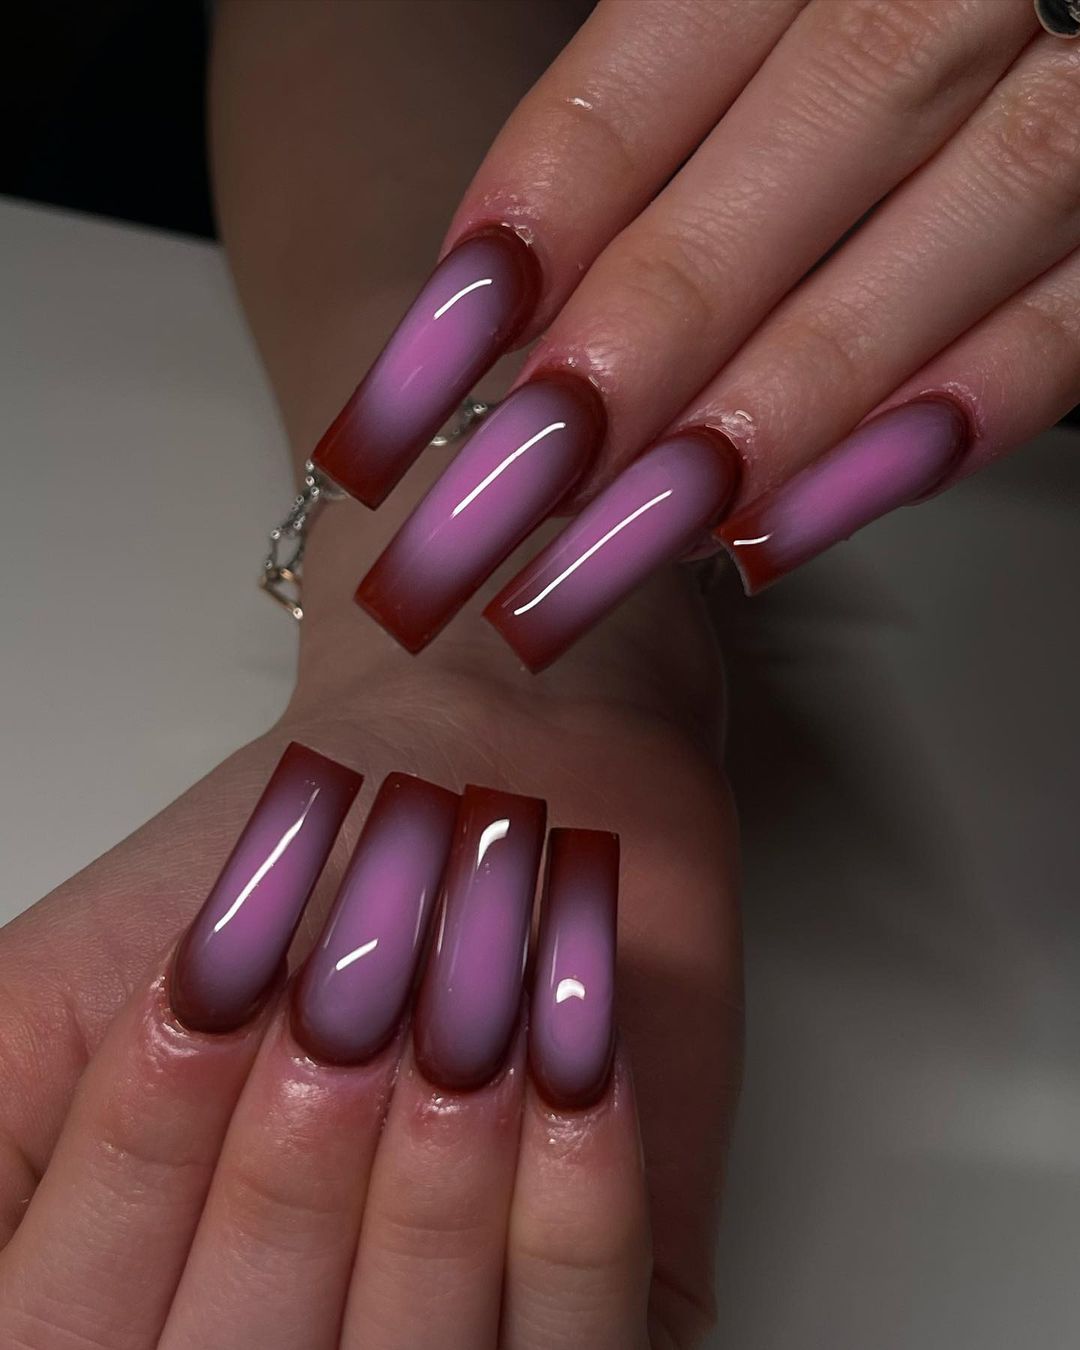
Purple and Magenta Aura Nails
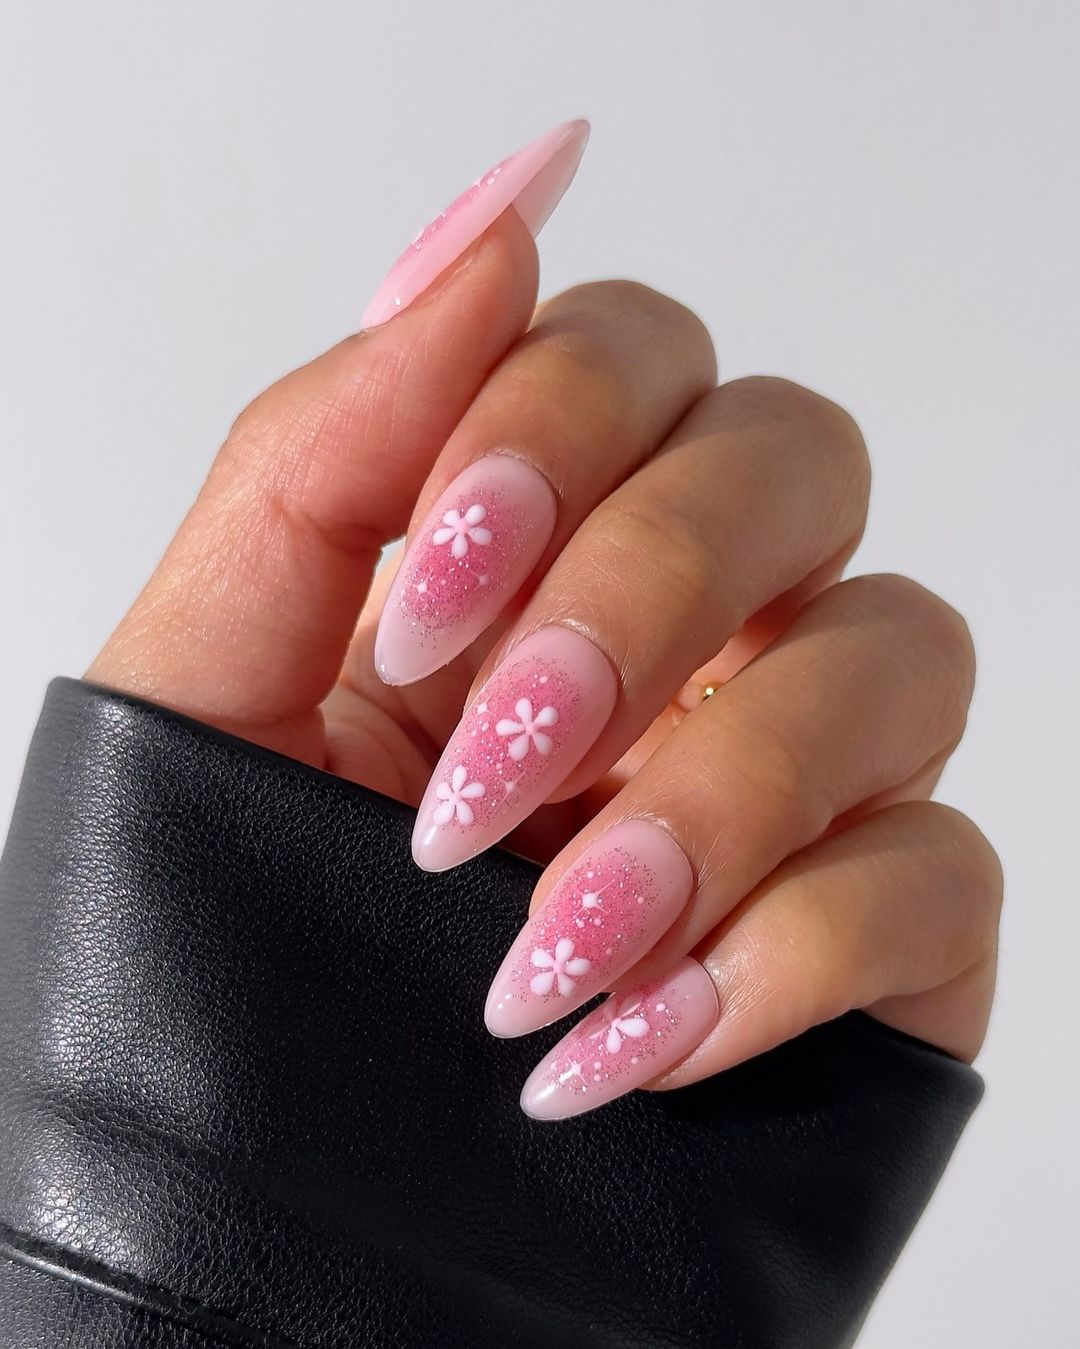
Pink Aura Nails With Flowers
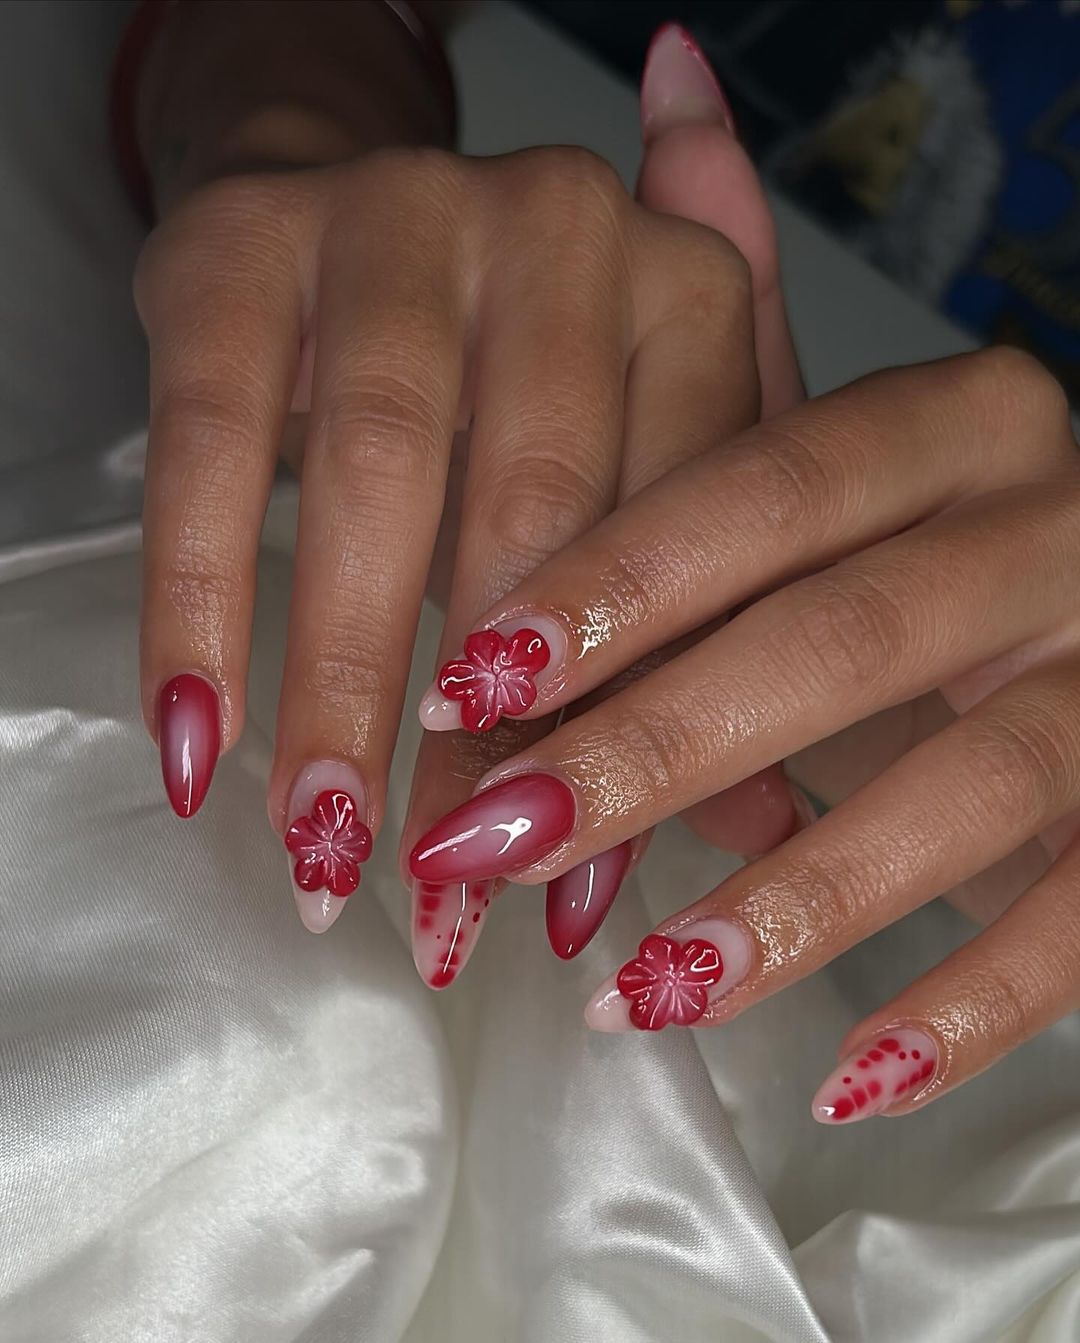
Red And White Aura Nails With 3D Flowers
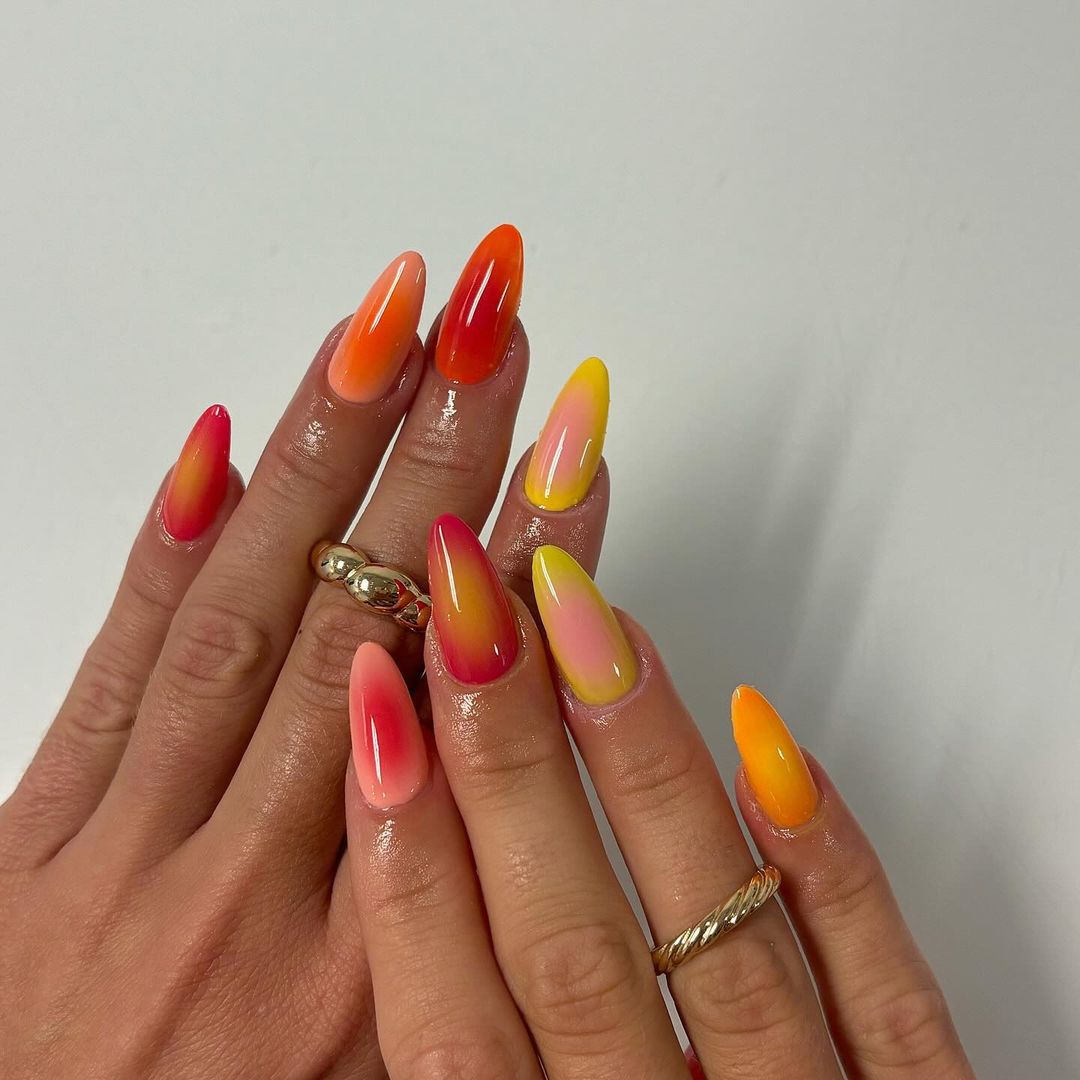
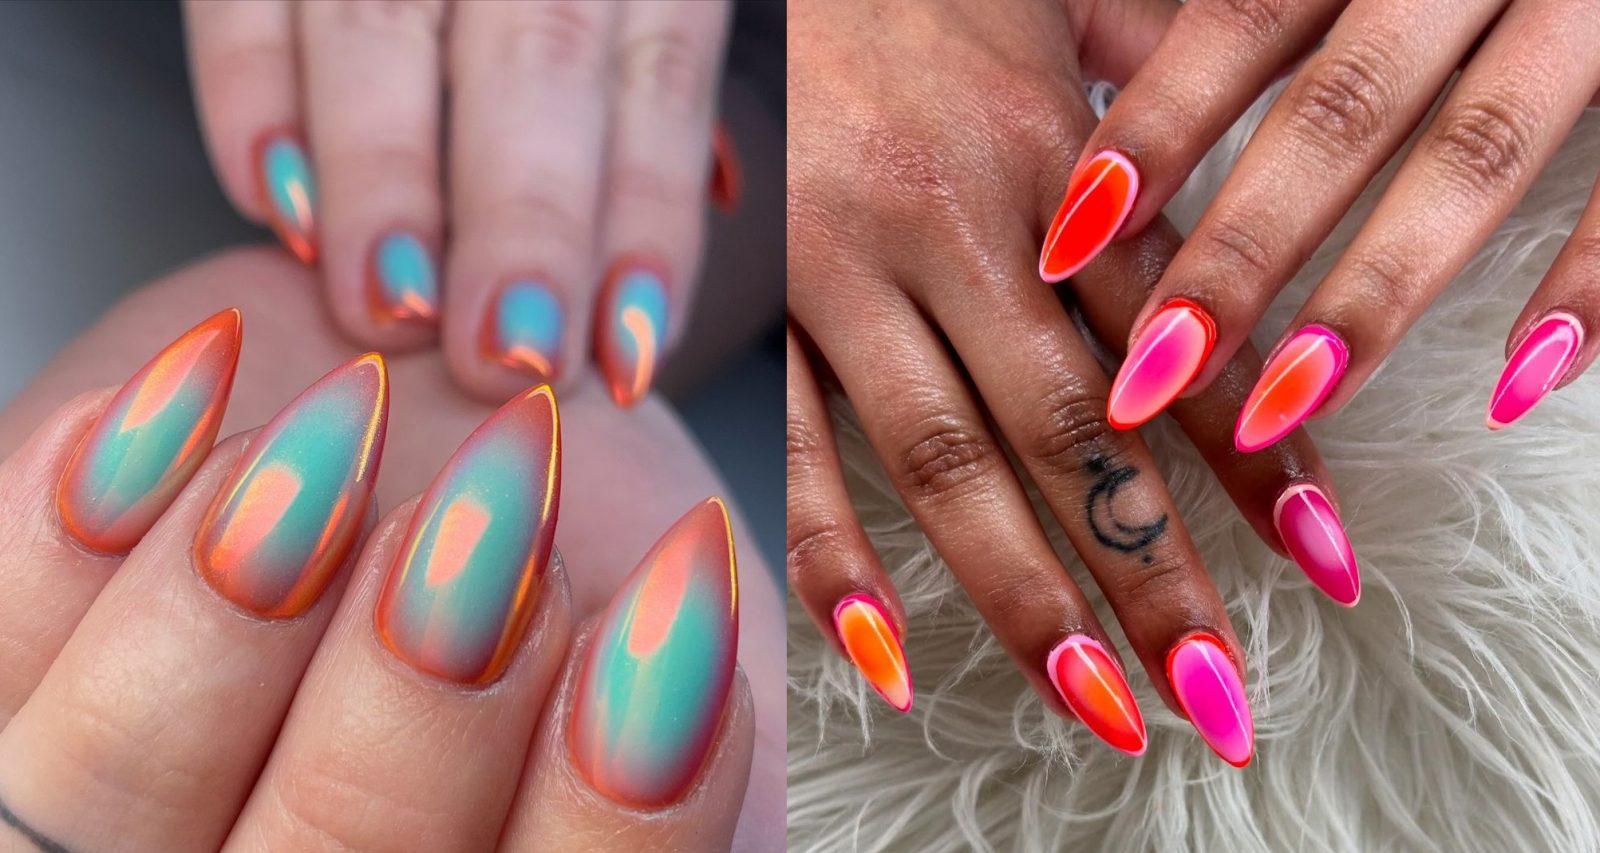
Yellow, Orange Ad Pink Aura Nails
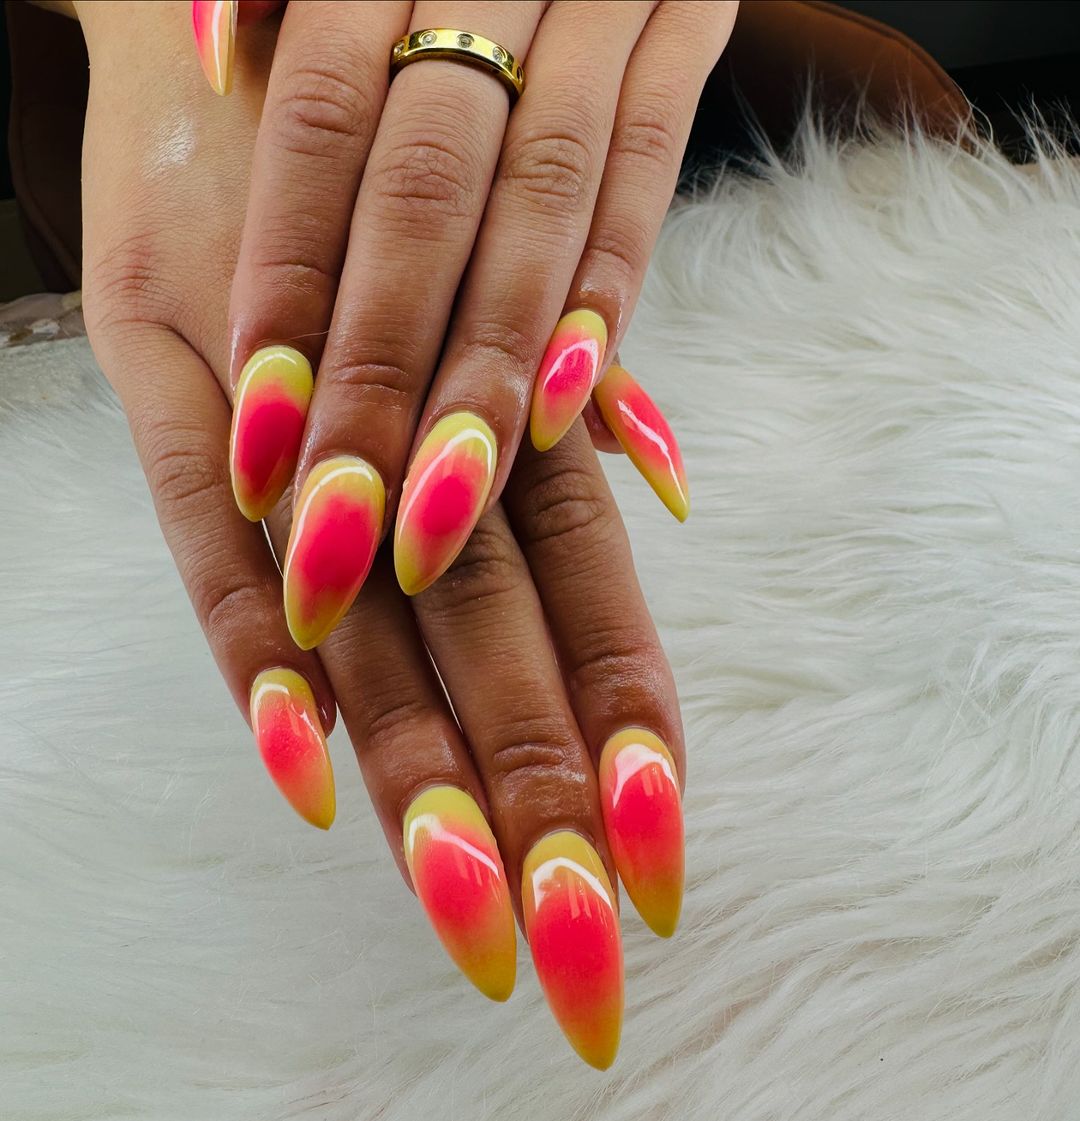
Yellow and Pink Aura Nails
Violet and Blue-hued Aura Nails
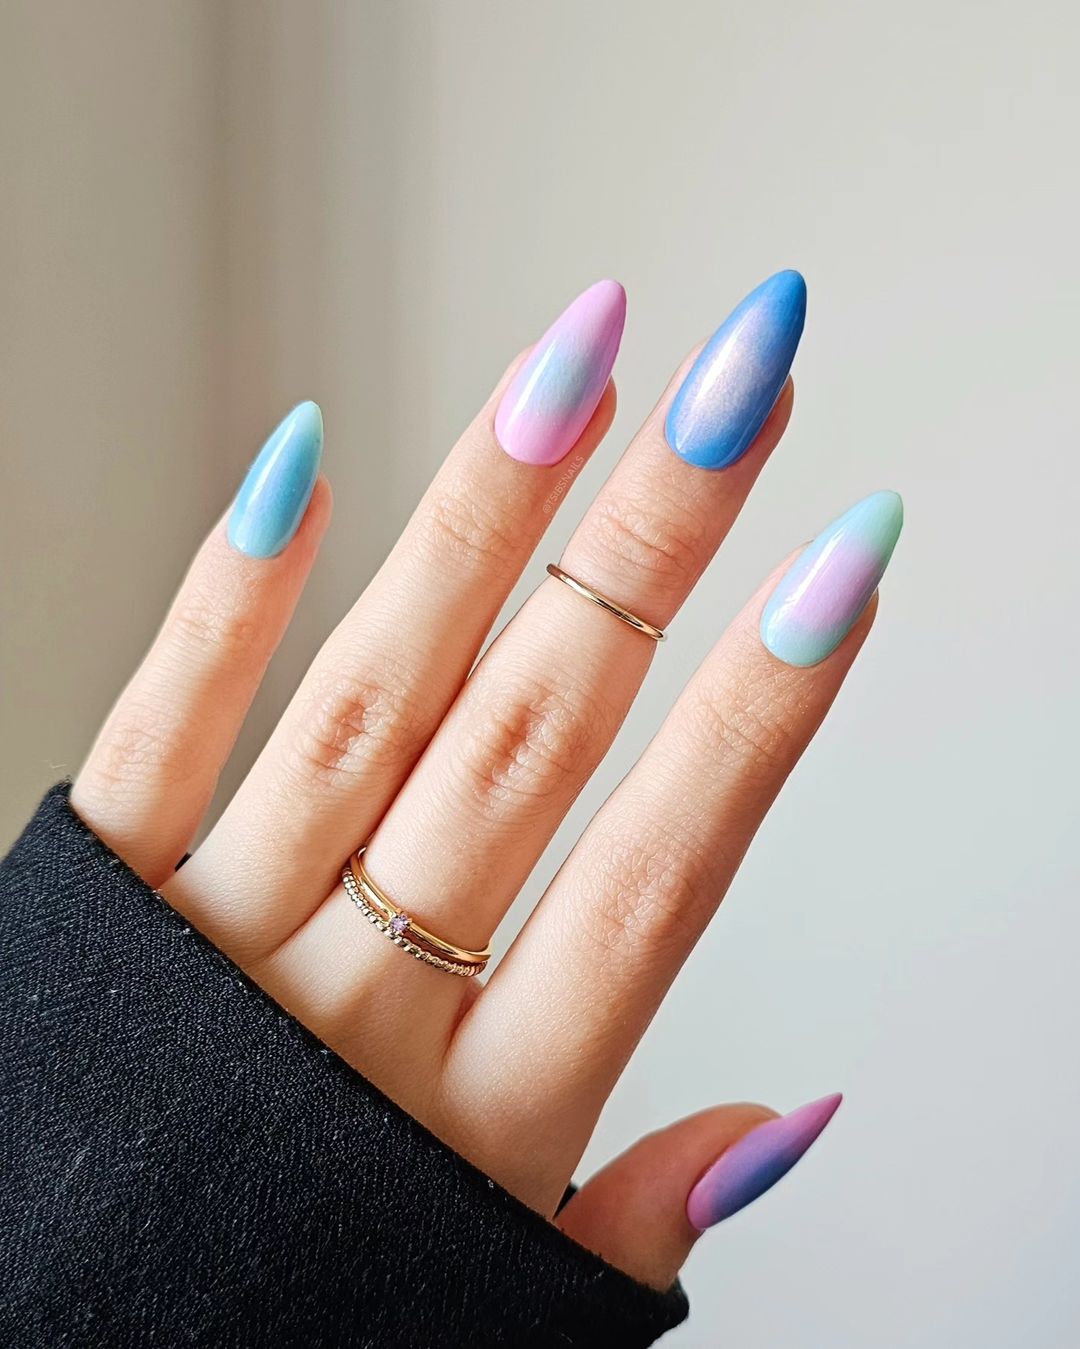
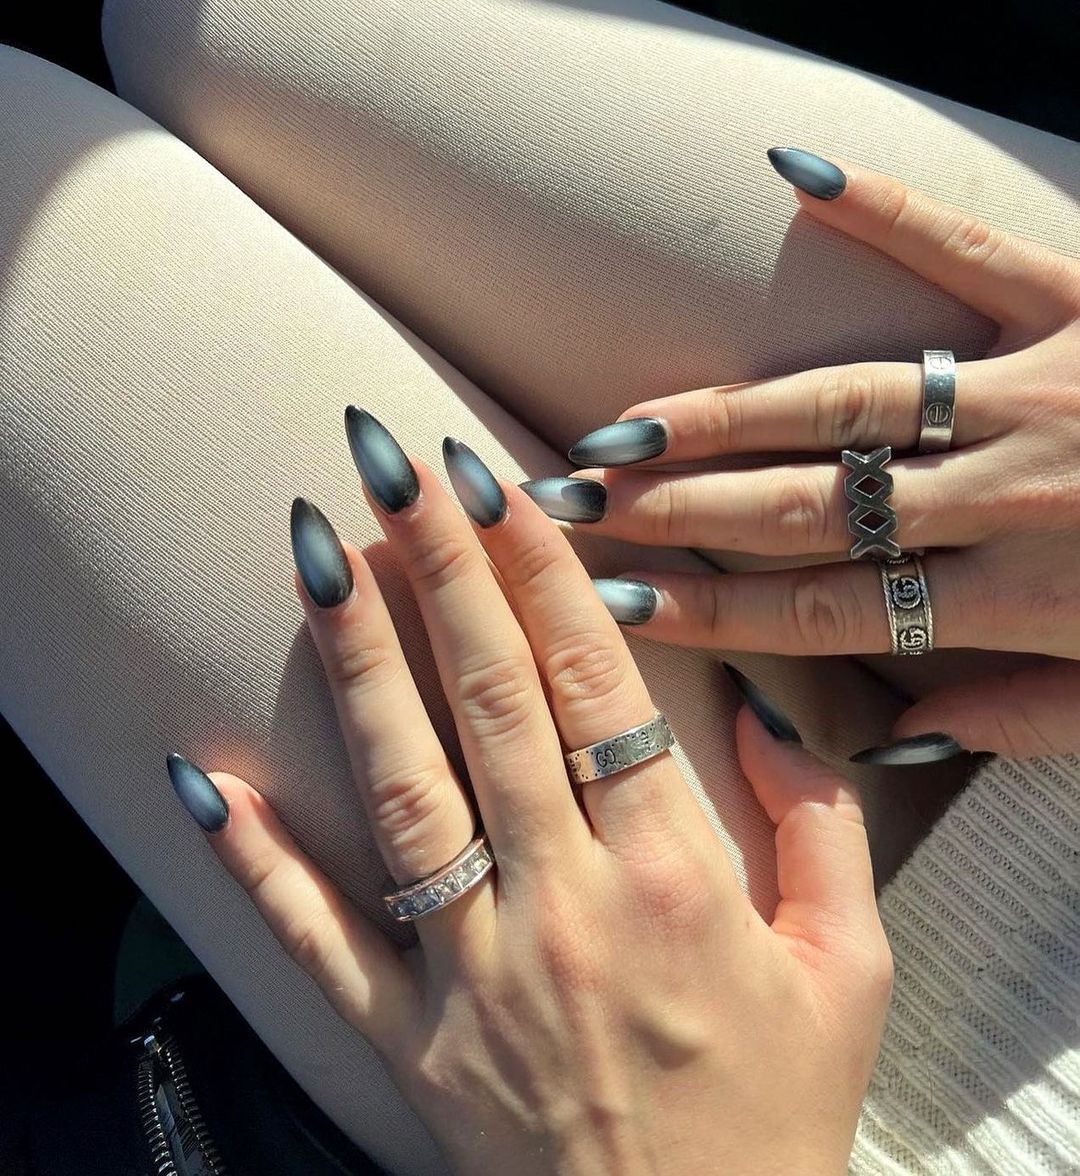
Smokey Clear And Black Aura Nails
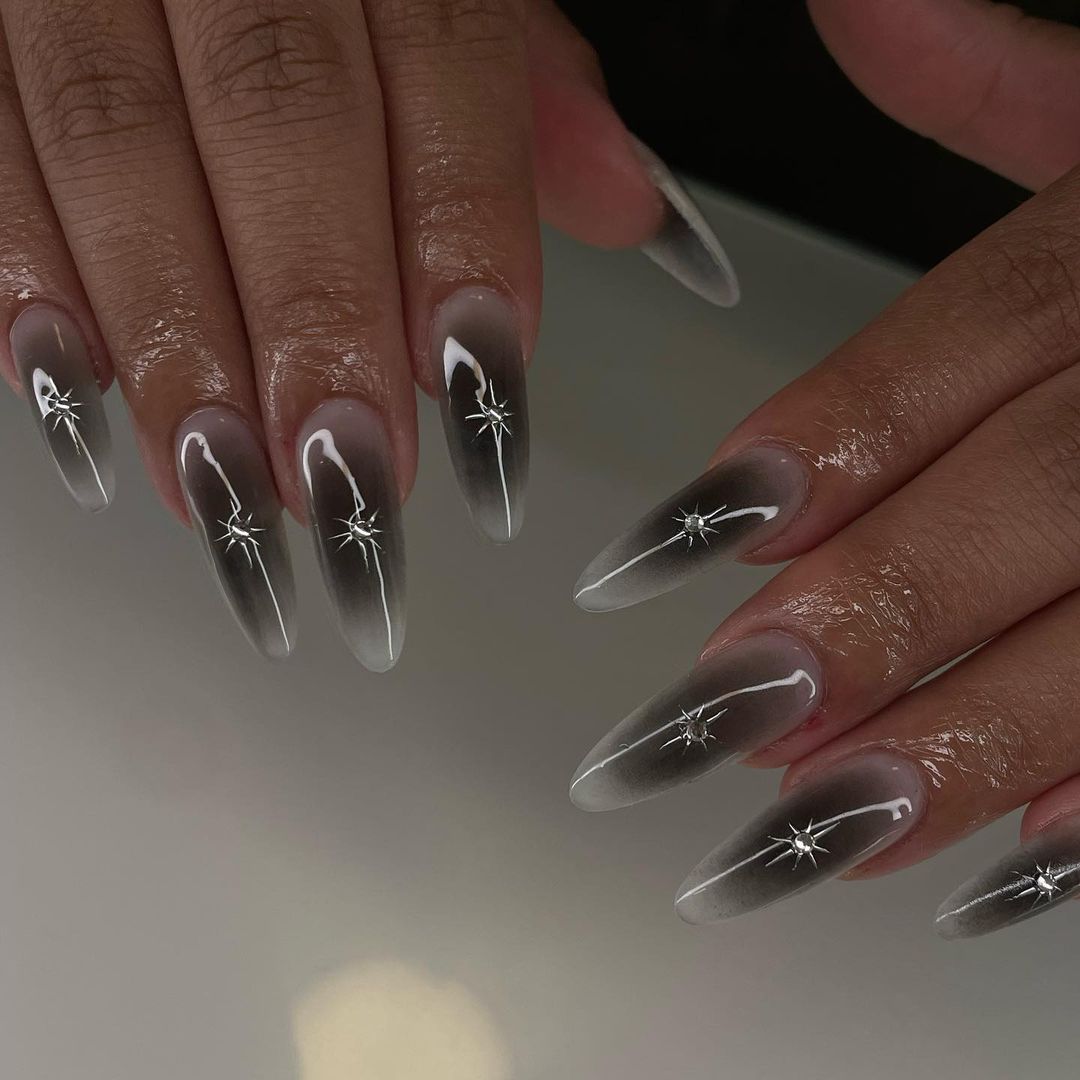
Short Pink Aura Nails With Magenta Lines
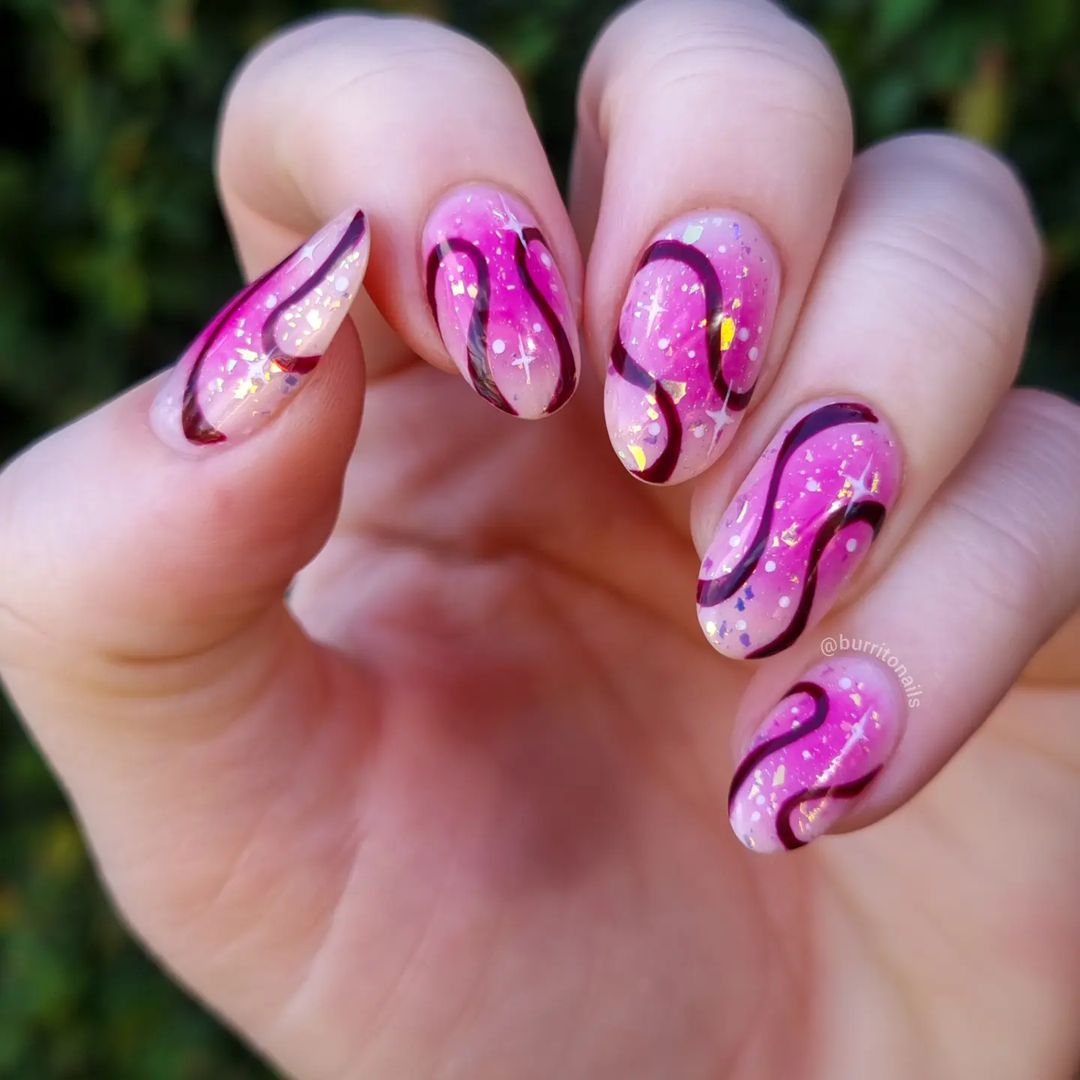
Pink And Red Hued Aura Nails
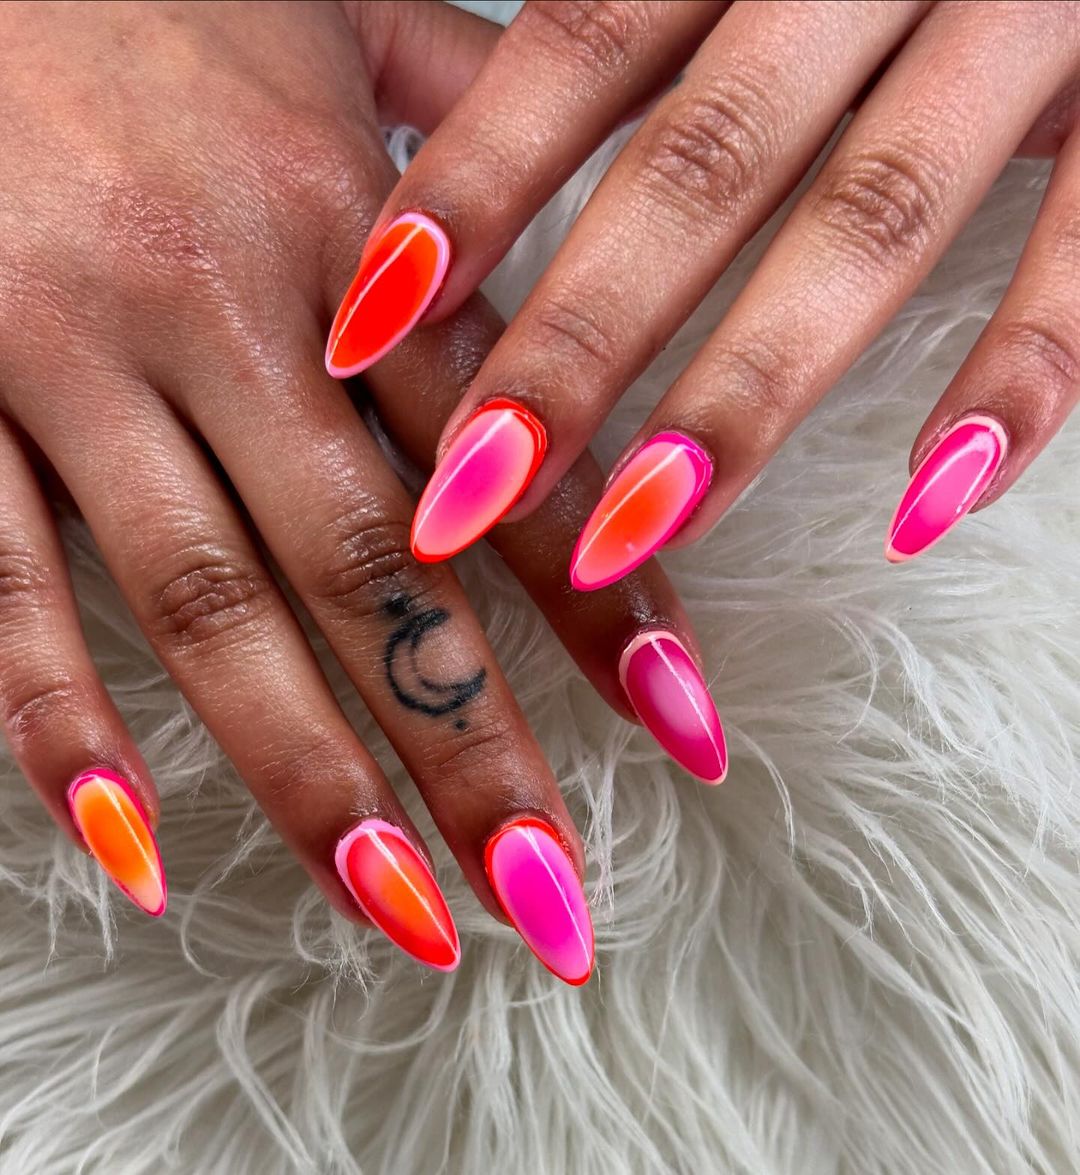
Pink and Blue Aura Nails With White French Tip
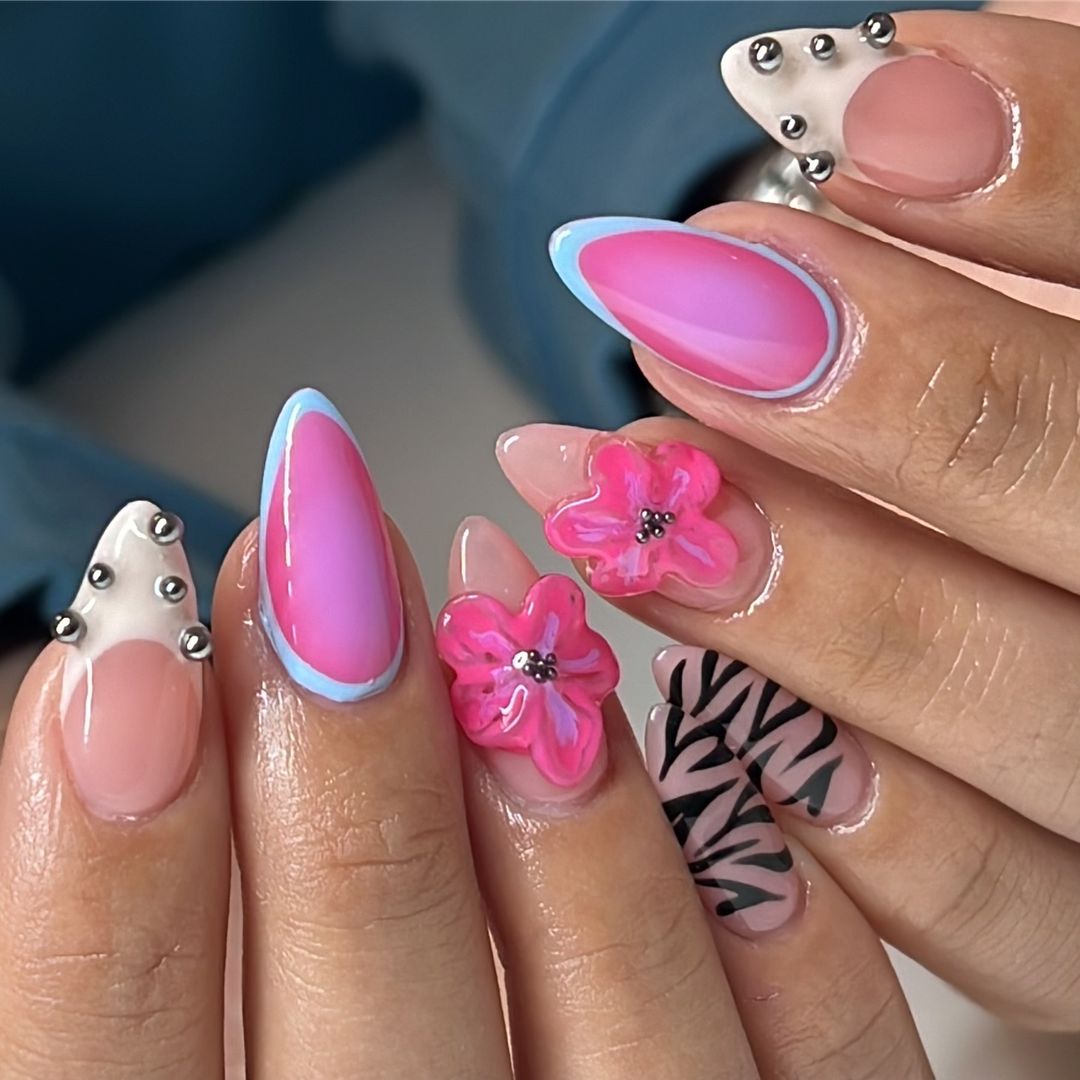
Orange and Dark Pink Aura Nails
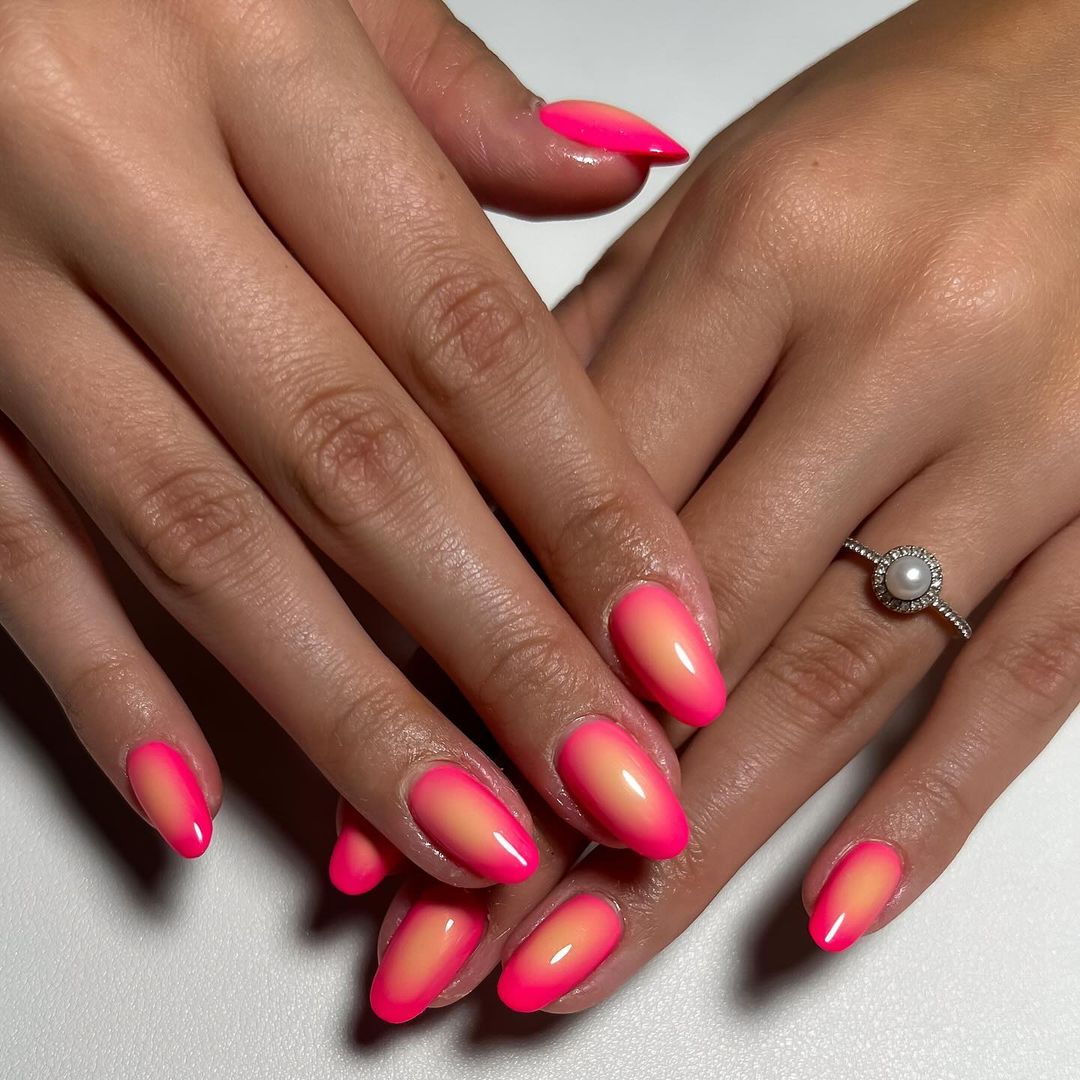
Neon Pink Aura Nails
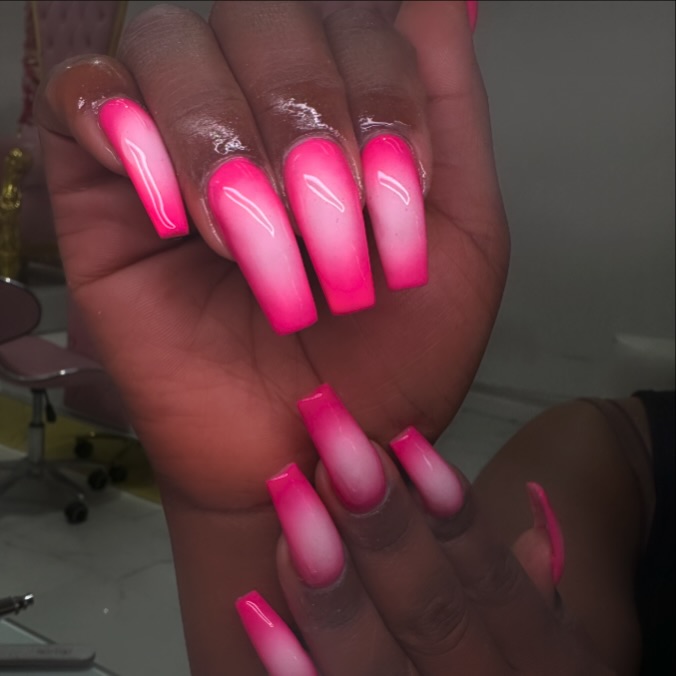
Green and Yellow with Red and Orange Aura Nails
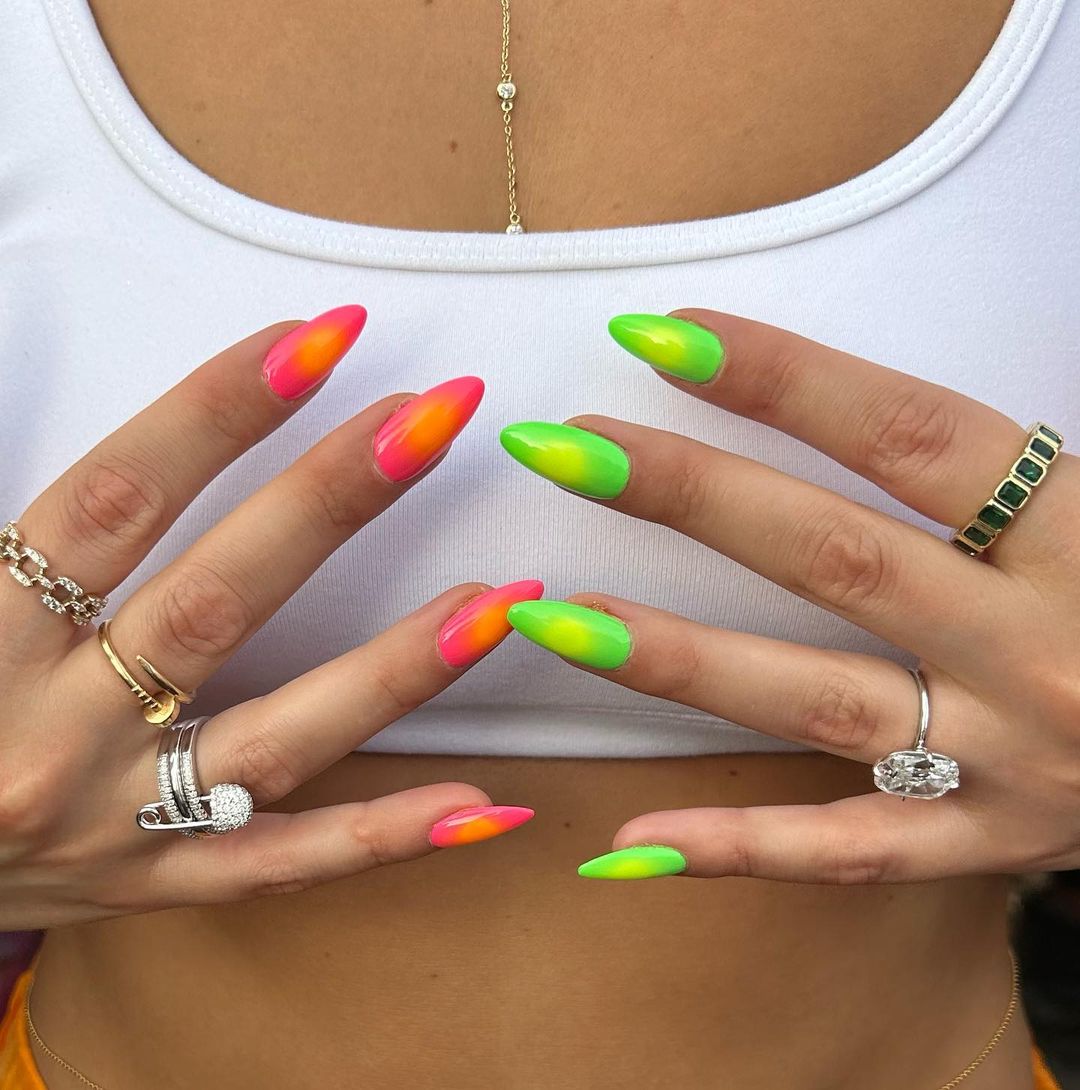
Dotted Aura Nails With Rhinestones
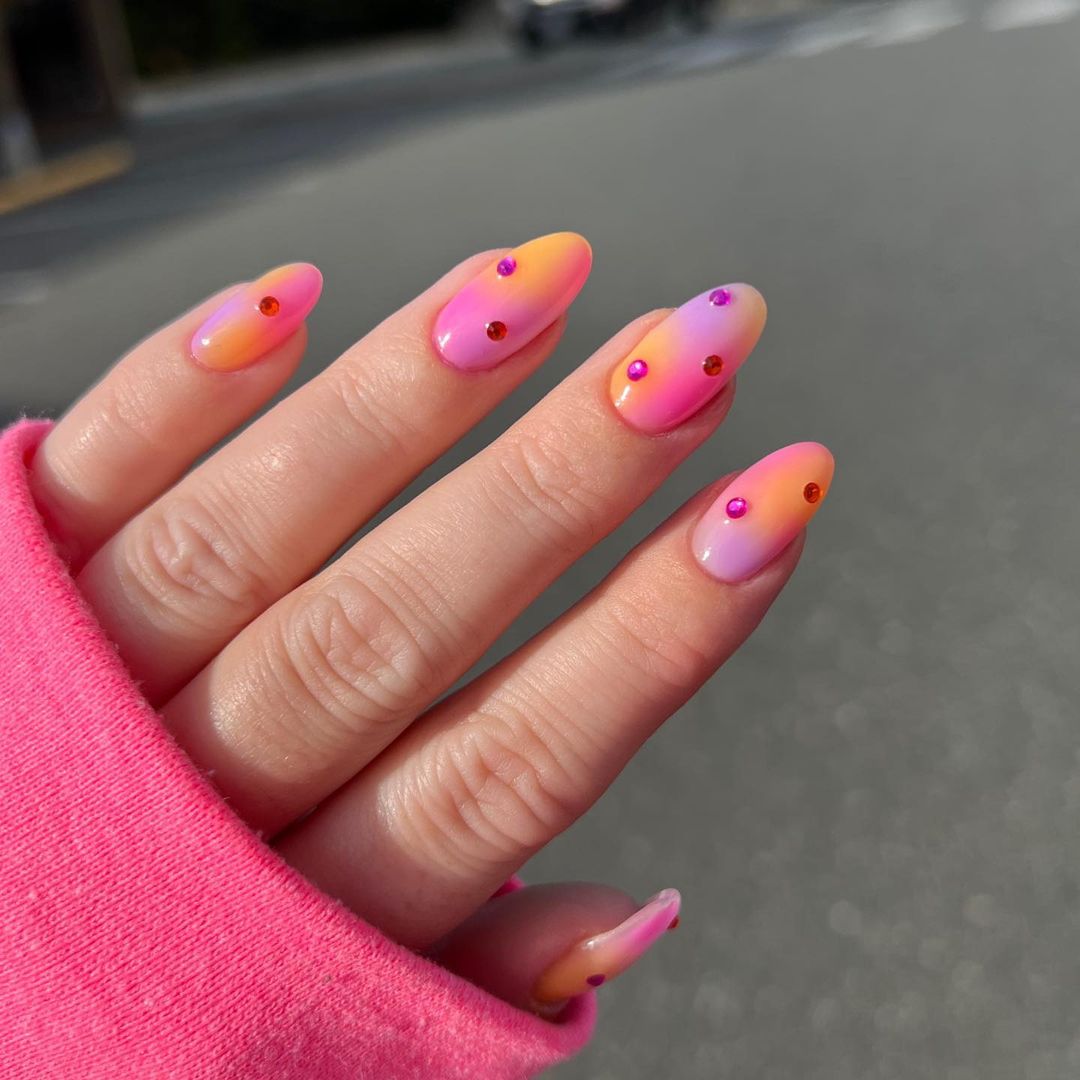
Dark and Light Pink Aura Nails
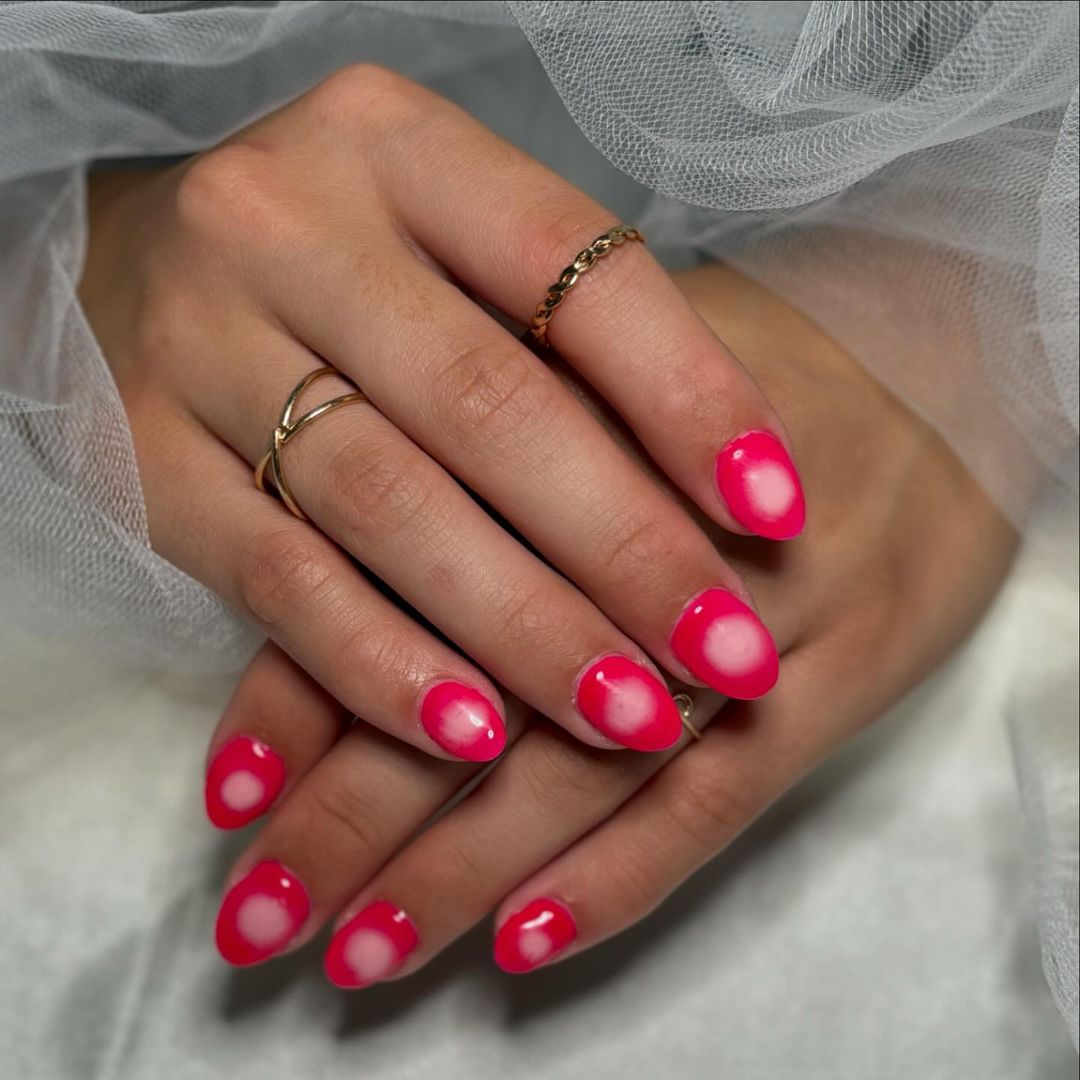
Copper Chrome and Blue Aura Nails
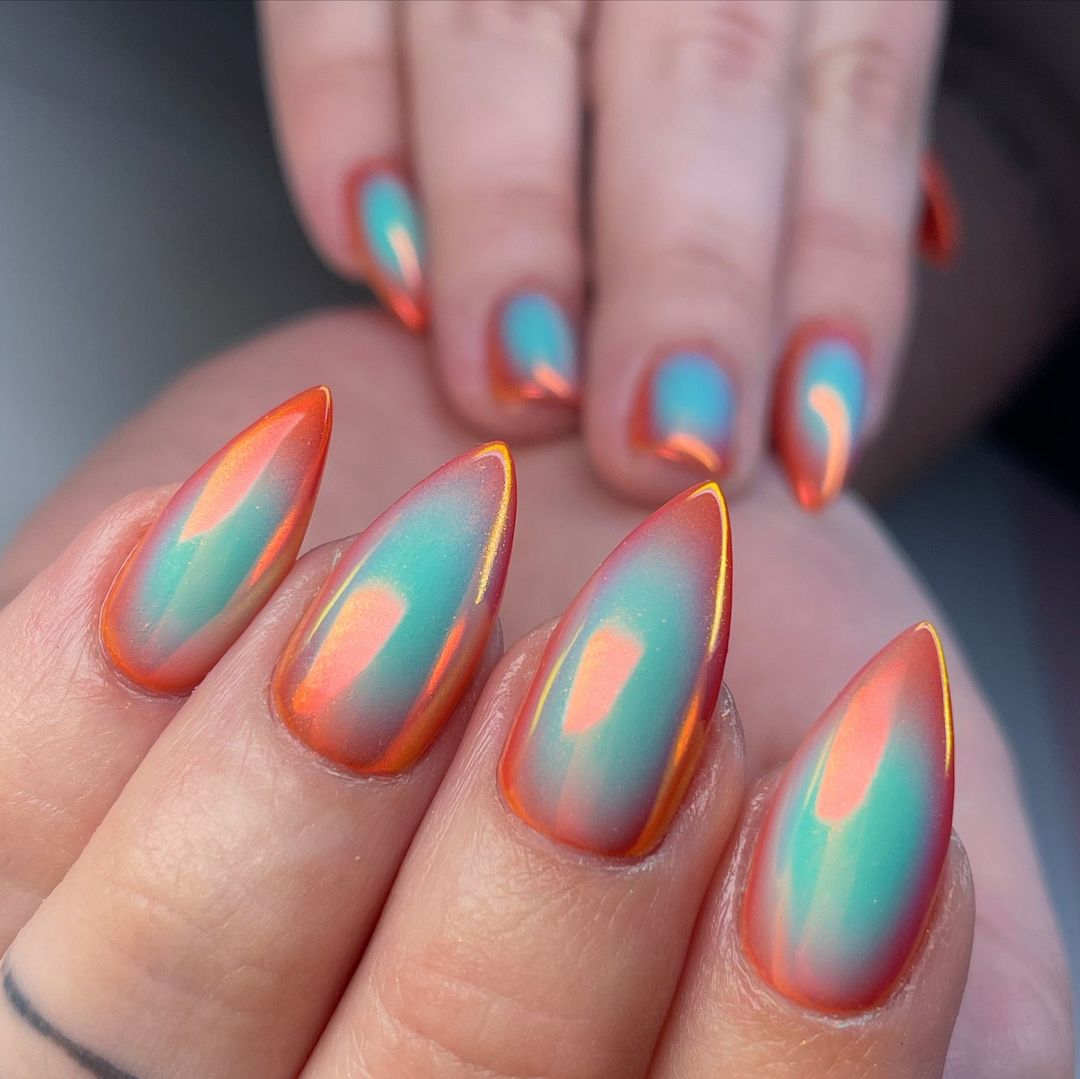
Blue and White Aura Nails With Gold Lines
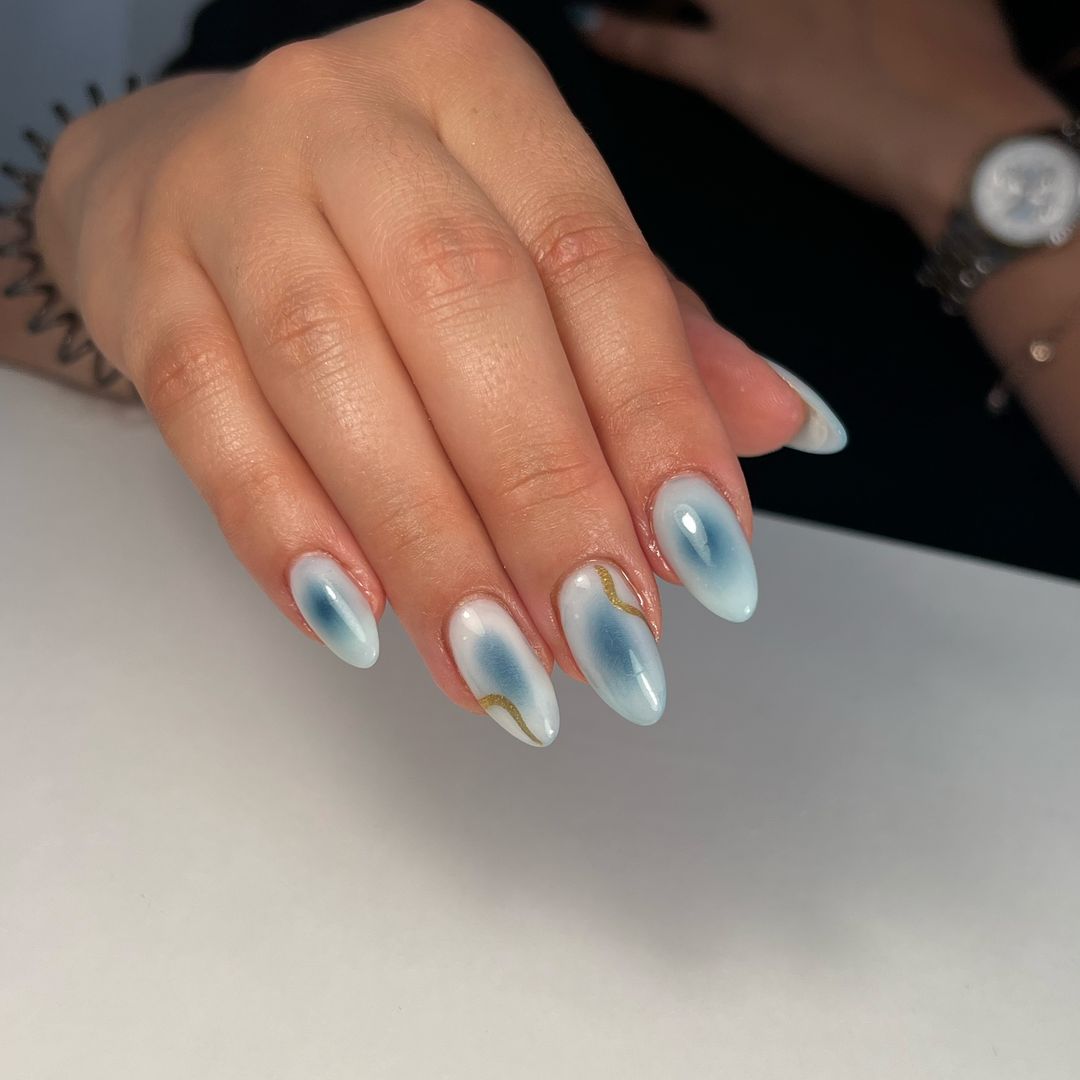
Black and Blue Aura Nails
Designing Your Aura Nails
Creating the perfect aura nail design is all about infusing your personality into every detail, from the color choices to the final shimmering touches.
Choosing the Right Colors
I always say that the right hues can transform your nails into a personal mood ring.
When picking aura colors for your nails, consider what each shade represents. A hot pink hue screams fun and bubbly, while an orange aura can reveal a creativity-spark.
I love to mix and match, but remember, the best palette reflects your personal vibe.
For a truly ethereal look, soft pastels or a milky pink can evoke a sense of calm magic.
- Soft Pastels: for a soothing touch
- Hot Pink: to showcase vibrancy
- Milky Pink: for an ethereal glow
Patterns and Textures
Speaking of textures, they can add a unique dimension to your nails.
How about a gradient that blends colors smoothly, like a gentle halo? Or maybe some chrome details for that ultra-modern twist.
A trick I often use is applying a matte base coat before layering on patterns—it really makes them pop!
And if I’m in the mood for something fanciful, I’d go for rainbow aura nails that look straight out of a vibrant TikTok trend.
- Gradient: for a subtle transition
- Chrome Details: for a modern edge
- Matte Base Coat: to enhance patterns
Adding Sparkle and Shine
No aura nail design is truly complete without a bit of sparkle.
I reach for glitter or tiny gems to bring a touch of the cosmos to my fingertips.
But it’s not just about piling on the shine; it’s about where and how you place it.
Strategic sparkle can turn your nails into a galaxy of stars, especially with a glossy top coat to seal the deal. This also helps keep everything in place, so you don’t lose your twinkle.
- Glitter: for a starry effect
- Gems: for cosmic accents
- Glossy Top Coat: to seal and shine
Incorporating Personal Touches
The final step? Making it unmistakably mine.
Sometimes that means adding a personal symbol hidden among the designs or customizing a French tip to suit my style.
Other times, it’s about mood-based details—maybe a bit of pink and orange when I’m feeling peppy, or pink and green for those nature-inspired days.
The most magical part of aura nail designs is how they allow me to express the unique tapestry of who I am.
- Personal Symbols: for a secret touch
- Custom French Tips: for a twist on the classic
- Color Combos: to match your mood
Creating Aura Nail Art at Home
I’ve found that creating aura nail art at home can be a peaceful and creative way to spend an afternoon. Plus, it’s a fabulous way to get that trendy manicure without stepping out to a salon.
Step-by-Step Aura Nail Tutorial
First, make sure you have all your materials at hand. It’s like gathering ingredients for a recipe! You’ll need some pastels or whatever colors speak to your mood, a dotting tool, a nail art brush, acetone, blooming gel, your favorite gel polish, a gelcare uv gel or other top coats, and if you’re feeling fancy, an airbrush system.
- Prep the Nails: I always start with clean nails to ensure my designs last. Use acetone to remove any old polish and push back your cuticles.
- Then, file your nails into your desired shape.
- Base Coat Application: Apply a thin layer of gel polish as the base and cure it under a lamp.
- Remember, curing times vary, so check the instructions for the gel polish you have chosen.
- Color and Design: Here’s where the fun begins! Apply a thin layer of blooming gel over your base coat. Don’t cure it yet!
- Quickly, use a dotting tool with a bit of gel polish to add dots of color to the wet blooming gel.
- I like using lights lacquer or cirque colors for their rich pigments. Let the colors naturally spread and create that ‘aura’ effect.
- Airbrush for Effects (Optional): If you have an airbrush, you can gently spray over the wet gel to enhance the blooming effect. Just a little goes a long way.
- Curing: Once you’re happy with your aura design, cure it under the lamp. This sets the design firmly in place.
- Top Coat for Finish: To protect the art and add that salon-quality shine, apply a gelcare uv gel or matte top coat, depending on the finish you prefer, and cure it.
- Cleanup and Moisturize: Use a nail art brush dipped in acetone for any cleanups around the edges.
- Finish by moisturizing your hands and cuticles; maintaining hydration is key after all the fun!

Leave a Reply
View Comments